


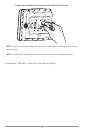
NOTE: You must have underside access to the mounting location to pass the cables through to the surface. Also,
make sure that the mounting surface is adequately supported to protect the control head from excessive wave
shock and vibration and provide visibility while in operation.
NOTE: Go to the installation instructions applicable to your GPS Receiver and accessories. Make the required
installations and then run the cables to your control head mounting location. Do not cut any cabling (except the
power cable). If your cables are too short, extensions are available from your local dealer or online from
www.humminbird.com.
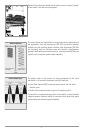
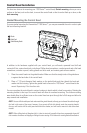
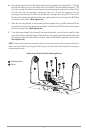
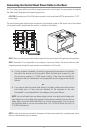
3. After the mounting location has been determined, loosen the gimbal knobs and remove the
control head from the gimbal bracket.
NOTE: Alternate hole patterns are available on the gimbal mounting bracket, and may match existing holes on
the boat. You may choose to use one of these alternate hole patterns.
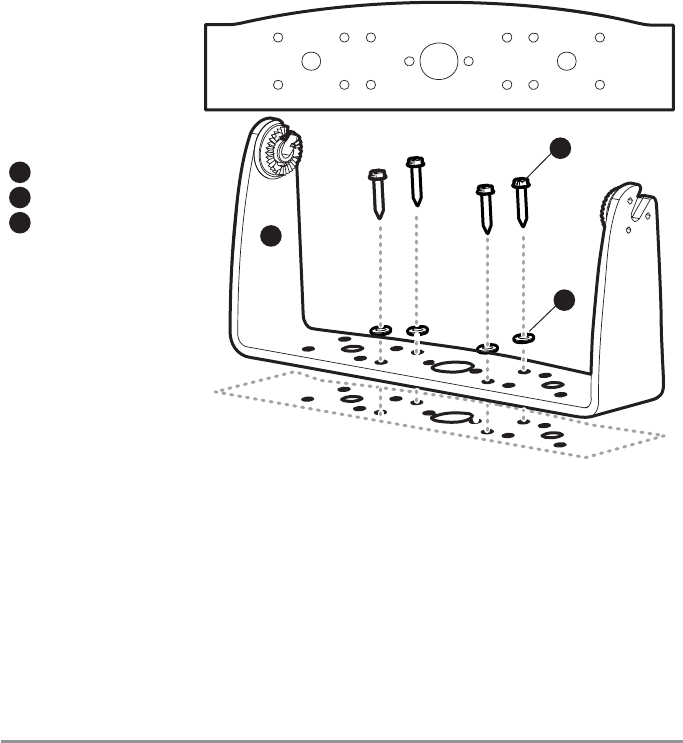
4. Place the gimbal bracket in the chosen position on the mounting surface and mark the four
mounting screw locations using a pencil or center punch.
5. Set the gimbal bracket aside and drill the four mounting screw holes using a 5/32" (4.0 mm) drill bit.
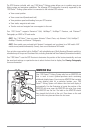
6a. If the cables must pass through a hole directly beneath the mounting bracket, mark and drill an
additional 1" (25 mm) hole centered between the four mounting holes. Route the cables through
the 1" hole. Place the gimbal over the mounting surface hole, then use it to mark the position of
the two mounting screws, closest to the center large hole. Remove the gimbal and drill the two
mounting holes using a 9/64" (3.5 mm) bit. Do not install the hole cover at this time.
or...
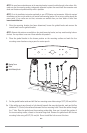
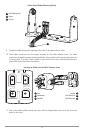
Mounting Screws
1
Washer
2
Gimbal Mounting Bracket
3
3
2
1
10