


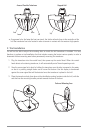


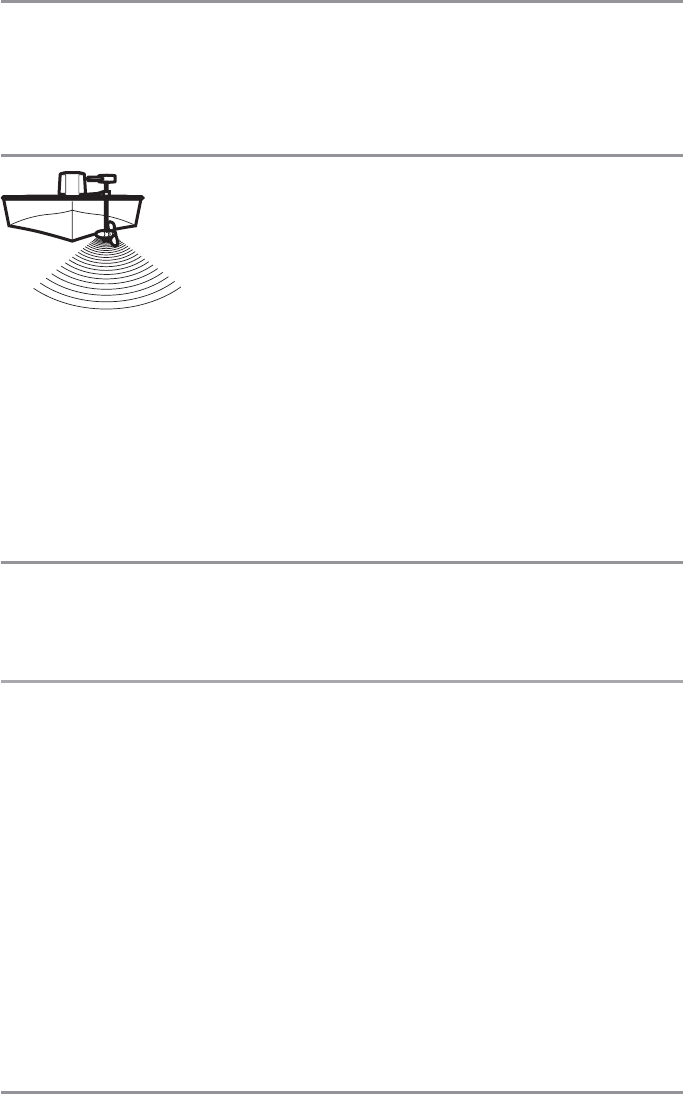
Trolling Motor Transducer Installation
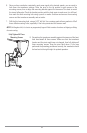
If you want to install your transducer on a trolling motor, use this procedure. Several styles of the
transducer are compatible with trolling motor mounting. If you have a trolling motor bracket, refer to the
separate installation instructions that are included with the bracket.
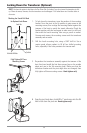
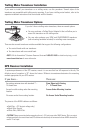
Trolling Motor Transducer Options
If you don’t have a trolling motor transducer, there are several options:
• You may purchase a Trolling Motor Adapter kit that will allow you to
mount the transducer on the trolling motor.
• You may also exchange your NEW and UNASSEMBLED transducer
(with mounting hardware included) for a trolling motor transducer.
There are also several transducer switches available that support the following configurations:
• Two control heads with one transducer
• Two transducers with one control head.
NOTE: Call the Humminbird® Customer Resource Center at 1-800-633-1468 for details and pricing, or visit
www.humminbird.com for more information.
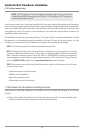
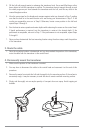
GPS Receiver Installation
To optimize performance of the GPS receiver, mount it in an area that has full exposure to the sky. The
effective area of reception is 10° above the horizon. Different circumstances determine the mounting
method appropriate for your GPS receiver.
If you have… Then use:
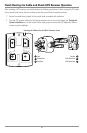
The pinouts of the NMEA cable are as follows:
• Red Wire, +12V (output voltage only)
• Black Wire, Ground
• White Wire, NMEA Out.
CAUTION! Please use caution before connecting the red +12V wire to any other NMEA device. This is an output
voltage provided by the control head and GPS receiver and should only be connected to those NMEA devices that
need a 12 volt input.
An existing antenna stem with standard 1" –
14 thread stem
Access for cable routing under the mounting
location
No access under the mounting location
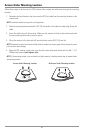
Stem Mount with Existing
1” - 14 Thread Stem
Access Under Mounting Location
No Access Under Mounting Location
40