


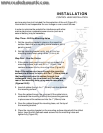


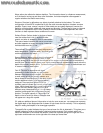
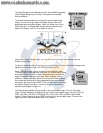

the driver seat facing forward). Hollow fish symbols facing to the left are detected in the left beam,
and thus the fish is to the left side of the boat. Solid fish symbols represent fish in the single
center beam, and these fish are directly under the boat
CONTROL FUNCTIONS
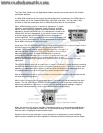
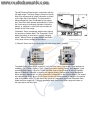
The 400TX uses a simple six button keypad for all user input. Press any button
and an audible "chirp" confirms the control input. If a button has no function or is
inappropriate for the situation, an audible "error" is heard. The unit sounds multiple
chirps.
Power. The Power button powers the 400TX up for normal operation. When the
unit is on, POWER turns the unit off. POWER can also be used to go directly into
Simulator mode. To enter simulator, with the unit powered off, press and hold
POWER for several seconds until a continuous chirp is heard.
Light. LIGHT controls the unit's display backlight. With the unit powered on, press
LIGHT once to turn the backlight on "low." Press LIGHT a second time to turn the
backlight on "medium," a third time to turn the backlight on "high", and a fourth
time to turn the backlight off. The backlight is very effective for low-light and nighttime operation.
When the backlight is on, the 400TX will consume more power than with the backlight off. This is
important when using the 400TX in a portable configuration powered by a separate battery, or
when powering the unit from a trolling motor battery.
When powering the unit from a battery such as in
portable applications, you can prolong the battery life
by using the backlight at a minimum.
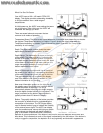
The three lower buttons, MENU, UP ARROW, and
DOWN ARROW work together to control the 400TX
menu-controlled user functions.
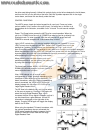
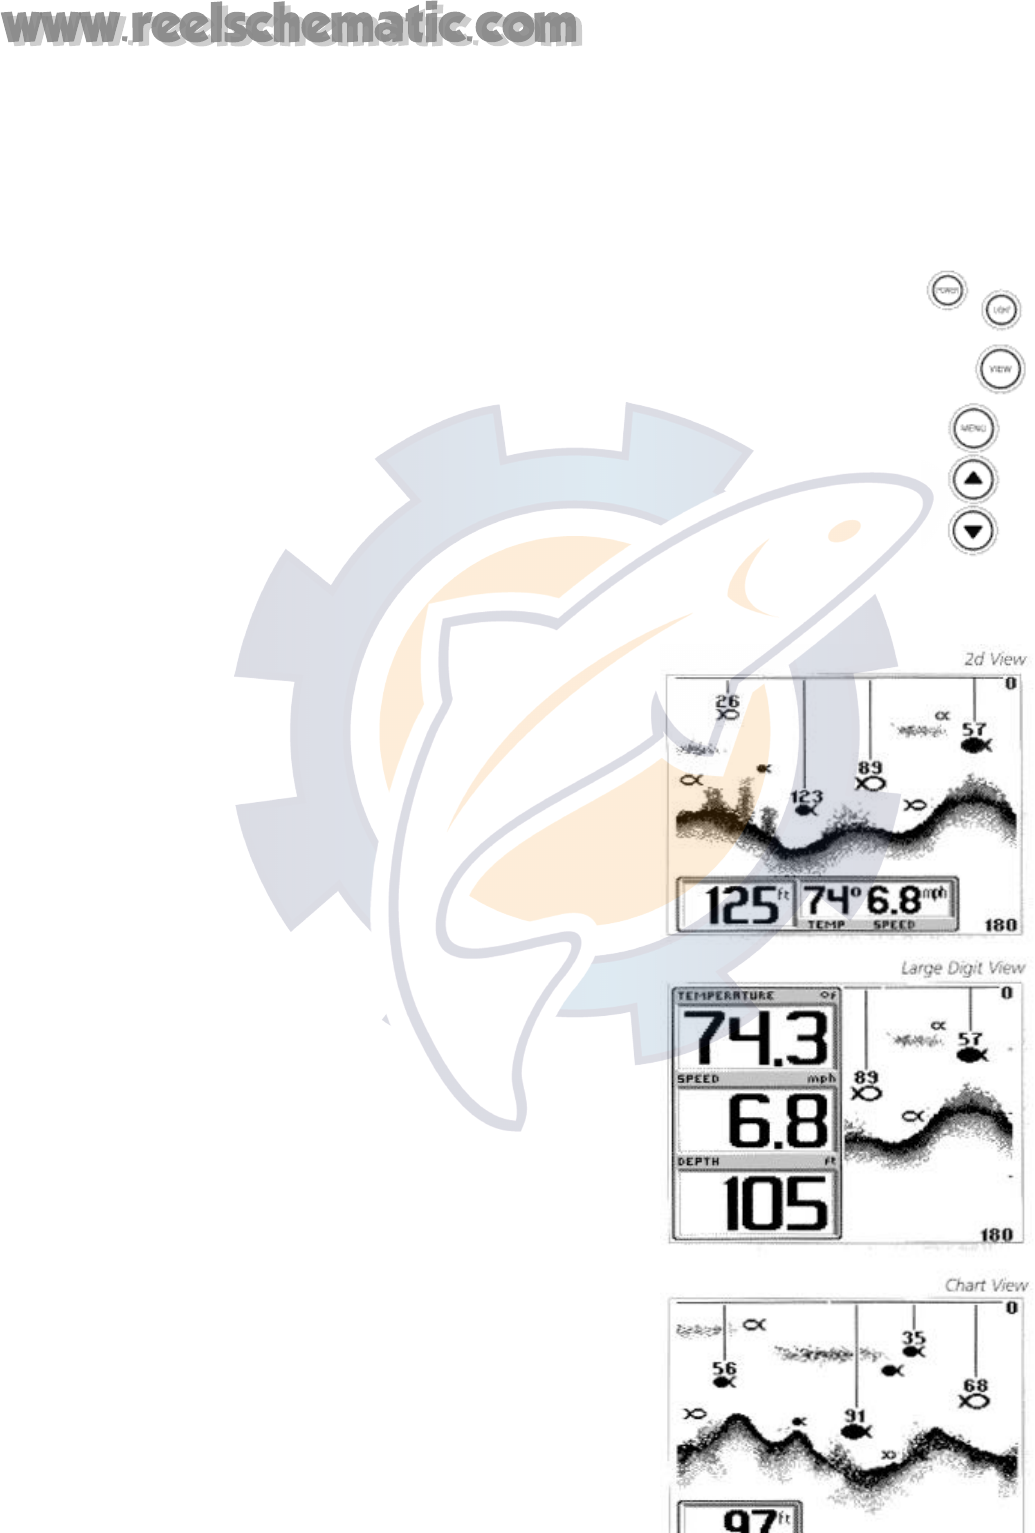
View. VIEW selects one of several screen
configurations or "views" possible depending on the
transducer in use. When using the standard 2 (Tri-
beam) transducer, without the optional speed/temp
sensor connected, the VIEW button toggles the
display between the full-screen 2D View and the
Large Digital Readout View.
The 2D View is the default view, and the view which
is first seen at power-up. Pressing VIEW again will
select the Large Digital Readout View, which
increases the size of key digital information so that it
can be viewed from a great distance. Normal 2D
information is displayed on the right side of the
display. Pressing VIEW again will toggle the display
back to the 2D view.
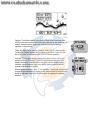
When using the standard (Tri-beam) transducer, with
the optional speed/temp sensor connected, the
VIEW button toggles the display between the full-
screen 2D View, the Chart View and the Large
Digital Readout View.