


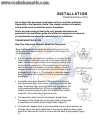


INSTALLATION
TRANSOM INSTALLATION
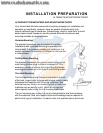
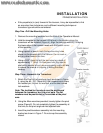
Step Four - Mount the Transducer to the Transom
1. Apply silicone sealant to the mounting holes drilled into the transom.
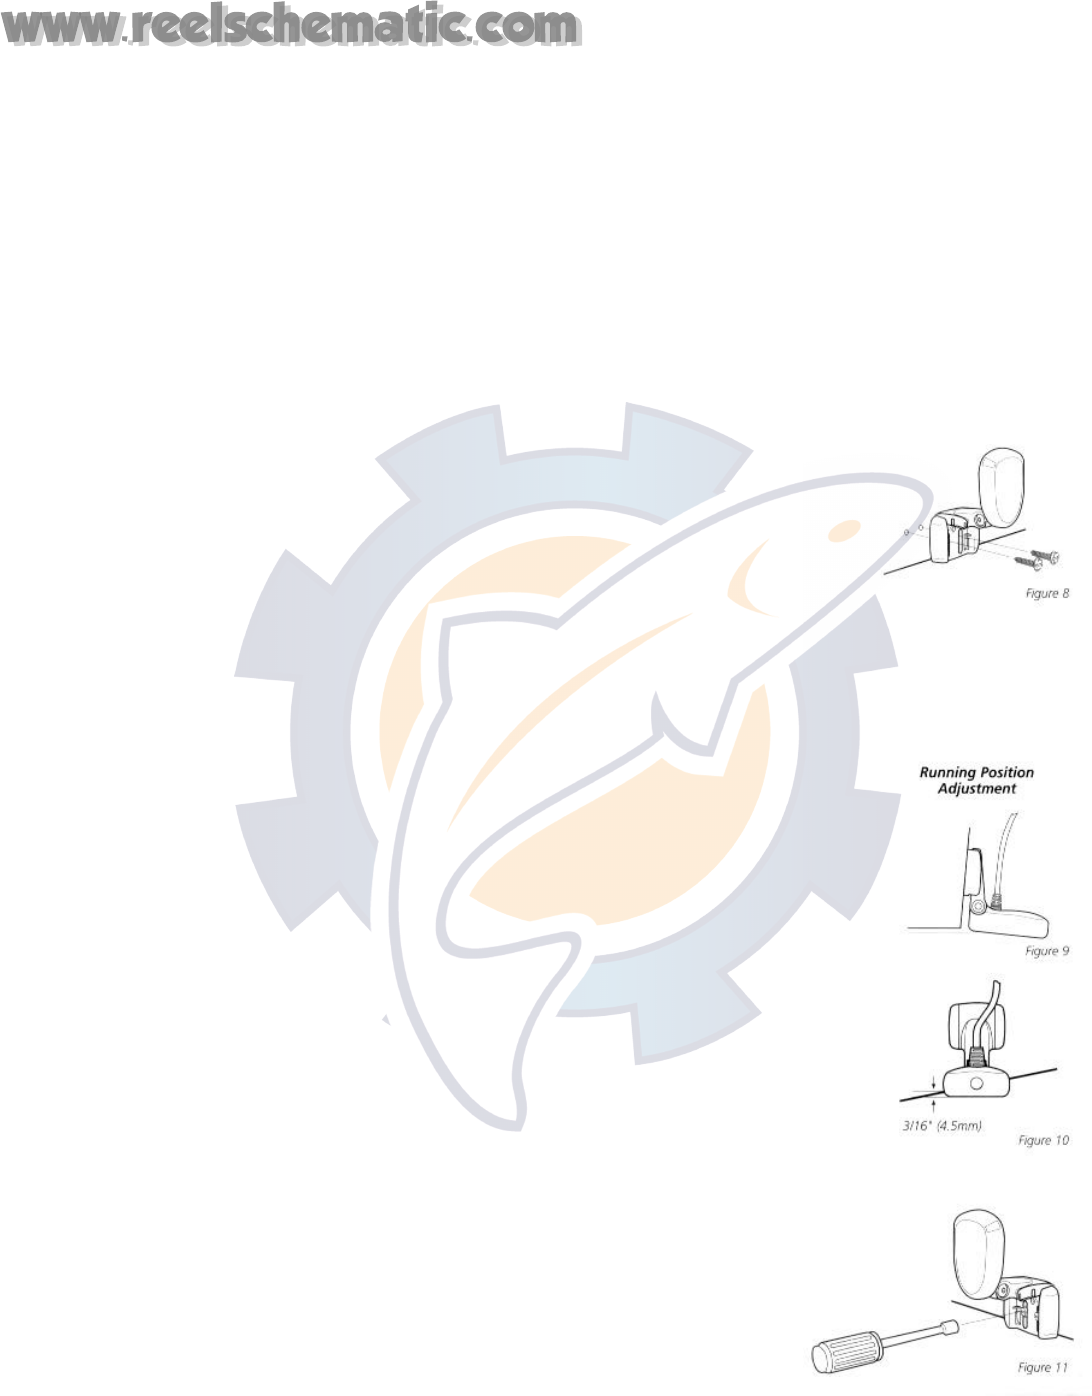
2. Align the transducer assembly with the drilled holes in the transom (Figure 8).
3. Use either a flat head screwdriver, a 5/16" (8mm) hex driver, or a 5/16" (8mm)
socket to mount the assembly. Using the two #10 – 1”
(25mm) long slotted hex head screws, mount the transducer
assembly to the transom as shown. Do not fully tighten the
mounting screws in order to vertically adjust the transducer.
Snap the pivot down into place.
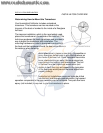
Step Five - Adjust the Running Position of the Transducer
The bracket allows height and tilt adjustment, the pivot screws
allow angular adjustment. Initially, adjust the transducer as
described in the following paragraphs. Further adjustment may
be necessary to refine the instillation after high speed testing.
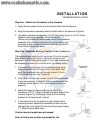
1. First adjust the pivot angle of the transducer body so its
length is parallel with the length of hull of the boat. Then
pivot the transducer down so the rear is about 1/4 inch
(6mm) lower than the front (Figure 9).
2. Fully tighten the two pivot screws using the Allen wrenches.
It may be necessary to retighten the pivot screws after the
initial use as the plastics may still be seating to the lock
washers.
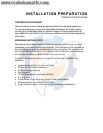
3. Adjust the height of the assembly so the face of the
transducer is 3/16" (4.5mm) beneath the lower edge of the
transom (Figure 10). Mark the position of the mounting
bracket on the transom with a pencil.
4. Force the pivot to the up position to gain access to the
mounting screws. Assure the transducer location has not
changed, then fully tighten the two mounting screws (Figure
11). Snap the pivot back down.
Confirm the pivot angle has not changed.
Note: A third screw location is provided for the