


Maintenance
57
and Stabilizer” to each gallon of fuel.
T
IP:
The use of “Yamaha Fuel Conditioner and
Stabilizer” eliminates the need to drain the
fuel system. Consult your Yamaha dealer or
other qualified mechanic if the fuel system is
to be drained instead.
3. Remove the top cowling and silencer
cover/cap. Remove the propeller.
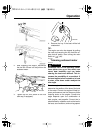
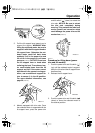
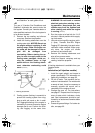
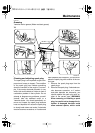
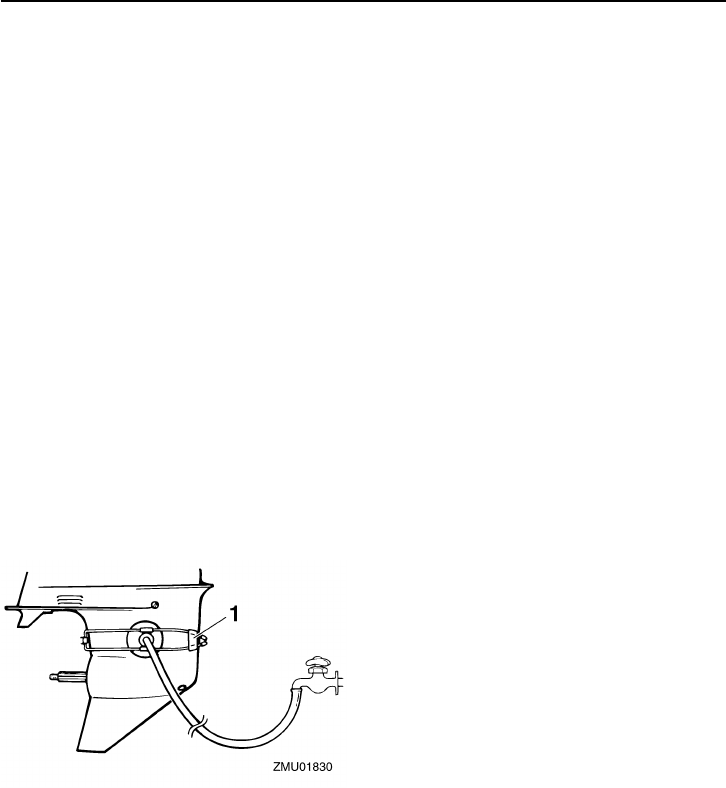
4. Install the flushing attachment over the
cooling water inlet.
NOTICE:
Do not run
the engine without supplying it with
cooling water. Either the engine wa-
ter pump will be damaged or the en-
gine will be damaged from
overheating. Before starting the en-
gine, be sure to supply water to the
cooling water passages. Avoid run-
ning the outboard motor at high
speed while on the flushing attach-
ment, otherwise overheating could
occur.
[ECM02000]
5. Cooling system flushing is essential to
prevent the cooling system from clog-
ging up with salt, sand, or dirt. In addi-
tion, fogging/lubricating of the engine is
mandatory to prevent excessive engine
damage due to rust. Perform the flush-
ing and fogging at the same time.
WARNING! Do not touch or remove
electrical parts when starting or dur-
ing operation. Keep hands, hair, and
clothes away from the flywheel and
other rotating parts while the engine
is running.
[EWM00091]
6. Run the engine at a fast idle for 10–15
minutes in neutral position while supply-
ing fresh water.
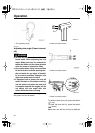
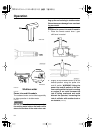
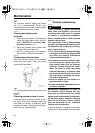
7. Just prior to turning off the engine, quick-
ly spray “Yamaha Stor-Rite Engine
Fogging Oil” alternately into each carbu-
retor/each intake manifold. When prop-
erly done, the engine will smoke
excessively and almost stall.
8. Remove the flushing attachment and
wipe off any excess water.
9. Install the silencer cover/cap and top
cowling. Install the propeller.
T
IP:
A flushing attachment is available from your
Yamaha dealer.
EMU28411
Lubrication (oil injection models)
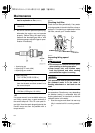
1. Install the spark plug(s) and torque to
proper specification. For information on
spark plug installation, see page 63.
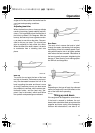
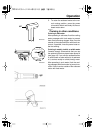
2. Fill the oil tanks. This prevents the for-
mation of condensation. For models with
a remote oil tank, it may be necessary to
manually override the control unit to
completely fill the engine oil tank.
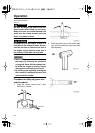
3. Change the gear oil. For instructions,
see page 67. Inspect the oil for the pres-
ence of water which indicates a leaky
seal. Seal replacement should be per-
formed by an authorized Yamaha dealer
prior to use.
4. Grease all grease fittings. For further de-
tails, see page 63.
1. Flushing attachment