INSTALLATION INSTRUCTIONS KK-K9-F12-K
2000-2006 FORD EXCURSION
TOOLS REQUIRED:
Power Drill
Standard & Metric Socket Sets
Phillips Screw Driver
7/16” Wrench
Wire Cutters / Crimping tool
Ratchet Wrench With 6” Extension
Torx Bit Set
4 ½” Hole Saw (Exhaust Fan Option)
Caulk Gun
HARDWARE: Some of this hardware is already attached.
QTY:
DESCRIPTION: PART #:
28 ¼-20 X ½” Stainless carriage bolts GSM 32022
30 ¼-20 X ¾” Stainless carriage bolts GSM 32024
64 ¼-20 Serrated nuts GSM 30023
6 ¼-20 X ¾” Hex head Cap Screw Zinc GSM33001
14 ¼” X 1 ½” Hex head lag screw GSM 33062
36 #12 X ¾” Stainless sheet metal screws GSM 34177
24 #10 X ¾” Stainless sheet metal screws GSM 34170
22 #10 X ½” Stainless sheet metal screws GSM 34169
6 #10 X ¾” Sheet metal screws GSM 33195
20 #10 X ½” Sheet metal screws GSM33194
1 Tube Silver Caulk PRM 97343
1 46” X 45 1/2” Rubber Mat KNM01029-SUV
11 1/2 feet Adhesive Molding
SUB ASSEMBLY:
• Dome light with wire
• Tunnel edge molding
• Install exhaust fans (Optional). If locating in custom
location drill 4 ½” hole into desired location of K-9
housing. Mark and drill 3/16” mounting holes to
attach fan using (4) 10/32” X ½” machine screws and
10/32” keps nuts. Then mark and drill 3/16” holes to
mount fan guard using 10/32” X ½” machine screws
and 10/32” keps nuts.
INSTALLATION:
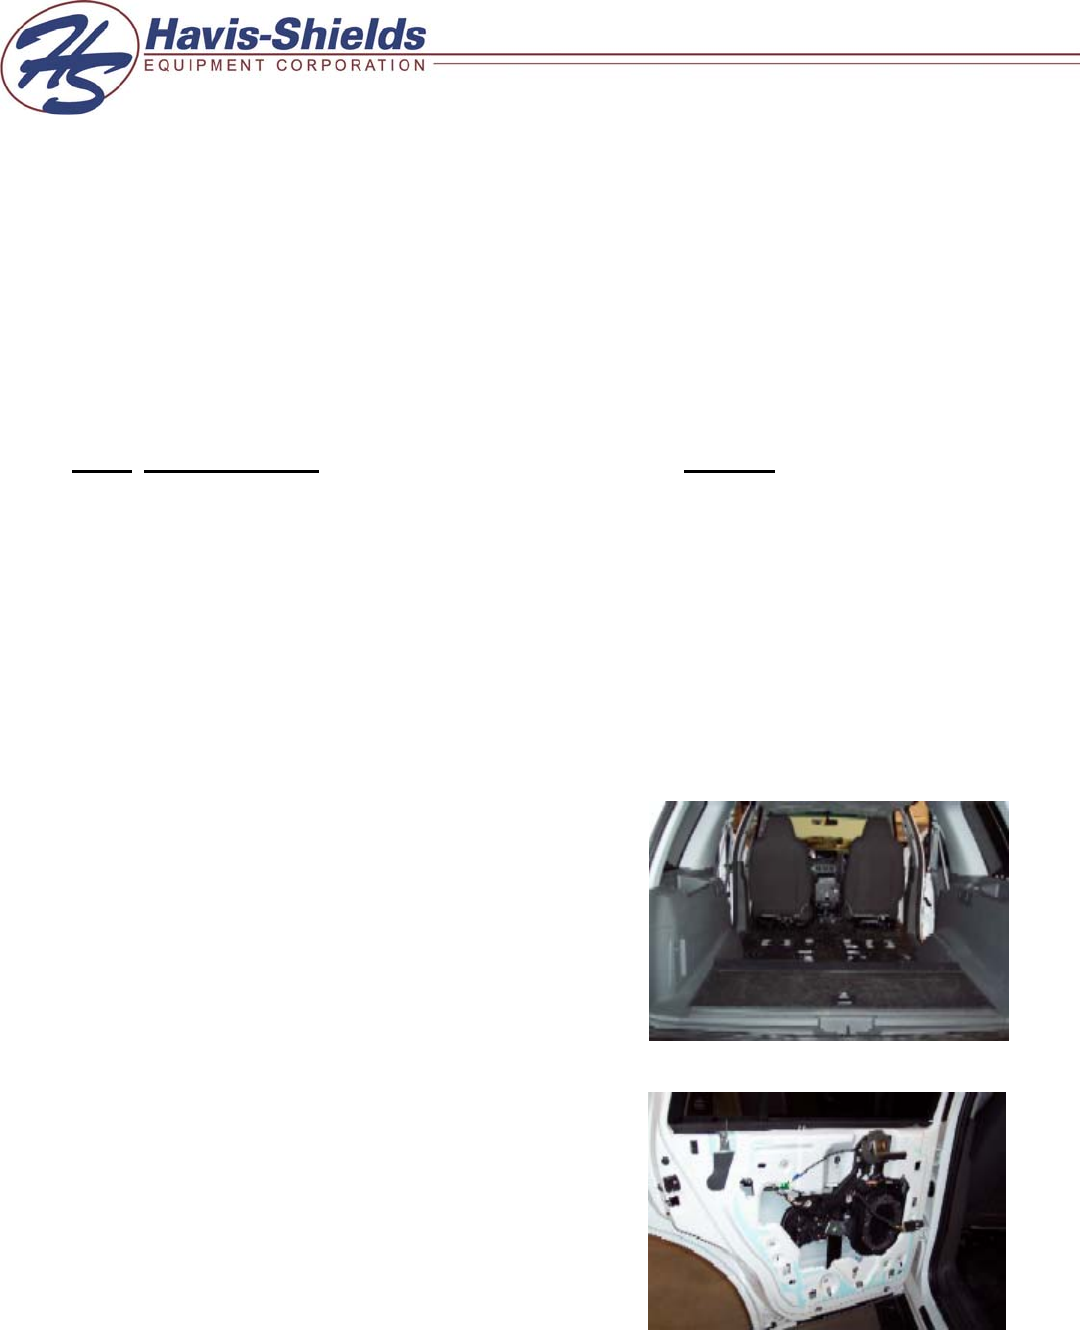
1. Remove interior:
• Remove rear seats
• Remove rear seat belt assembly
• Remove top, and bottom plastic rear trim caps


