Y1-03-0232D 6
Mounting
Both the surface mount and the flush mount options require access to
the backside of the mounting location. Verify that there are not any
obstructions behind the area where the switch is to be located, e.g.,
bulkheads, wires, plumbing or hardware. Check that the coax cable from
the Master Controller can be routed to this location. Generally, the Point
Pad™ should be mounted in a protected area.
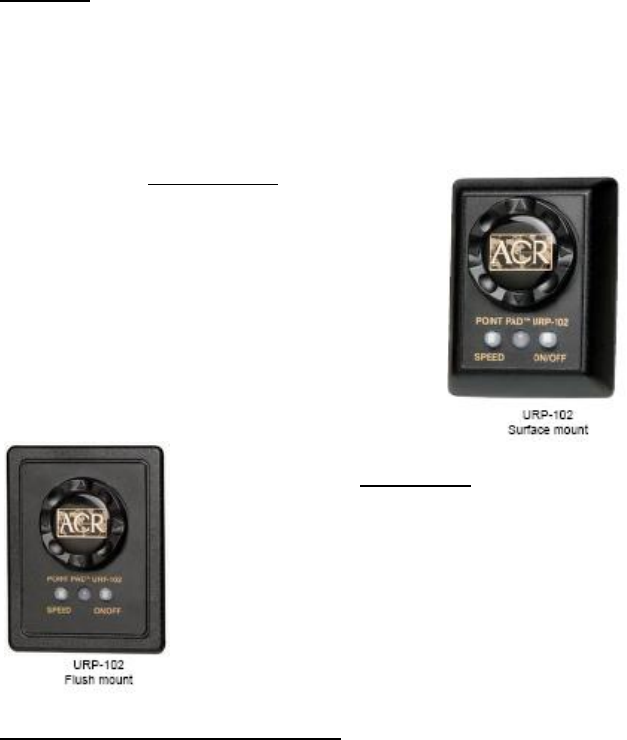
Surface Mount
Install the surface mount Point Pad™ by drilling
three (3) holes in the dashboard location using
the Point Pad™ Surface Mount Template
supplied in the Mounting Templates. Mount the
Point Pad to the dashboard using the gasket,
washers and nuts supplied. Apply a sealant
around the bolt holes to protect from moisture
intrusion.
Flush Mount
When the flush mount is selected, cut a
rectangular hole in the dashboard location using
the Point Pad™ Flush Mount Template supplied in
the Mounting Templates. Use the gasket, washers,
nuts and the two U-Clamps provided to secure the
Point Pad™. Apply a sealant around the cut out to
protect from moisture intrusion.
Connecting to the Master Controller
The Point Pad™ communicates with the Master Controller via standard
television type RG-59 coaxial cable. The connectors are standard “F”
type television connectors. The connector on the back of the Point
Pad™ is located in the center of the panel for ease of installation. After
the coax cable has been routed and the “F” connector is attached to the
coax cable, screw the “F” connectors to the Master Controller and the
Point Pad™.
Additional Point Pads™ (up to three) may be used with one (1) Master
Controller. A standard “T” connector or RG-59 television type splitter is
used for each additional Point Pad™. Limit the total length of all coax
cable used to 300 feet.


