Installation
4 309926G
Installation
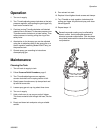
1. Follow Pressure Relief Procedure, page 3.
2. Slowly loosen thumb screws, tip lid clamps back and
remove lid assembly.
3. Pour material into tank.
4. Replace lid assembly and tighten clamps and thumb
screws securely.
5. Pass air supply line through Air Control Unit to filter
dirt from air and extract water and oil. Connect air
supply hose to air inlet fitting on tank regulator.
6. Attach atomization air hose to the air outlet fitting
which is directly opposite air inlet fitting on tank
pressure regulator.
7. Connect material hose to fluid outlet fitting on top of
tank lid.
WARNING
• A safety valve protects tank from over pressuriza-
tion. During each use, pull ring on safety valve to
check if it operates freely and relieves air pressure.
If the valve is stuck, does not operate freely, or does
not relieve air pressure, it must be replaced.
• Do not discard or make any alterations or substitu-
tions to safety valve.
• Do not make any changes to the pressure tank.
Tampering in the form of drilling, welding, etc., will
weaken the tank.
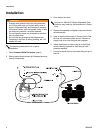
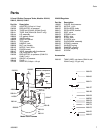
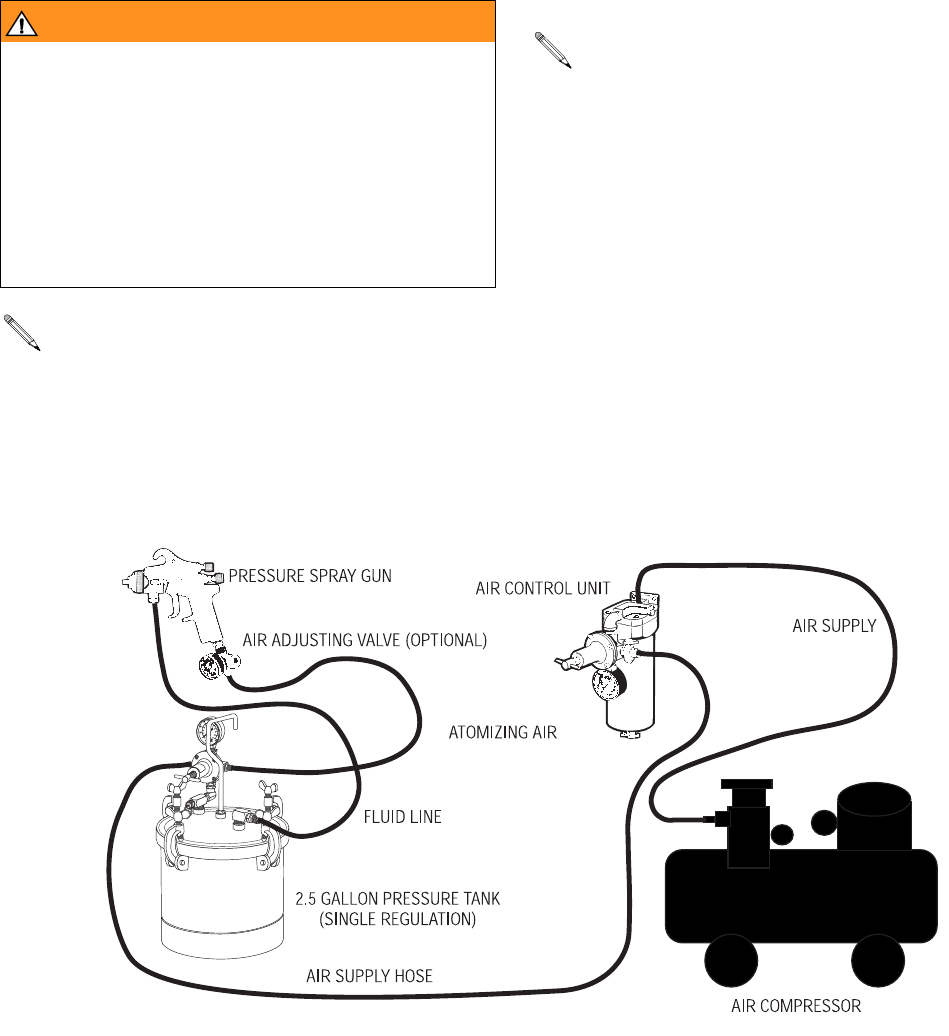
The following information is for a typical
installation.
Use part no. 289136 2.5 Gallon Disposable Tank
Liners for easy clean-up. Not available for 5 Gallon
Tank.
MADEINUSA
971


