Hobie Getaway
Backrest Installation Instructions
(Tools Required: 5/16” Hex Wrench, 5/16” Allen wrench, Phillips head screw driver)
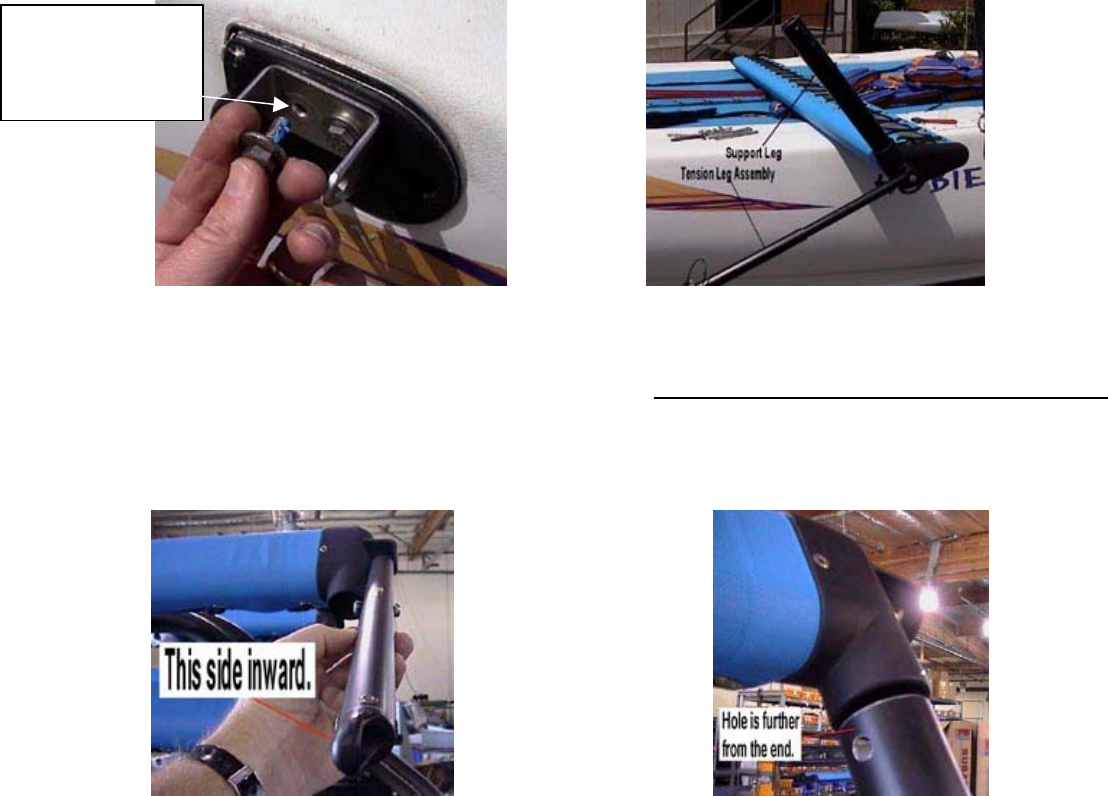
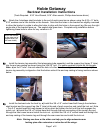
1) Attach the 4 stainless steel brackets to the end of each cross bar as shown using the 5/16 x ¾” bolts,
5/16” washers and a little locktite on the threads. Note that the holes in the bracket are slightly oversized
to allow the bracket to rotate to allow the holes to align with the holes in the support leg. Be sure the right
angle side of the bracket faces up. The angled side goes down. Complete wing installation before
tightening these bolts to allow for any variance in fit.
2) Install the tension leg assembly (the telescoping tube assembly) and the support leg (larger 2” tube)
into the end cap casting as shown using the 3/8x3.5” bolt. Put some supplied Locktite on the threads.
Note: a) on the 2” tube - the end where the hole is further from the end goes into the casting. b) The
tension leg assembly is aligned so that the bottom side of the end cap casting is facing inside as shown
below.
3) Install the backrest onto the boat by; a) Install the 3/8 x 2.5” socket head bolt through the stainless
steel bracket and the support leg (the 2” tube) at the end of each cross bar and install the lock nut. Note
– This 2.5” socket head bolt may appear to be too short but tighten the bolt until the bolt engages the
nylock nut. b) Install the 3/8 x 6” socket head bolt through the end cap casting of the tension leg and
through the front cross bar and install the lock nut. c) Install the 3/8 x 4.5” socket head bolt through the
end cap casting of the tension leg and through the rear cross bar and install the lock nut.
Note: Raising one bow or the other can help you to align extension-arm
locking pins after extension or retraction of the wings.
Page 1 of 2
Mount the bracket
to the upper set of
tapped holes (not
the lower holes).


