


Screen Capture and Side Imaging Cursor
2
531452-1_A
3.
Viewing Screen Captures
1. Make sure that the optional-purchase MMC/SD card used to capture the screens is installed in your card slot.
2. Press the VIEW Key until you see the Screen Capture View.
3.
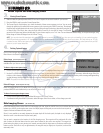
The Screen Capture View displays up to three thumbnails of these screen captures at a time. You can scroll
through the whole list of thumbnails of screen captures in this view using the 4-WAY Cursor keys. The selected
thumbnail will be highlighted with red arrows. See the full-sized image by selecting a thumbnail (using the Up
or Down 4-Way Cursor keys), then using the Right 4-Way Cursor key to view the full image. A red border
around the full-size screen capture indicates that it is just a screen capture, not a “live” view. You can delete the selected image, or all captured images, using
Delete Image or Delete All Images from the X-Press™ menu.
NOTE: You may view data files associated with each screen capture by removing the MMC/SD card from your unit and installing it in your optional-purchase
MMC/SD card reader connected to a PC. Use Windows Explorer to see the contents of your MMC/SD card; you will notice that a .DAT (may show up as .TXT) file
is created for every .BMP screen capture; this data file includes the thumbnail view, and is required in order to be able to view the screen capture from your 900
series unit, so don’t delete these files.
4.
Deleting Captured Images
Once you have images captured and stored on your optional-purchase MMC/SD card, you may delete selected images, or all images at once, using the X-Press™
Menu when in the Screen Capture View.
Delete Image
(Screen Capture view only)
Delete Image allows you to delete a single screen capture image from the Screen Capture View. This menu option is only
available when you have an optional-purchase MMC/SD card installed and you are in Screen Capture view.
To delete a single screen capture image:
1. From the Screen Capture View, select the image you want to delete, then highlight Delete Image on the X-Press™ Menu.
2. Use the UP or DOWN 4-WAY Cursor keys to select the image name you want to delete. A confirmation dialog box will ask if you want to delete this image. Select Yes
to delete, or No to change your mind. When you select Yes, the unit will beep and freeze while it removes the image from memory, while a message will appear telling
you that the image is being deleted, and again once the image has been successfully deleted.
NOTE: The speed of the delete depends on the type of card you use; in general, SD cards delete images faster than MMC cards do.
Delete All Images (Screen Capture view only)
Delete All Images allows you to delete all the images at once from the Screen Capture View. This menu option is only available when you have an optional-
purchase MMC/SD card installed and you are in Screen Capture view.
To delete all screen capture images at once:
1. From the Screen Capture View, highlight Delete All Images on the X-Press™ Menu.
2. A confirmation dialog box will ask if you want to delete all images. Select Yes to delete, or No to change your mind.
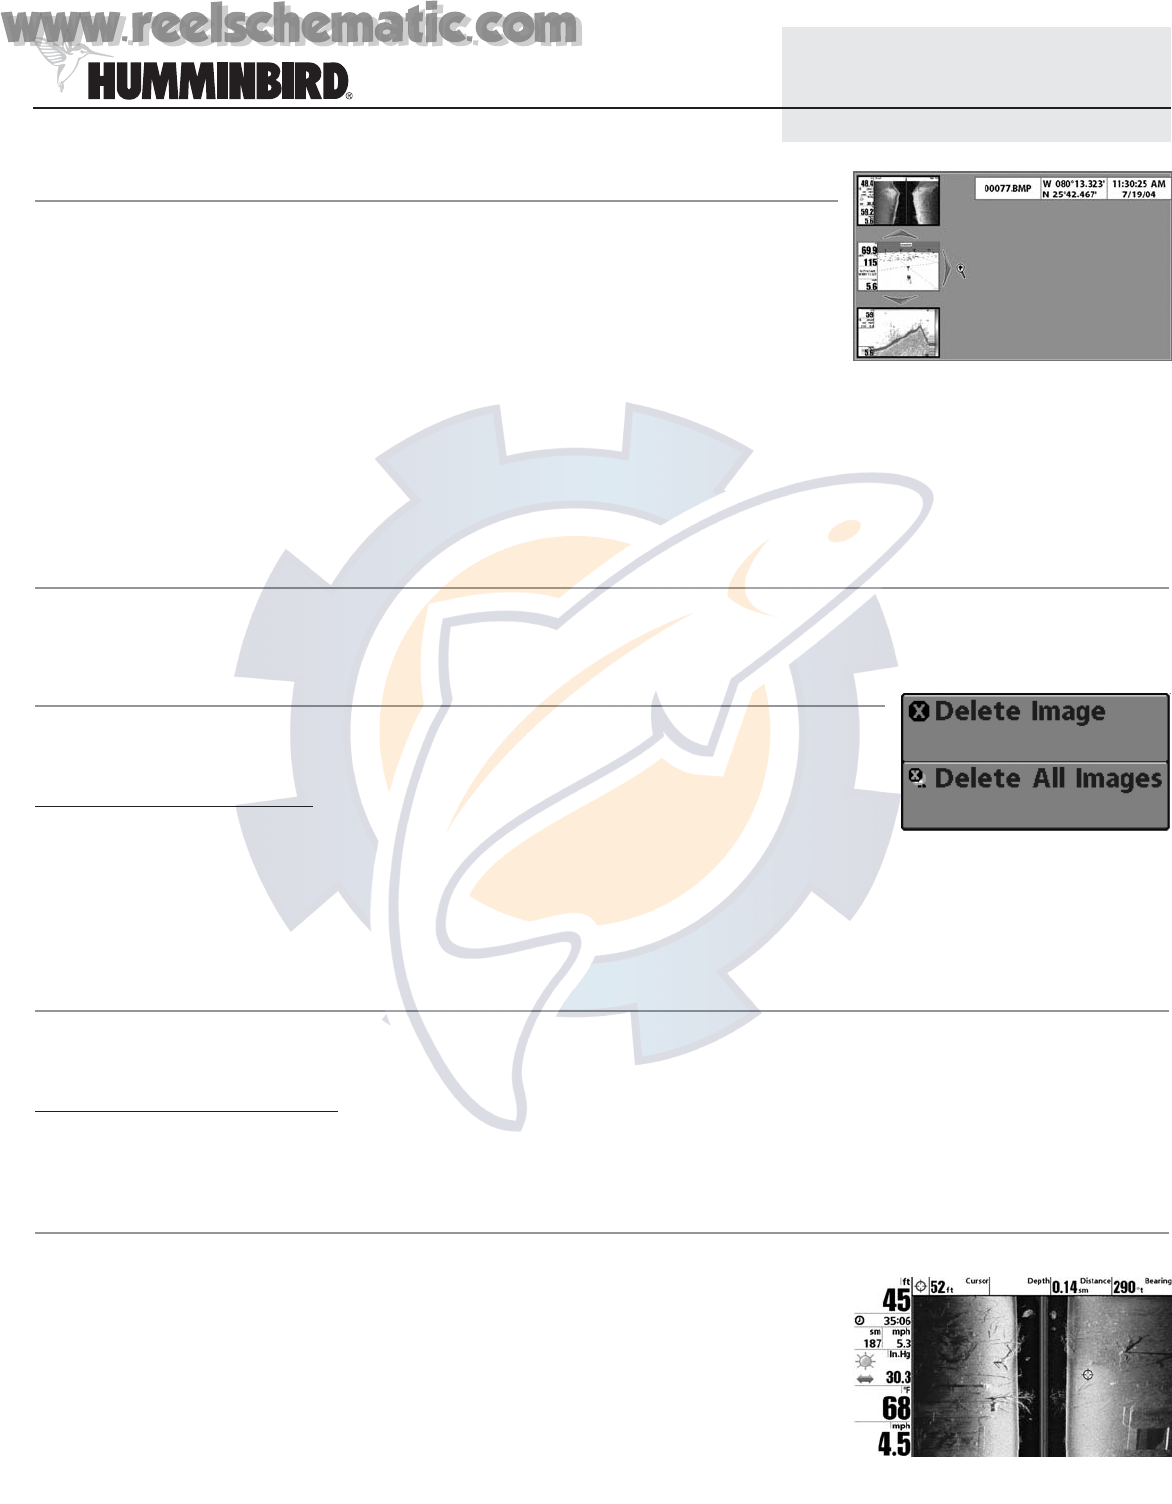
Side Imaging Cursor (981 and 987 only)
In the Side Imaging View or active side of a Side Imaging split view, press the 4-WAY Cursor key to activate the Side Imaging cursor. The Side Imaging cursor
behaves very similarly to the regular sonar cursor: the display stops scrolling and you can use the cursor to point to
objects of interest and determine their position.
Since it is not possible to accurately determine the water depth off the boat’s path, the depth is only displayed
when the cursor is near the center line (the boat’s path).
You can mark a waypoint at the location of the Side Imaging cursor. The waypoint will be positioned off to the
side of where the boat had been when the sonar return selected by the cursor was acquired. The waypoint is
placed where the object you are pointing to is located, assuming that the object was on the bottom and that the
bottom was flat. Since this is only an approximation, the waypoint may be slightly out of position, but should be
reasonably close.