


26
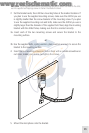
CAUTION: If you cannot reach behind the mounting surface to attach the nuts to the bolts,
use the supplied self-tapping screws to fasten the bracket instead.
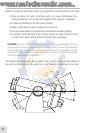
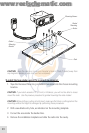
2. Set the bracket aside, then drill two mounting holes at the marked locations. If
you plan to use the supplied mounting screws, make sure the drill bit you use
is slightly smaller than the screw diameter of the mounting screw. If you plan
to use the supplied mounting nuts and bolts, make sure the drill bit you use is
slightly larger than the diameter of the supplied bolt. Next, align the mounting
bracket with the drilled holes, making sure that it is oriented correctly.
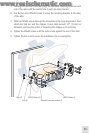
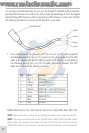
3a. Insert each of the two mounting screws and secure the bracket to the
mounting surface.
or
3b. Use the supplied bolts, spring washers, plain washers and nuts to secure the
bracket to the mounting surface.
4. Insert the two mounting screws and fasten them with a suitable screwdriver or
nut driver, making sure not to overtighten the screws.
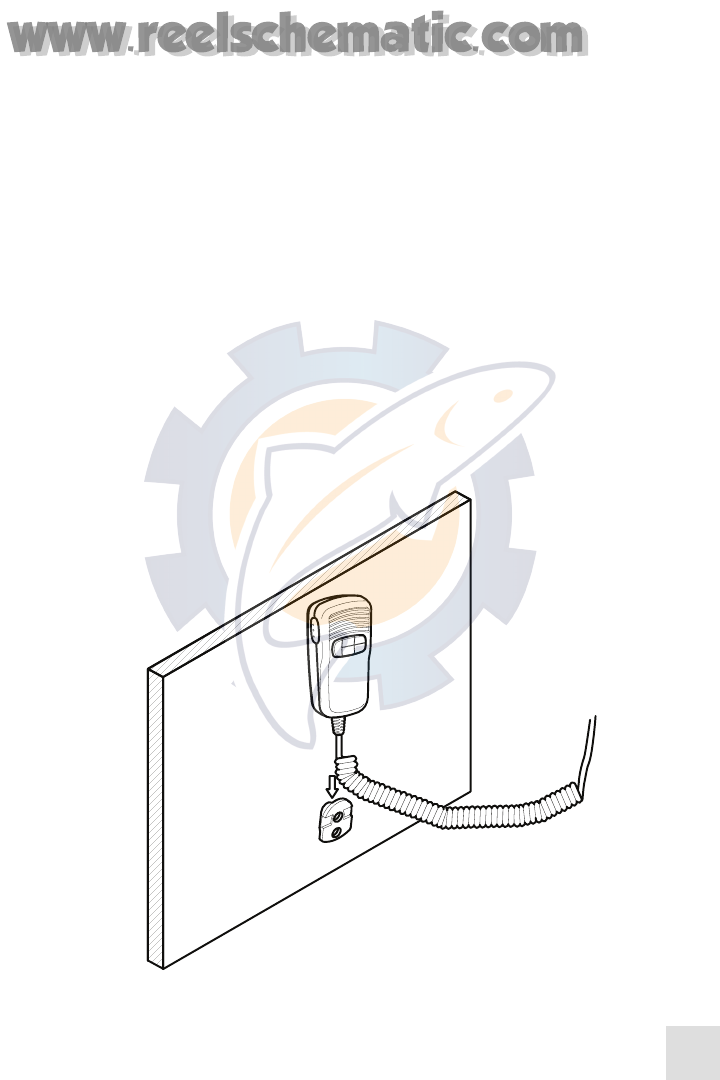
5. Mount the microphone onto the bracket.