5
Step 4 Locate and secure the radio into the mounting bracket, allowing
working space for later power connections.
Power wiring ( negative ground only).
Step 1: If you have not determined whether your vehicle has a negative or
positive ground, do so now. Then disconnect the negative lead from the
battery to prevent short circuits that can occur during wiring. Do not connect
this transceiver to positive ground electrical systems.
Step 2: With negative ground
A.connect the positive (RED WIRE) the one with in-line fuse holder to either
the ( a ) fuse block, ( b ) cigarette lighter, or ( c ) directly to the positive post
on your battery.
Usually, the fuse block is the most convenient connecting point. It is also
possible to connect to the Accessory terminal on the fuse block or ignition
switch, so that your CB automatically goes off when the ignition goes off.
B. Then tightly connect the ground (BLACK WIRE)directly to the vehicle’s
metal frame. A good direct metal-to-metal ground is essential for optimum
performance.
, Installations using the cigarette lighter socket for power require an extra ground
wire from the radio chassis to the vehicle if the radio is not fastened to a
grounded part of the vehicle.
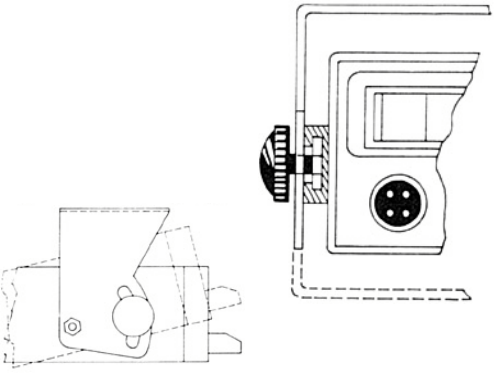
Mounting the main unit.
Step 1: Loosen the retaining knobs on each side of
the mounting bracket to give enough space for the
unit to slide between the two bracket arms.
Step 2: Position the main unit between the bracket
arms in line with the retaining knobs. Set the height
and angle for optimum operating comfort and
accessability.
Step 3: Tighten the
retaining knobs.


