


18
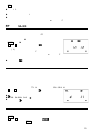
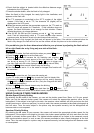
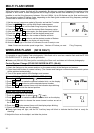
4. Check that the subject is located within the effective distance range,
indicated on the LCD panel.
5. Press the shutter button, after the flash is fully charged.
When the flash is fully charged, the ready light in the viewfinder, and
appears on the flash unit.
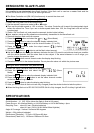
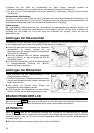
The TTL exposure is controlled by the S-TTL system of the digital
camera. If the flash is set to TTL, the character "d" (digital) will be
displayed on the LCD panel.
When the camera receives the appropriate exposure, the TTL mark on
the LCD panel will appear for 5 seconds. If this indication does not
appear, the flash illumination is not enough for that situation. Please
re-take the picture, at a closer distance.
If the SA-300, SA-300N and SA-5 cameras, are set to “
” fully automatic
mode, Flash will automatically switch to TTL mode only. For other camera
exposure modes, the flash will be set to the last chosen mode each time.
When the flash is fully charged, the flash mark will appear in the finder. If the shutter is released before the
flash is fully charged, the flash will not fire, and the camera will take the picture at a slow shutter speed.
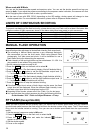
It is possible to give the three dimensional effect to your pictures by adjusting the flash ratio of
left or right flash tube or by firing only one side of the flash.
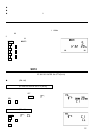
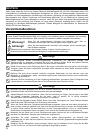
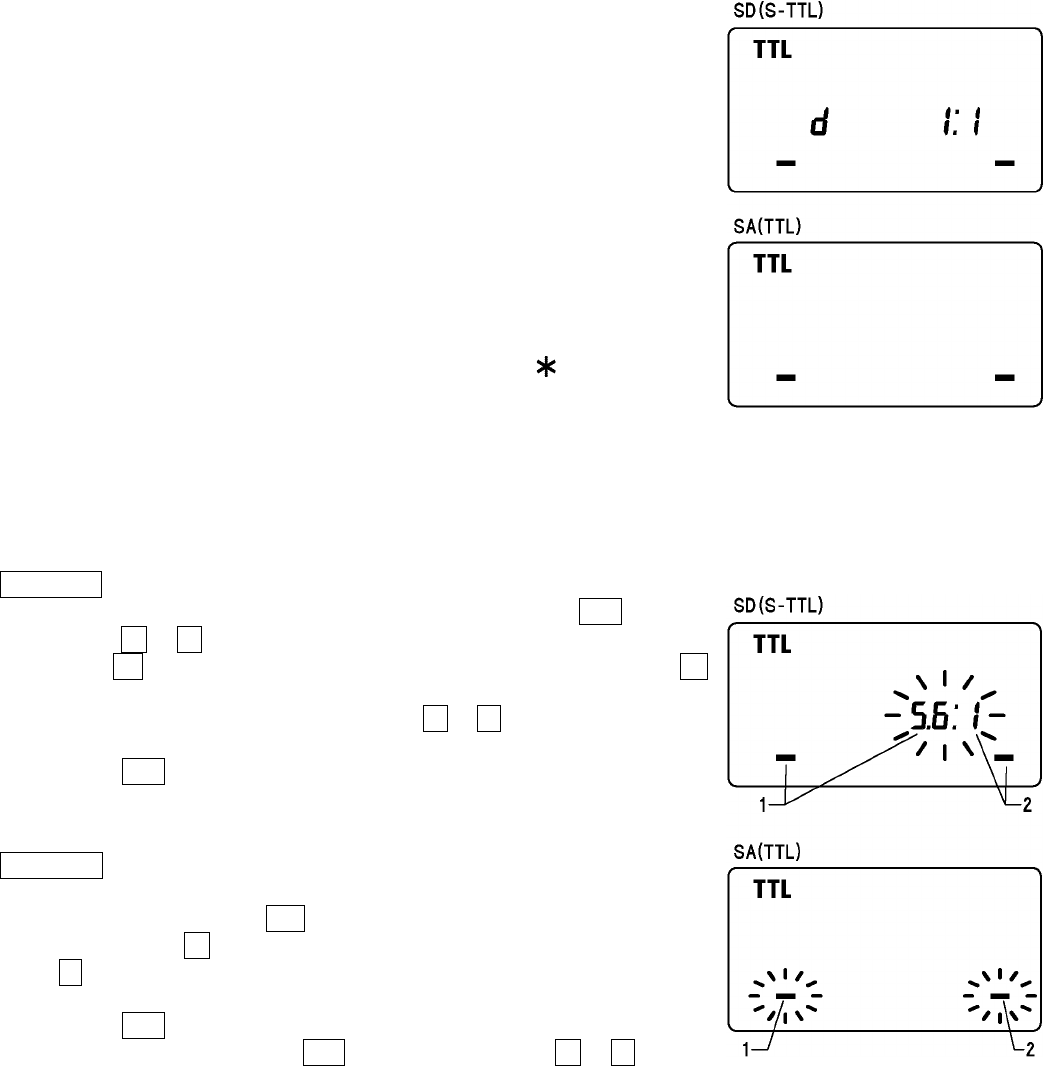
SD series
3. In the S-TTL mode, the flash ratio blinks when you press SEL button.
4. Press the
+
or
–
button to set the flash ratio.
Pressing
+
button will increase the left flashtube and pressing –
button will increase the power amount of the right flashtube. The ratio
can be set up among 8:1~1:8. Press the
+
or
-
button to trigger only
one side. (flash ratio will not be displayed and only firing side will blink)
5. Press the SEL button several times to stop the blinking.
If the flash ratio is set to 1:1 or the mode is changed, this function will
be cancelled.
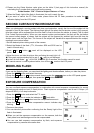
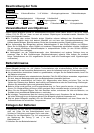
SA series
Flash ratio cannot be set. Only one side can be set.
1.
In the TTL mode, press the SEL button to make the Flash Unit display blink.
2. By pressing the
+
button, the left flashtube will fire, and by pressing
the
-
button, the right flashtube will fire. (Only the firing side will blink
on the flash unit display)
3. Press the SEL button several times to stop the blinking.
After shooting please press SEL button and then the
+
or
-
button.
By doing this flash unit will be set to default mode, display will show both sides.
USING FLASH IN OTHER CAMERA MODES
Shutter Speed Priority Setting
By selecting the
S
mode of the camera, you can set the shutter speed from 30sec. to 1/X sync speed.
When you set the desired shutter speed, the camera will select the appropriate aperture value for the
background. If the subject is too light or too dark, the aperture value indicator will blink and show the limit
values (maximum or minimum aperture). In such as case, the camera proceeds to take flash photograph at
the limit value. Thus, the main subject in the picture may be exposed correctly, but the background will
become under or over exposed.
Aperture Priority Setting
By selecting the
A
mode of your camera, the camera will select the appropriate shutter speed for the
background. If the subject is too bright or too dark, the shutter speed indicator will blink and show the limit
highest or slowest shutter speed value. The highest shutter speed will be limited to the camera’s normal
flash synchronization speed. In such a case, the camera proceeds to take a flash photograph at the limit
value. Thus, the main subject in a picture may be exposed correctly, but the background will become under
or overexposed.