


Manual: 153-082010_HPM 4-6 Vacuum Gauge Page 6 of 12
3.1. Receiving Inspection
Unpack unit and inspect all items for obvious signs of damage. Immediately advise Teledyne
Hastings and the carrier of any suspected damage.
In the unlikely event that items need to be returned, first obtain an RMA (Return Material
Authorization) number from our Customer Service Department at 1-800-950-2468.
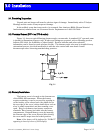
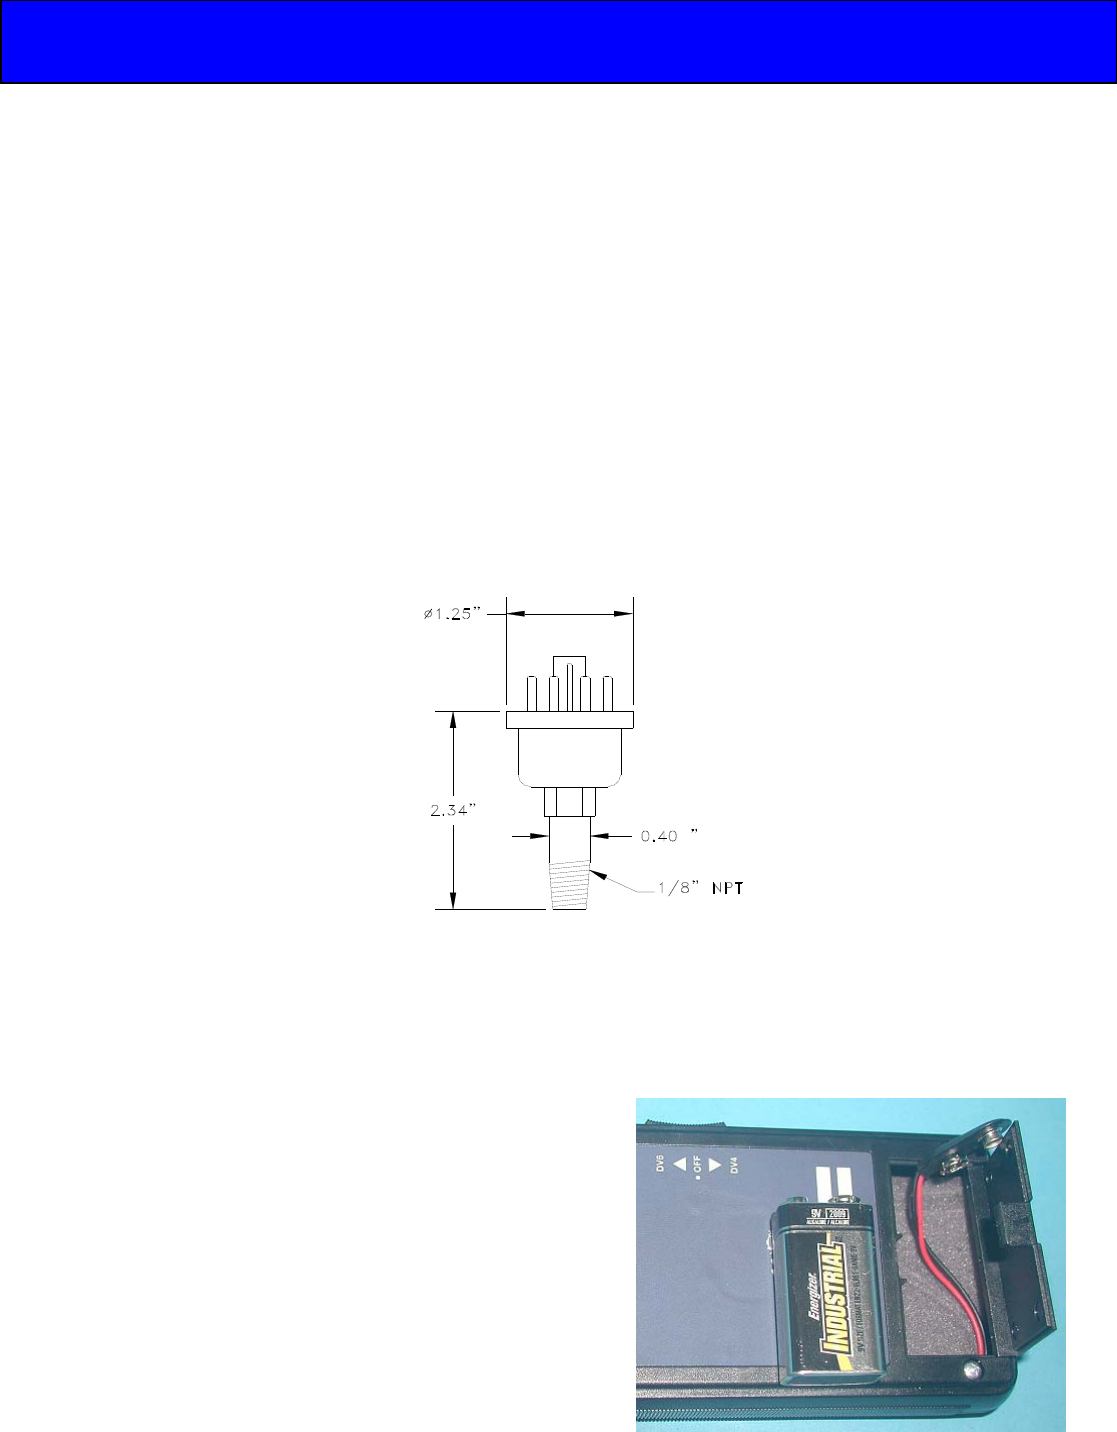
3.2. Vacuum Sensor (DV-4 or DV-6 series)
Figure 3-1 shows a typical Hastings thermocouple vacuum tube. A standard 1/8” npt male stem
is shown for illustration purposes only. If other type fittings are required, refer to Hastings product
bulletin, PB-100A, for availability of other fittings. Product bulletins and other technical
information can be found at www.teledyne-hi.com. The thermocouple tube may be installed in any
orientation however, the ideal installation is with the tube vertical and stem down. Install
thermocouple tubes observing standard shop practices.
Fig 3.1
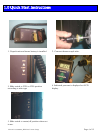
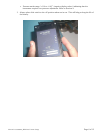
3.3. Battery Installation
The battery cover is located on the bottom rear
of the HPM 4/6 Instrument. When the battery
requires replacing, it can be accessed by pressing in
on the battery cover release latch (the small slot on
the top edge of the cover) with a small object such as
a key or small screwdriver and then rotating cover
open. Plug 9-volt battery into battery connector
terminals. Place battery and cable into the battery
compartment. Reinstall battery cover by inserting
the bottom edge of the cover first and then closing
the cover until it snaps into the locked position.
Note: A low battery will be indicated by “LOBAT”
appearing in lower left corner of LCD display.
3.0 Installation