6
3. Operation instructions
3.1 General Instructions
Press the power button to turn the monitor on or off. The other control buttons are located at front panel of the
monitor. By changing these settings, the picture can be adjusted to your personal preferences.
-
The power cord should be connected.
-
Connect the video cable from the monitor to the video card.
-
Press the power button to turn on the monitor, the power indicator will light up.
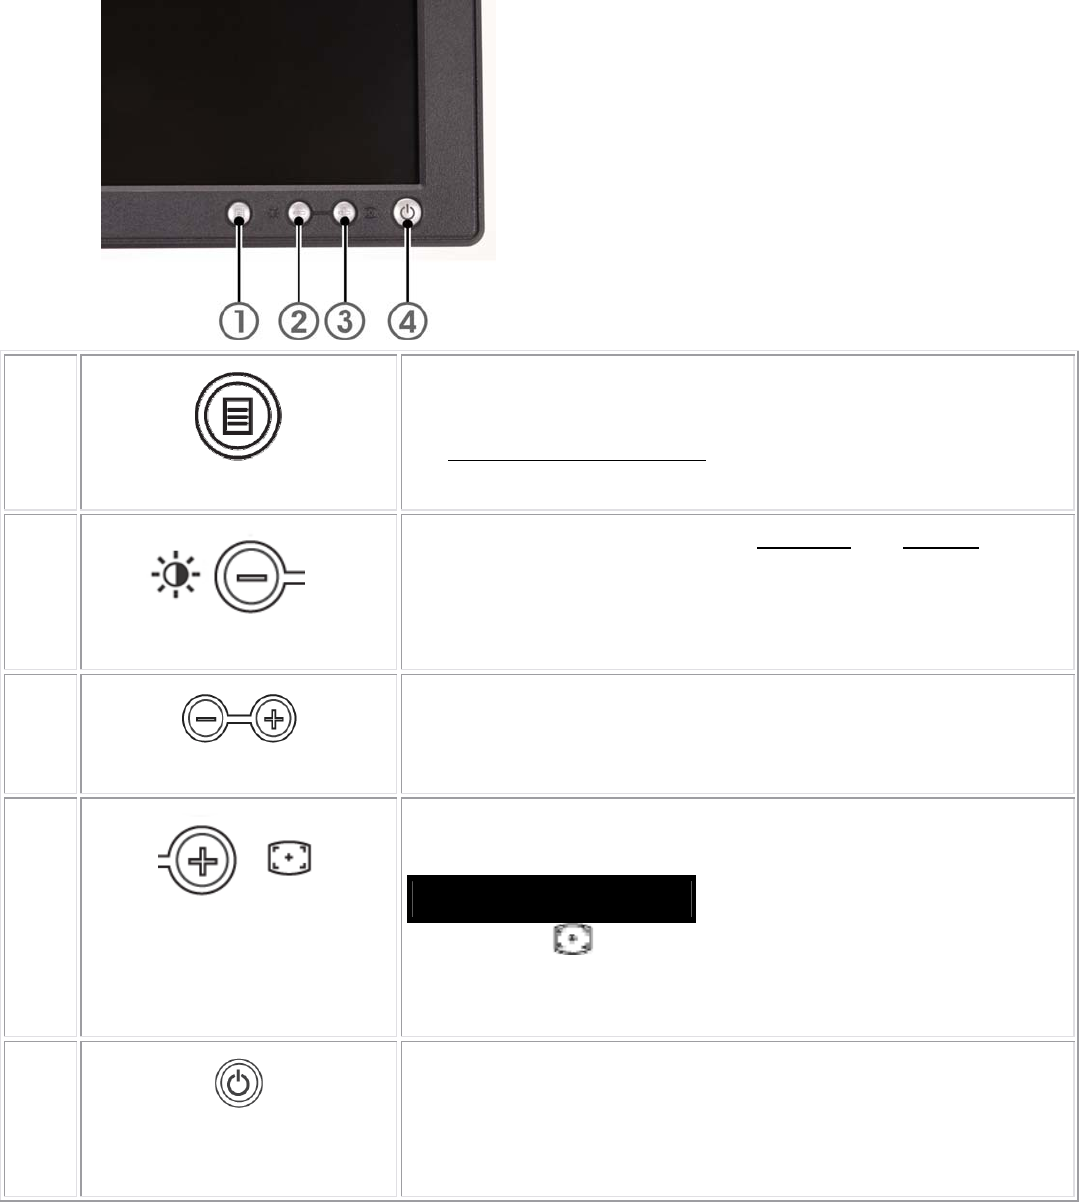
3.2 Control Buttons
A
MENU
The 'MENU' button is used to open the on-screen display (OSD), select
function icons, exit from menus and sub-menus, and to exit the OSD.
See Accessing the Menu System.
B
Brightness/Contrast Hot Key
Use this button for direct access to the 'Brightness
' and 'Contrast' control
menu.
B C
- and + buttons
Use these buttons to adjust (decrease/increase ranges) items in the OSD.
C
Auto Adjust
Use this button to activate automatic setup and adjustment. The following
dialog will appear on screen as the monitor self-adjusts to the current input:
Auto Adjust In Progress
Auto Adjustment button allows the monitor to self-adjust to the
incoming video signal. After using 'Auto Adjustment', you can further tune
your monitor by using the 'Pixel Clock' and 'Phase' controls in the OSD.
D
Power Button & Indicator
The green LED indicates the monitor is on and fully functional. An amber
LED indicates DPMS power save mode.
The Power button turns the monitor on and off.
1
Menu selection button
2
Brightness Contrast / Down (-) button
3
Auto-Adjust / Up (+) button
4
Power button On/Off button with indicator


