P-MID-1^MFK-5_INST_9-07
5. ATTACH DRIVER SIDE UPPER LEXAN FILLER PANEL:
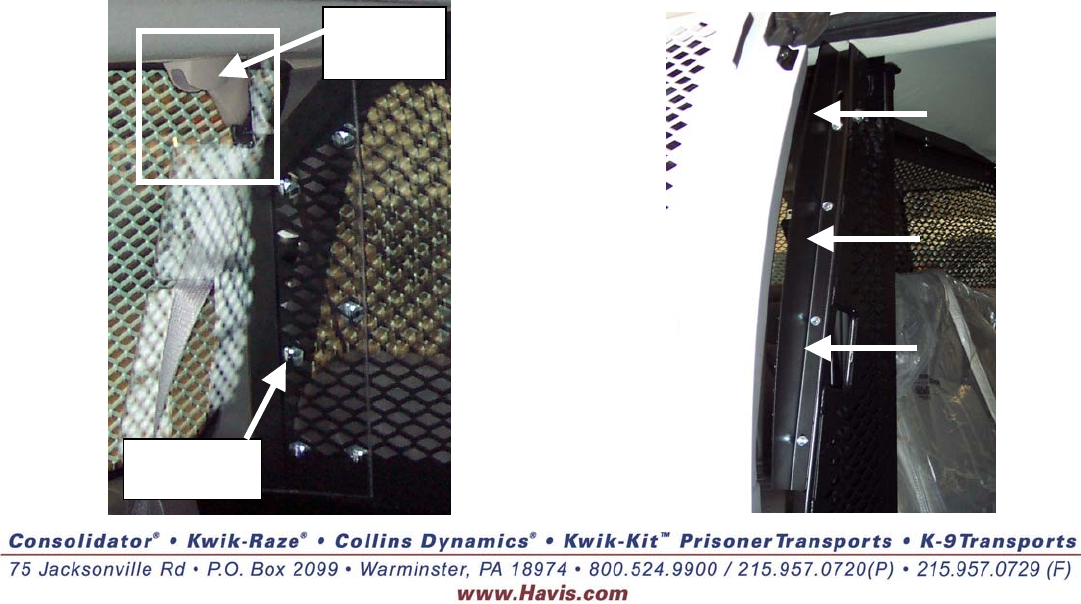
• Position driver side ¼” lexan filler panel to partition so that minimal space is between
the vehicles window, (or window guard) and the lexan filler.
NOTE: It is necessary to keep a 1/8” gap between the window or guard and the filler to allow for
expansion and contraction of the lexan during temperature fluctuations.
• Drill (6) 5/16” holes evenly spaced through both the ¼” lexan filler panel and the
partition frame. Attaching to the frame directly will help to avoid filler rattling.
• Bolt lexan filler to partition using ¼-20 x ¾” carriage bolts and nylock nuts.
6. ATTACH DRIVER SIDE LOWER STEEL FILLER PANEL:
• Position driver side lower aluminum filler panel tight to vehicles interior trim and
floor.
• Using slots in filler panel as a drill guide mark and drill partition using 5/16” drill bit.
• Attach filler panel to partition using ¼-20 x ¾” carriage bolts and serrated nuts.
7. ATTACH PASSENGER SIDE DOOR STEEL FILLER PANEL:
• Position on front row bench in van close side doors.
• Hold filler panel to partition so that it does not interfere door mechanisms.
• Mark and drill 3/16” holes through partition tubing.
• Attach filler to partition using ¼-20 x ¾” Hex head thread cutting bolts.
• Vacuum out all metal shaving and double check door operation.
Driver side upper lexan filler
Lexan
Notched
¼-20 x ¾”
Passenger Side Upper Steel Filler Panel


