45
01
02
03
04
05
06
07
08
Get creative
ge
r
t
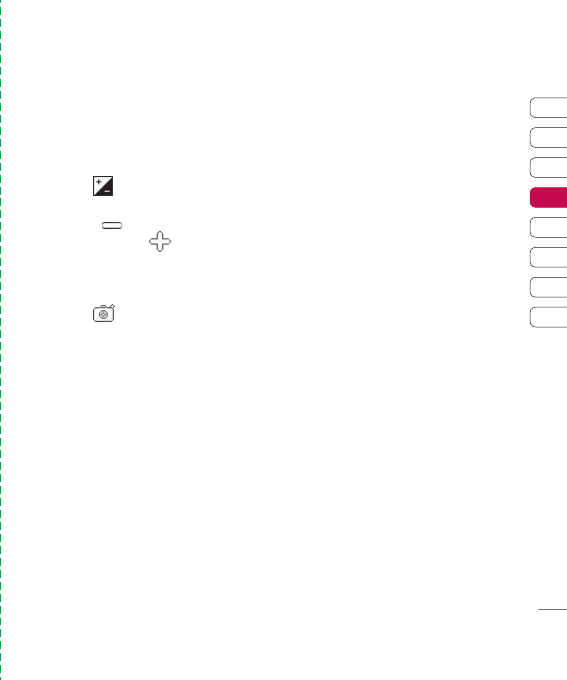
Adjusting the contrast
Contrast defi nes the difference between light
and dark in an image. A low contrast image
will appear foggy, whereas a high contrast
image will appear much sharper.
1 Touch .
2 Slide the contrast indicator along the bar,
towards
for a lower contrast, hazier
image or towards
for a higher
contrast, sharper image.
Choosing a shot type
1 Touch to open the available
shot types.
2 Choose from the four options:
Normal shot -This is the default shot
type, the photo will be taken in the
normal way, as outlined in taking
a quick photo.
Continuous shot - This enables you to
take nine shots automatically in very
quick succession. See Using
continuous shot mode on page 46
for details.
Panorama - This shot type is great for
taking a photo of a large group of
people or for capturing a panoramic
view. See Taking a panoramic shot
on page 46 for more details.
Frame Shot - Choose from one of the
fun frames to transform your
friend into a pirate or just decorate
their surroundings.


