32
A picture (icon) will be highlighted and
can be selected using the remote control’s
ADJUST arrows.
When selected, the appropiate menu will appear or
start an automatic function. You may then make
changes within the menu or access available sub-
menus.
A highlighted square button indicates
that you may make changes to the menu
screen.
The system includes the following special
features:
The currently selected icon or button is
highlighted with a rectangular yellow outline
and the text color will be yellow.
On-screen instructions provide complete menu
choice information.
Some on-screen menu options must be
set before other options are available. For
example, “Timer Menu” will only be possible if
“Clock Time” and “Set Day” have been set.
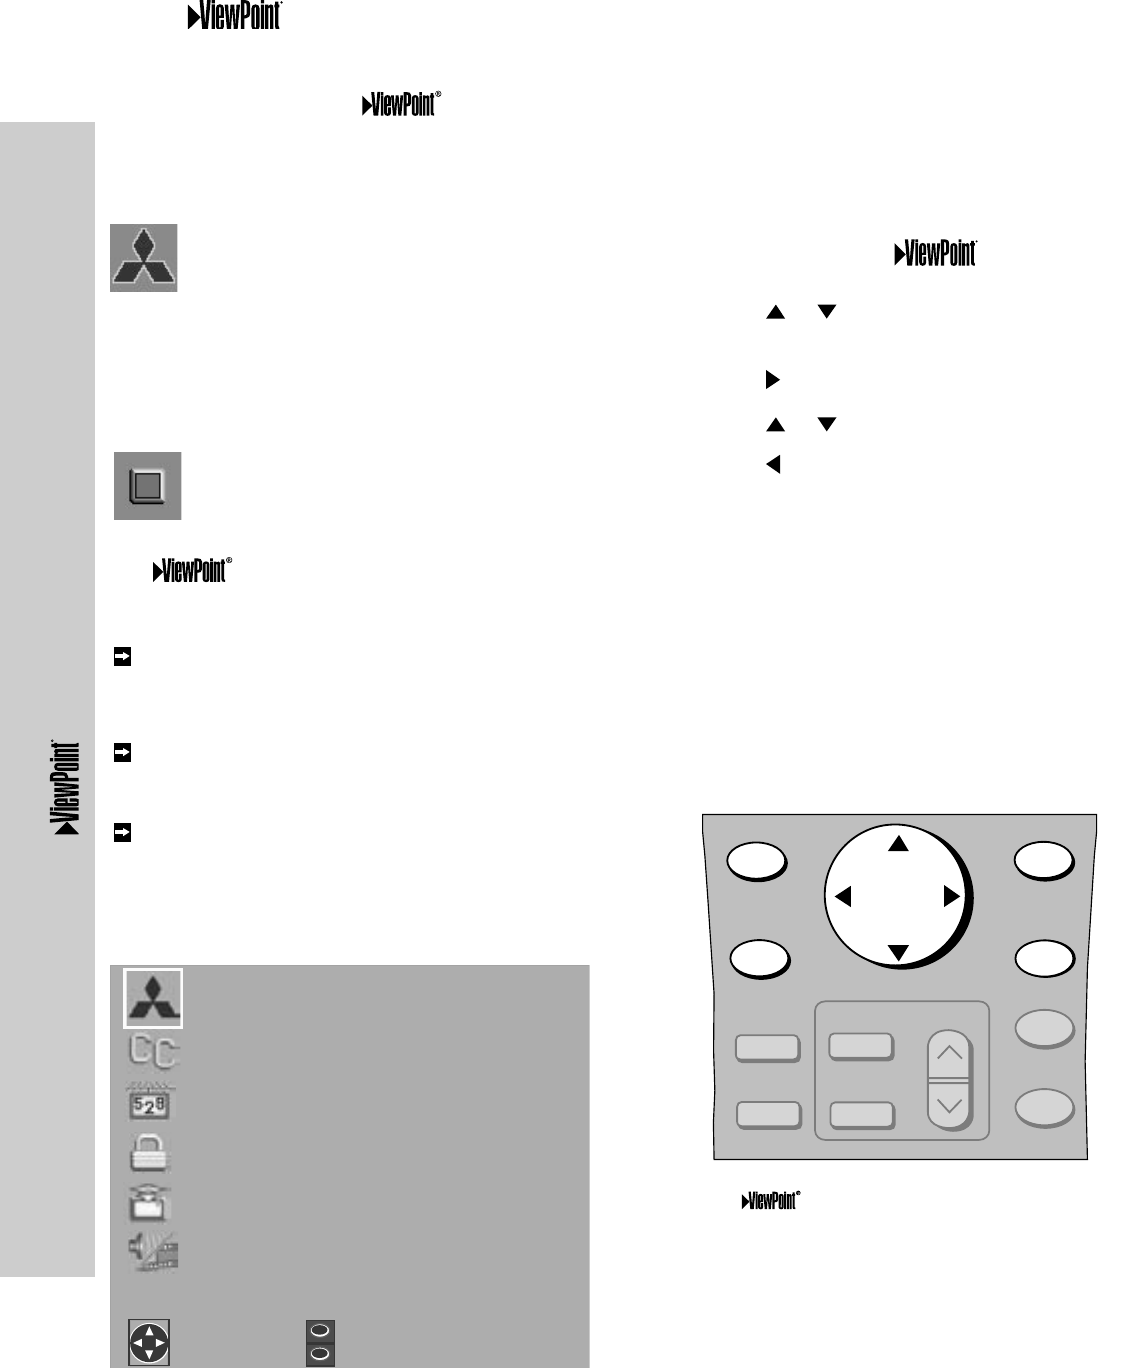
Figure 2. Remote control buttons used for navigation
within the on-screen operating system.
The Menu System
Figure 1. MAIN menu: The first screen to appear
when you press MENU button on the remote.
The following remote control buttons allow you to
move quickly through the system (Figure 2):
ADJUST or to select the menu item you
want to change.
ADJUST to move to the setting field.
ADJUST or to change the settings.
ADJUST to move back to the menu item.
ENTER to enter into a menu, start an
automatic function, or select a checkbox.
CANCEL to clear a setting, or stop an
automatic function.
MENU to move back one menu screen at a
time.
HOME to exit all menus at once and return to
TV
viewing.
CANCEL
MENU
EXCH
ENTER
ADJUST
INFO
GUIDE
V-CHIP
FORMAT
PIP CH
PIP INPUT
PIP/POP
Mitsubishi’s exclusive on-screen operating system provides on-screen information for menu
choices and changes.
The Menu System
Note: Mitsubishi recommends becoming familiar
with the Convergence Menu (pages
53-54) during initial setup. It may be
necessary to periodically use this menu
throughout the lifetime of this product
for optimal picture performance.
