Recording
36 Chapter 3
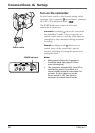
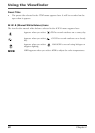
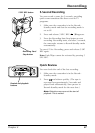
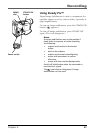
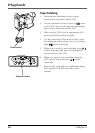
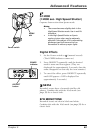
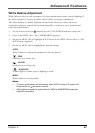
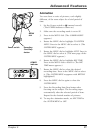
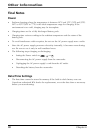
Recording Details
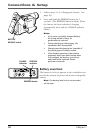
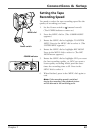
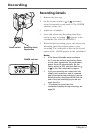
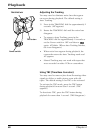
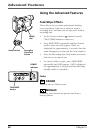
1. Remove the lens cap.
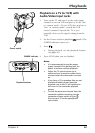
2. Set the Power switch to
A
or
M
(automatic
record or manual record mode). (The POWER
indicator comes on.)
3. Adjust the viewfinder.
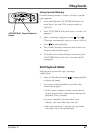
4. Press and release the Recording Start/Stop
button to start recording. (
REC
appears in the
viewfinder (but won’t be recorded.))
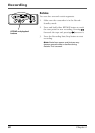
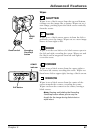
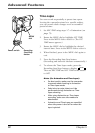
5. When finished recording, press and release the
Recording Start/Stop button again to stop
recording. The camcorder is now in the record-
pause mode. (PAUSE appears in the viewfinder.)
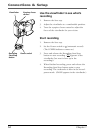
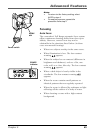
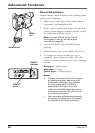
Notes:
• If the Record-Standby mode continues
for 5 minutes without performing Zoom
or any other operations, the camcorder’s
power shuts off automatically. Set the
Power switch to OFF, and then back to
A
or
M
to turn the camcorder on again.
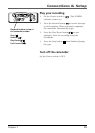
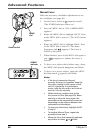
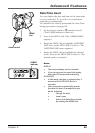
• If you are recording on a tape from the
middle (such as when a tape is removed
and reinserted during recording), use the
Retake function (see page 38) to find the
end of the last recording so you do not
erase any of it.
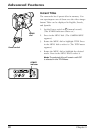
• To remove the icons from the
camcorder’s display during recording, see
page 58.
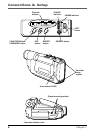
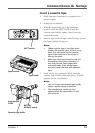
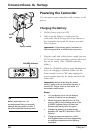
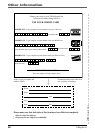
CHARGE
STOP R RETAKE F
COUNTER R/M
FADE/W
IPE
P. AE
DIGIFECT
POWER
REFRESH
EJECT
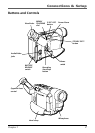
POWER indicator
Power switch
M
E
N
U
/
T
R
A
C
K
IN
G
5
S
E
C
. R
E
C
V
O
L
S
T
E
A
D
Y
P
IX
/
T
B
C
+
+
P
L
A
Y
O
F
F
A
M
S
T
O
P
R
R
E
T
A
K
E
F
C
O
U
N
T
E
R
R
/
M
F
A
D
E
/
W
I
P
E
P
.
A
E
D
I
G
I
F
E
C
T
A
M
P
L
A
Y
O
F
F
Recording Start/
Stop button