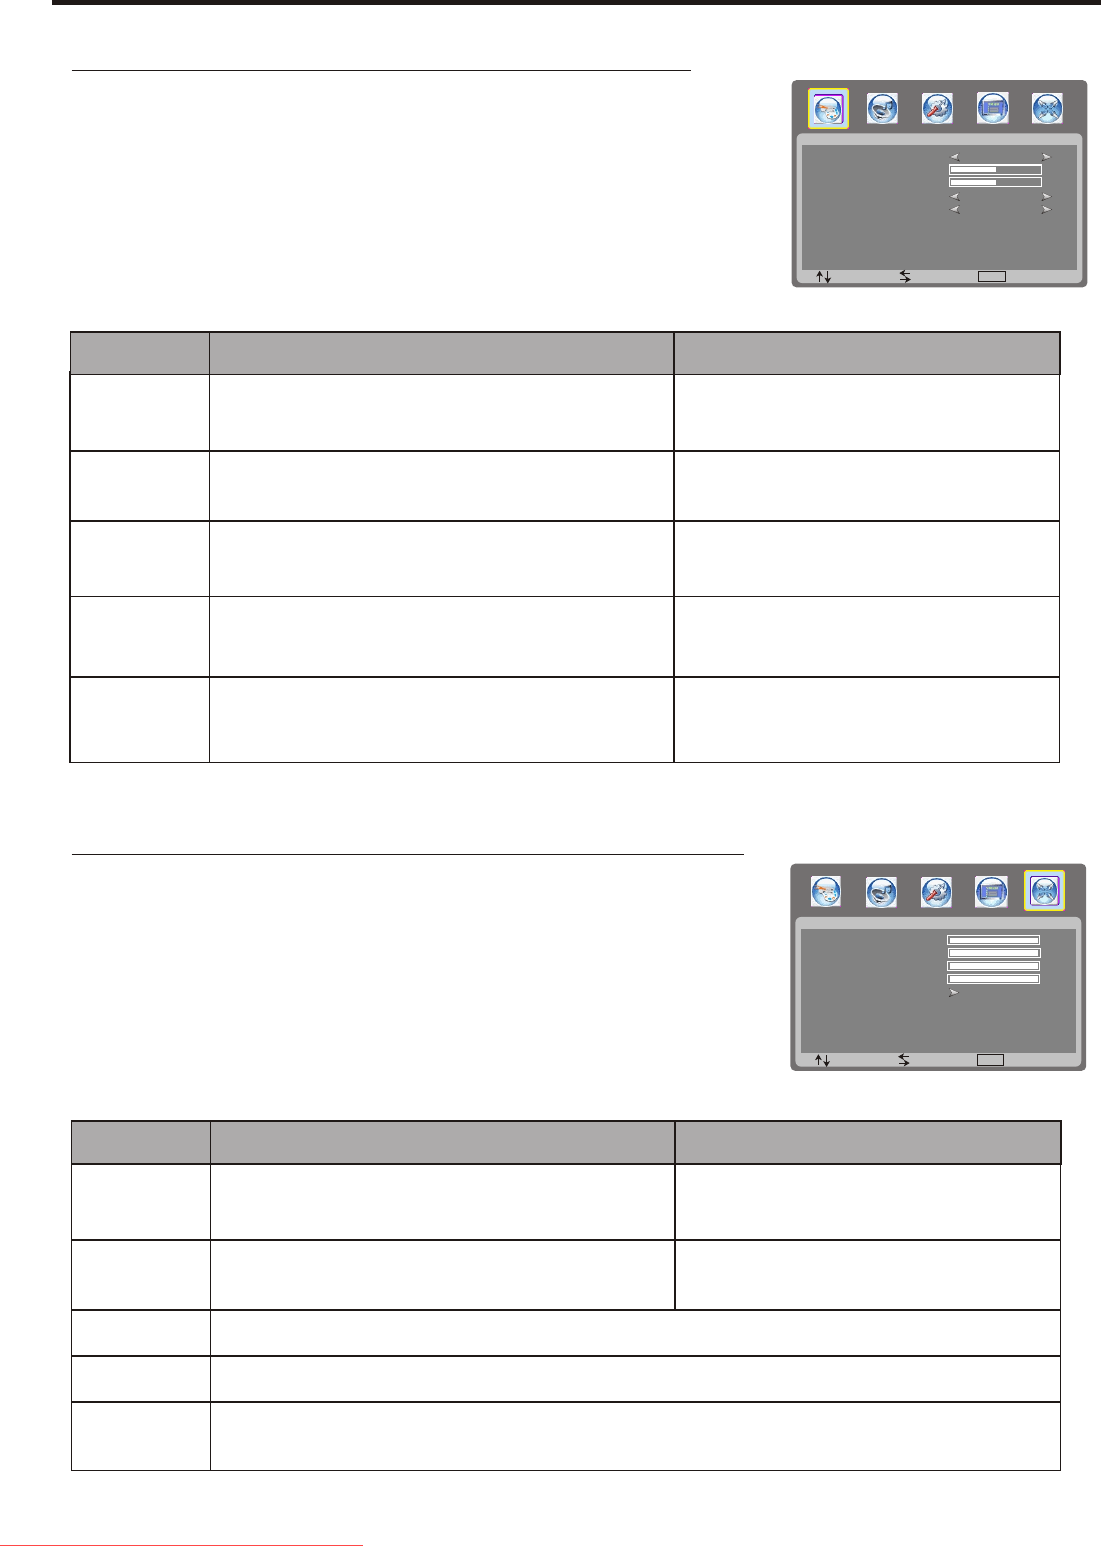
Adjustment in PC (VGA) Mode
26
Adjusting the Picture
1
2
Within the menu, use 5, 6 ,3 or 4 to navigate or adjust.
3
Press OK button to exit the menu or press MENU button to
return to the previous menu.
Press MENU to display the menu PICTURE , and press 6 to access.
Adjusting Image Geometry
Press MENU to display the menu main page.
1
Press repeatedly to select menu, and press 6 to access.3 or 4 GEOMETRY
2
3
Within the menu, use 5, 6 ,3 or 4 to navigate or adjust.
Press OK button to exit the menu or press MENU button to
return to the previous menu.
4
PICTURE
:SEL :ADJ :EXIT
PICTURE MODE
CONTRAST
USER
MENU
BRIGHTNESS
ZOOM
COLOR TEMP.
NORMAL
FULL
50
50
GEOMETRY
:SEL :ADJ :EXIT
H-POSITION
V-POSITION
MENU
CLOCK
PHASE
AUTO ADJUST
100
100
OSD H-POSITION
OSD HALFTONE
OSD V-POSITION
50
44
50
100
100
Option
Function
Choice/Remarks
Picture Mode
Contrast
Brightness
Color
Temperature
Zoom
Selects picture mode.
Adjusts image contrast.
Selects one of three automatic color adjustments.
Set to warm to enhance hotter colors such as red,
or set to cool to see less intense colors with more blue.
Standard/Night/Outside/User
Note: you may directly press P.Mode button on
the remote control to select.
4: stronger
3 : weaker
4: lighter
3 darker:
Select screen aspect ratio
Adjusts screen brightness for easier viewing of dark picture
such as night scenes and black hair.
Normal/Full
Note: you may directly press Zoom button on
the remote control to select.
Cool/Warm/Normal
Option
Function
Choice/Remarks
H-Position
V-Position
Clock
Auto Adjust
Phase
Adjust the horizontal position of the image.
Adjust the vertical position of the image.
4: rightward
3 leftward:
4: upward
3 downward:
Adjusts the sample frequency.
Automatically adjusts settings based on the signal input.
Note: You may directly press Auto button on the remote control to adjust .
Improves the focus of stable image.
(Geometry menu in VGA mode)
Downloaded From TV-Manual.com Manuals
