CAMERA ID SETTING
Camera ID setting
Example: Setting the Camera ID to “CAM 1”
1
Use the cursor button (
j
or
l
) to move the cursor to
CAMERA ID, and then use the cursor button (
d
or
c
) to
change the setting to ON. Then press the SET button.
The CAMERA ID SETTING screen will appear.
2
Use the cursor button (
j
l
d
c
) to move the cursor to
the letter “C” in the character selection palette, then
press the SET button.
☞
After at least one character is displayed in the ID field,
the carriage return mark (
y
) will appear at the lower
right corner of the character selection palette. Selecting
this mark between the characters of the field will create
a new line at that place.
3
Use the same steps to select “A”, “M” and “1” from the
palette, then press the SET button.
The characters “
CAM1
” appear in the ID field.
12
MAIN MENU
LANGUAGE SET ‚
CAMERA ID ON ‚
SYNC INT
PRIVACY MASK SET ‚
LENS SET ‚
MIRROR OFF
VIEW SETTING 1 ‚
OPTION SET ‚
PRESET OFF
MENU END
CAMERA ID SETTING
ABCDEFGHIJKLM
NOPQRSTUVWXYZ
0123456789 :-‚
ID ????????????????
-
POSITION SET ‚
PRESET OFF
MENU BACK
ID CAM1????????????
-
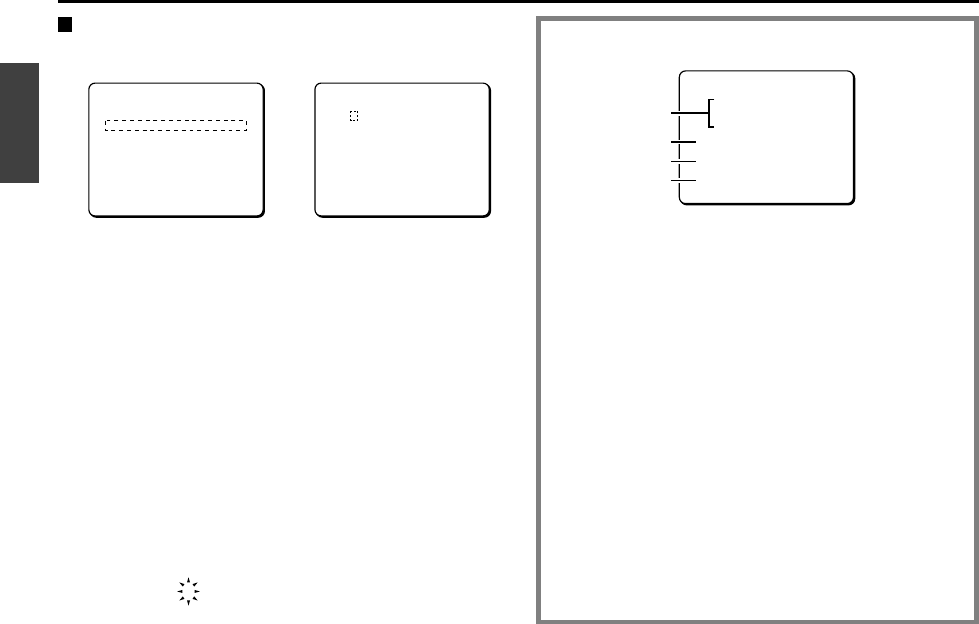
Camera ID screen
1
Character selection palette:
By moving the cursor to letters or numbers in this
palette, you can select characters.
Selected characters will appear in the corresponding
field under ID.
2
ID:
The ID entry field shows 16 question marks (?). The ID
will not be displayed on the screen.
3
POSITION:
After characters are displayed in the ID field, moving
the cursor to the POSITION field with the cursor button
and pressing the SET button will display the camera ID
on the normal screen.
4
PRESET:
When this item is turned to ON, the ID fields are
cleared (question marks appear). Use this function
when you want to change the ID.
CAMERA ID SETTING
ABCDEFGHIJKLM
NOPQRSTUVWXYZ
0123456789 :-‚
ID ????????????????
-
POSITION SET ‚
PRESET OFF
MENU BACK
1
2
3
4
L5AA2/XE GB 2002, 4, 25
English
11
