21
GB
Getting started
Performing initial setup operations
When the unit is turned on for the first time after
you purchase it, some basic set-up operations are
required, for example, initial settings and network
settings.
Entering characters will be needed during the setup
operations. For details on entering characters, see
“Entering text” (page 19).
1
Turn the DLNA (Digital Living
Network Alliance)-compliant
devices in your home on.
2
Slide the ?/1 switch in the
direction of the arrow if the unit is
turned off.
The language selection screen appears.
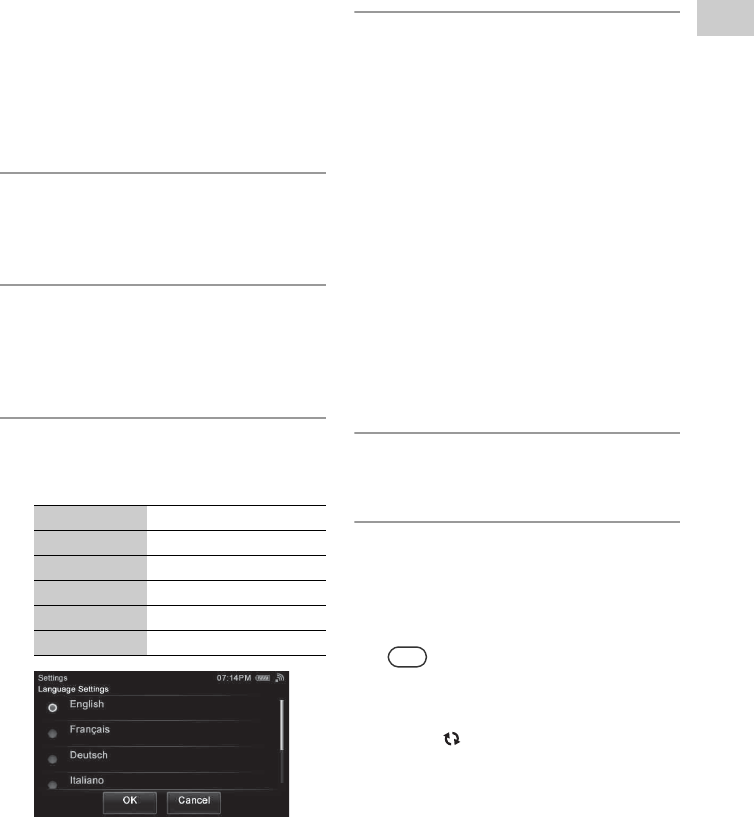
3
Tap the language you want to
select, then tap
“OK.”
You can select from the following languages.
The screen is displayed in the selected
language.
4
Connect the unit to your home
network.
Set up the network after checking your
network environment. Refer to the following
explanation.
• If you use the access point scan method,
perform step 4 in “Searching for an access
point and setting up a wireless network
(access point scan method)” (page 24).
• If you use the WPS push button
configuration method, perform step 4 in
“Setting up a wireless network using the
WPS push button configuration method”
(page 26).
• If you use the PIN method, perform step 4
in “Setting up a wireless network using the
PIN code method” (page 27).
“Connection is complete.” appears when you
have completed the network connection.
5
Tap “Close.”
A confirmation screen appears.
6
Tap “Close.”
The unit starts registering the
DLNA-compliant devices that can be
recognized over the network, automatically.
This may take a while.
Tips
• You can register up to 20 servers and up to
30 renderers (network controlled players)
on this unit.
• Tap “ Refresh” to refresh the HOME
screen if the desired device is not
registered automatically.
Display Language
English English
Français French
Deutsch German
Italiano Italian
Español Spanish


