


5
Installation
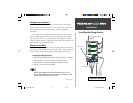
Installing the Wiring Harness
Wiring Harness Installation
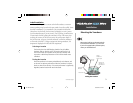
The Fishfinder 100 Blue comes with a wiring harness that connects
the unit to power and the transducer with one easy-to-remove connection.
Make sure the wiring harness will reach the unit before beginning
installation.
If it is necessary to extend the power/data wires, use a wire of compa-
rable size and keep your extension as short as possible. If the transducer
lead is too short, DO NOT cut the transducer lead to lengthen the cable.
This will void the warranty. Transducer extension cables are available in 10’
or 20’ lengths from your GARMIN dealer.
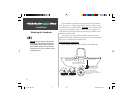
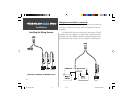
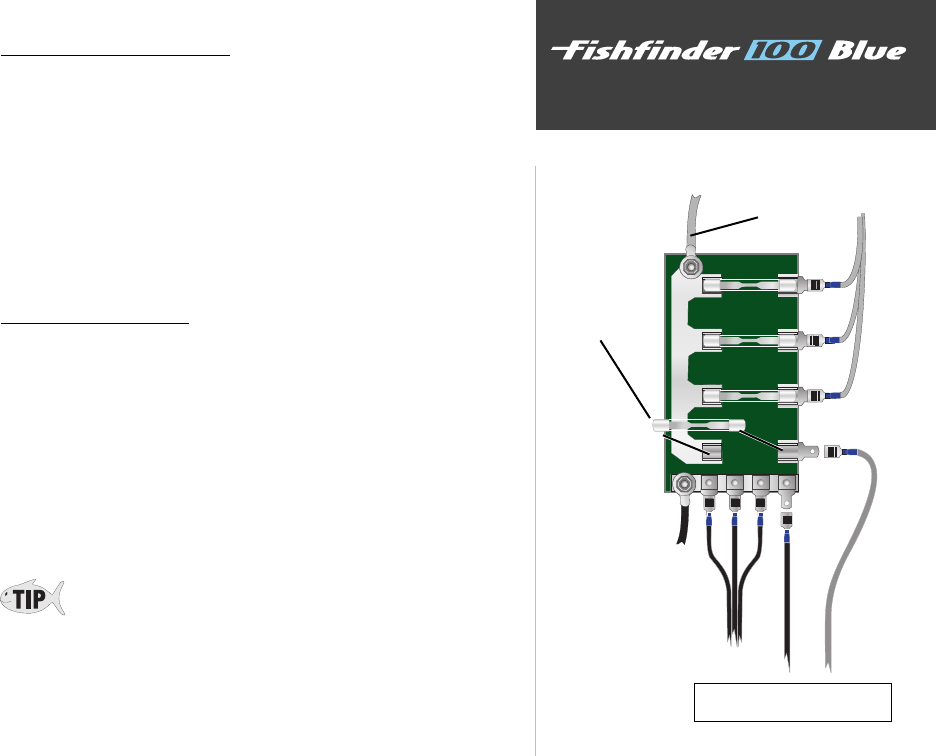
Wiring to a Fuse Block
If your boat has an electrical system, it may be possible to wire the unit
directly to an unused holder on your current fuse block. If you are using the
boat’s fuse block, remove the in-line fuse holder supplied with the unit.
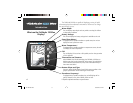
Installing the Wiring Harness:
1. Determine the polarity of the fuse holder using a Test Light or Volt Meter.
2. Install the Red (+) wire on the Positive Fuse Holder Terminal.
3. Install the Black (-) wire on the Negative Fuse Holder Terminal.
4. Install a 2 amp fuse in the Fuse Holder.
Continued on page 6
2A
-
+
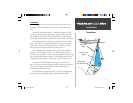
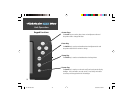
During a typical installation, only the Red and Black wires are used. The
Blue wire supplies NMEA data, and doesn’t have to be connected for normal
operation of the unit. The Yellow wire is not used.
Boat Ground
Black Wire
Red Wire
Install 2-Amp Fuse
Fishfi nder 100 Blue
10-18 Volt Boat Supply
FF 100 Blue.indd 09/18/01, 2:58 PM5