


15
MCDA1
7
8
9
0
MUTE
VOL
VOL
POWER
DIM
MODE
SEL
/
MENU
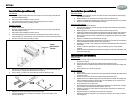
MWR32
MARINE RECEIVER + CDC
SCN
SHIFT
MP3
SW
E
N
T
E
R
BAND
AS/PS
D
IS
P
LD
MP3
RPT
RDM
INT
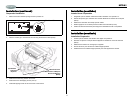
Installation (continued)
Mounting the MWR32 Controller
Choose and Prepare Location
The MWR32 can be installed in a standard 2 1/8" gauge cutout. The required mounting depth
will vary, but at least 2 1/2" is needed to mount the controller.
If a standard cutout is not available, mark an area for the cutout and carefully cut a 2 1/8”
opening with a hole saw. A jig saw can be used but may cause difficulty because of the small
radius of the opening.
Be sure to check behind the panel for wiring harnesses, steering cables, hydraulic lines, fuel
lines, gas tanks, etc. Also check to make sure you can get behind the dash panel, bulkhead,
etc. to attach the mounting bracket.
Important: Do not mount unit where it can be submerged.
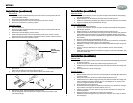
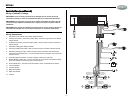
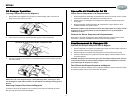
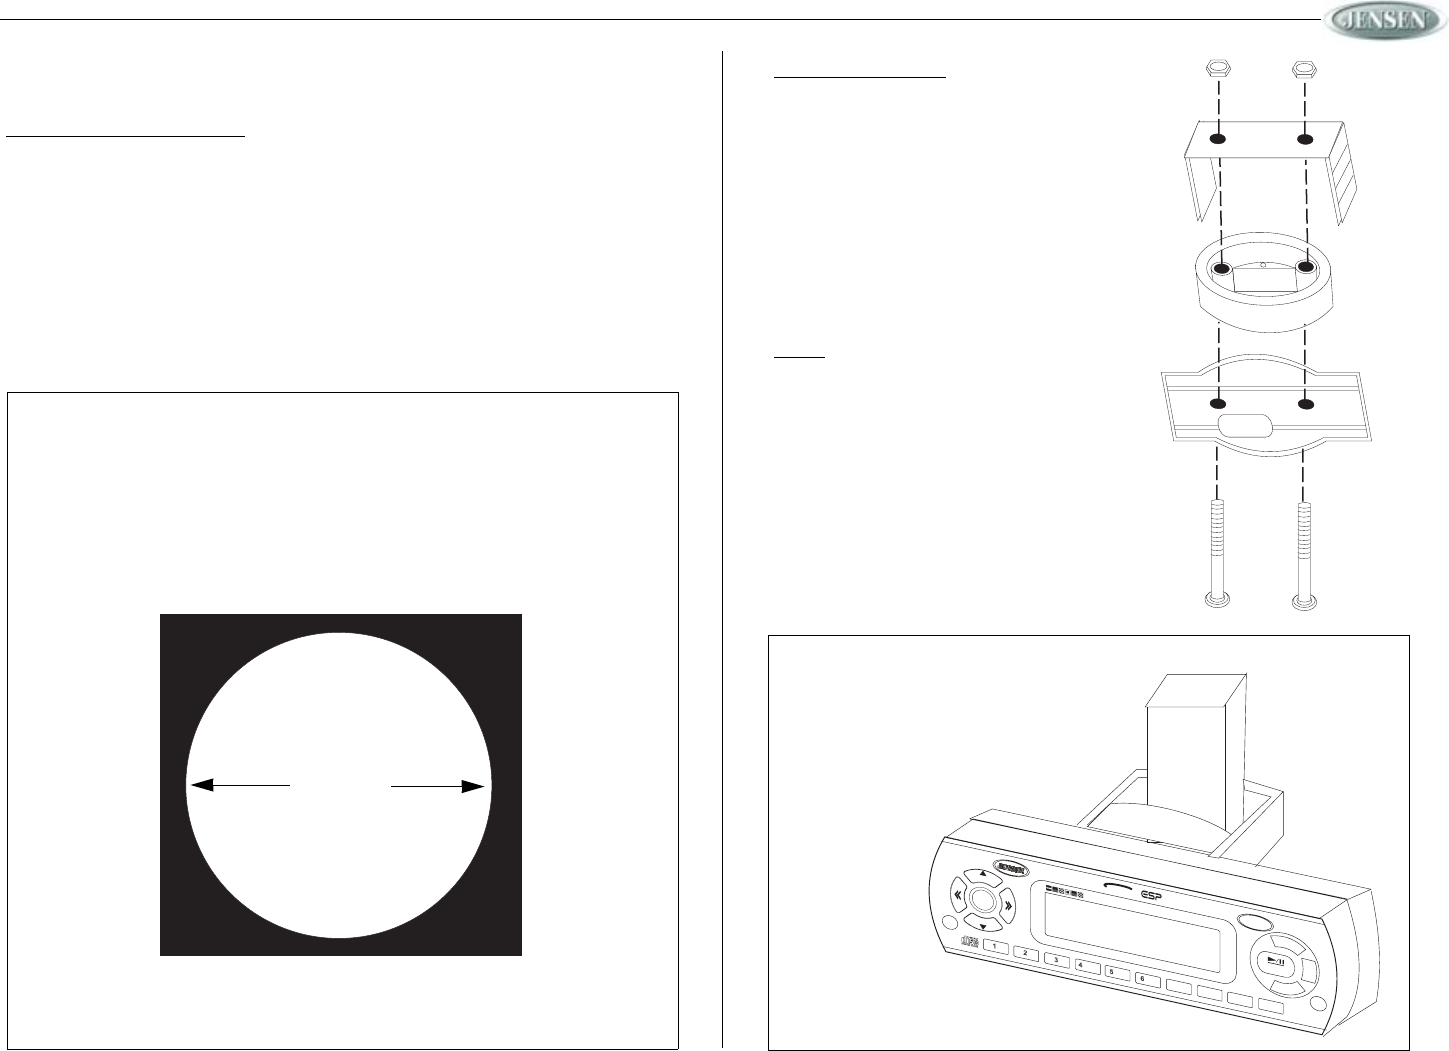
Mounting the Remote
The MWR32 comes with a plastic mounting plate, a
plastic mounting base and an aluminum mounting
bracket.
Attach the plastic mounting plate to the plastic
mounting base, and insert into the cutout. Fasten to
the aluminum mounting bracket with the included
screws.
Finally, route the remote control cable through the
mounting plate and base, and attach the remote to
the plastic mounting plate by aligning the four hooks
on the holder with the four slots on the remote.
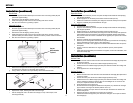
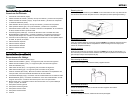
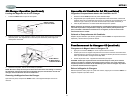
Wiring
Once the remote has been mounted, connect the
cable to the main unit using the 20 foot extension
cable supplied.
Up to two additional extension cables (MWREXT)
may be purchased and used to extend the reach of
the remote up to 60 feet.
When connecting the cables, be sure to route the
extension cable away from sharp objects, corners
and places where it might get pinched, as this could
affect performance and cause damage to the unit.
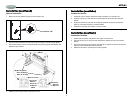
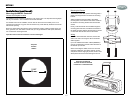
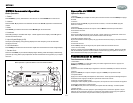
Template
Plantilla
Gabarit
2 1/8”
65 mm.
Mounting the Remote
Armado del Control Remoto
Fixation de la Télécommande