7
Door Open
The Door Open indicator light will flash, an alarm will sound and
the interior lights will turn off when a door has been open for
longer than 10 minutes. When the door is closed, the audio alarm
will reset and turn off, but the Door Open indicator light will
continue to flash until the temperature is equal to or below 45°F
(7°C) and 15°F (-9°C) for the refrigerator and freezer
compartments, respectively.
NOTE: To deactivate the audio alarm and indicator light, see
“Master Alarm Reset.”
Over Temperature
IMPORTANT: If the Over Temperature Alarm activates, your food
may spoil. See the “Power Interruptions.” Minimize door openings
until temperatures return to normal.
The Over Temperature feature is designed to let you know when
either the refrigerator temperature rises above 48°F (9°C) or the
freezer temperature rises above 15°F (-9°C) for longer than
1¹⁄₂ hours. The audio alarm will shut off automatically when the
temperature returns to normal, but the indicator light will continue
to flash until the Alarm is pressed to let you know that an over
temperature condition has occurred.
If the over temperature condition is still present when an Over
Temperature Reset is performed, the indicator light will continue
to reactivate every 1¹⁄₂ hours until refrigerator and freezer
temperatures are below 48°F (9°C) and 15°F (-9°C), respectively.
NOTE: The audio alarm will be disabled for subsequent
occurrences of over temperature alarm condition. To enable the
audio alarm, see “Master Alarm Reset.”
Call Service
If the Call Service indicator light is flashing, call for service. See
the “Assistance or Service” section for information on calling for
service.
NOTE: The audio alarm will be disabled for subsequent
occurrences of the call service alarm condition. To enable the
audio alarm, see “Master Alarm Reset.”
Holiday Mode
The Holiday Mode feature is designed for the traveler or for those
whose religious observances require turning off the lights and ice
maker. By selecting this feature, the temperature set points and
Deli Pan settings remain unchanged, the ice maker will be
disabled and the interior lights will turn off. For most efficient
refrigerator operation, it is recommended to exit the Holiday Mode
when it is no longer required.
To fully activate Holiday Mode, you must follow the instructions
below for both the control panel and dispenser panel (on some
models).
IMPORTANT: If you do not activate Holiday Mode in both ways
listed below, some functions you wish to disable will remain
active.
Control Panel
In Holiday Mode, the temperature set points remain unchanged
and the interior lights turn off.
■ Press HOLIDAY MODE to turn on Holiday Mode.
■ Press HOLIDAY MODE again to turn off Holiday Mode.
Dispenser Panel (on some models)
In Holiday Mode, the dispenser levers are disabled and the
dispenser lights turn off.
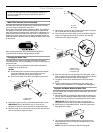
■ To turn on Holiday Mode, press and hold ICE, LIGHT and
LOCKOUT at the same time for 3 seconds. When the feature
turns on, the indicator light around the LOCKOUT button will
blink and “HOL” will appear on the dispenser display.
■ To turn Holiday Mode off, press and hold ICE, LIGHT and
LOCKOUT at the same time for 3 seconds again.
NOTE: If the Max Cool feature has been selected prior to
turning on the Holiday Mode feature, then the set points will
remain at 34°F (1°C) and -5°F (-21°C) for the refrigerator and
freezer compartments, respectively, until the Max Cool feature
times out. The refrigerator will then return to the previous
temperature set points chosen prior to the selection of the
Max Cool feature, but the lights and ice maker will remain off
until the Holiday Mode is pressed again.
Water and Ice Dispensers
(on some models)
IMPORTANT:
■ After connecting the refrigerator to a water source or replacing
the water filter, flush the water system. Use a sturdy container
to depress and hold the water dispenser lever for 5 seconds,
then release it for 5 seconds. Repeat until water begins to
flow. Once water begins to flow, continue depressing and
releasing the dispenser lever (5 seconds on, 5 seconds off)
until a total of 3 gal. (12 L) has been dispensed. This will flush
air from the filter and water dispensing system, and prepare
the water filter for use. Additional flushing may be required in
some households.
NOTE: As air is cleared from the system, water may spurt out
of the dispenser.
■ Allow 24 hours for the refrigerator to cool down and chill
water.
■ Allow 24 hours to produce the first batch of ice. Discard the
first three batches of ice produced.
■ The dispensing system will not operate when the freezer door
is open.
■ Depending on your model, your water and ice dispensers may
have one or more of the following features: a water level
indicator in the dispenser tray, a special light that turns on
when you use the dispenser, or a lock option to avoid
unintentional dispensing.
Water Dispenser
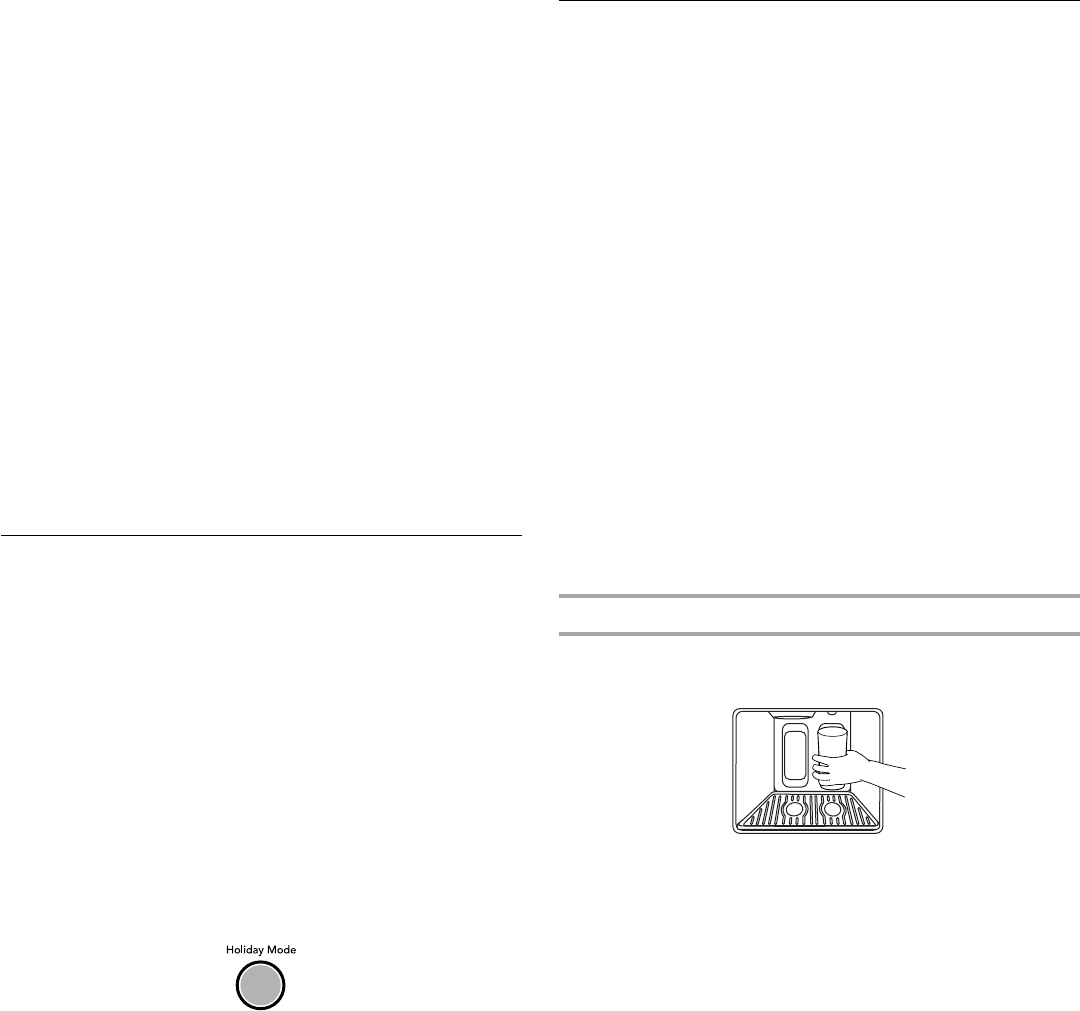
To Dispense Water:
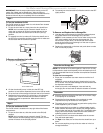
1. Press a sturdy glass against the water dispenser pad.
NOTES:
■ While dispensing water and for 3 seconds after dispensing
has stopped, the digital display will show how many
ounces of water have been dispensed.
■ To switch from ounces to cups, press and hold ICE and
LOCK at the same time until the dispenser beeps after
3 seconds. To switch from cups to liters, press and hold
the buttons for another 3 seconds. To switch back to
ounces, repeat the process a third time.
2. Remove the glass to stop dispensing.
NOTE: Water may have an off-flavor if you do not use the
dispenser periodically. Dispense enough water every week to
maintain a fresh supply.


