


121
0
t J
PULSE
PULSE
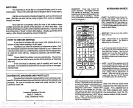
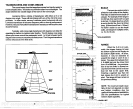
There isa
relationship
between
resolution and transmitter
pulse
length.
Resolution,
in
this
case,
is the
ability
of a
C
sonar
to
separate
targets.
The shorter
the
pulse
length,
the better
the sonar's
—
ability
to
separate targets.
However,
in
deep
water,
the shorter
the
pulse length,
the less
likely
a
return echo will be
re-
—
ceived.
In
fact,
the
X-40
automatically
increases
the
pulse
length
as the
range
increases.
In shallow
water,
a narrow
—
pulse
length
is beneficial,
since the
probability
of echo detection
is
high.
For
even better
target separation,
the X-40
gives you
the
capability
to narrow
the
—
pulse length
further
than normal.
Com-
bine
the narrow
pulse
length
withaten
or
twenty
foot
segment
or "zoom" and
the
-'
X-40
displays
small
detail far better
than
other
liquid crystal
graphs.
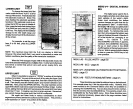
To
change
to a narrow
pulse,
press
2nd,
0. Use
the arrow
keys
in the
ZONE ALARM
section to
change
to the
short
pulse
or normal
pulse.
Pres the CLEAR
or
waft several seconds
for the
display
to cI
your
selection.
r1
COMMAND
I
il
TheX-40 has
"menus" of
command
theunittoyourneeds.
Thereare8
pagesofn
are
accessed with the COMMAND
key.
Pres
menu
appears.
As
you
can
see on the next
Volume.
The number "1" atthe
bottom of
th
numberone.
Pressthe COMMAND
keyagaii
To
change
menu selections,
use
ALARM section
of the
keyboard.
Once
yot
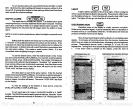
MENU
#2
-
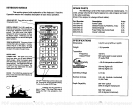
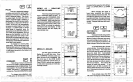
GRAYLINE
CHECKS OR LINES
This menu
changesthe Grayline
from a checkered
pattern
to lines. To
change, press
2nd, COMMAND,
COM-
MAND
until menu
2
appears,
or
press 2,
2nd,
COMMAND.
Next,
press
the
up
or
down arrow
in
the ZONE
ALARM
section
of the
keyboardforchecksorlines.
Then
press
CLEAR to activate the selection
and return to the chart
display.
Or
waft
several seconds and the
display
will
automatically
clear.
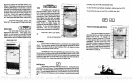
MENU #3
-
SCALES
Turn the
upper
and lower limit
display
off or on
with
this menu.
Press
2nd,
COMMAND until this menu
ap-
pears, orpress3, 2nd,
COMMAND.
Use
the arrow
keys
in the ZONE
ALARM
section to
switch
the
numbers
off or on.
Press CLEAR to activate
your
selection
or wait several seconds and it will auto-
matically
activate.
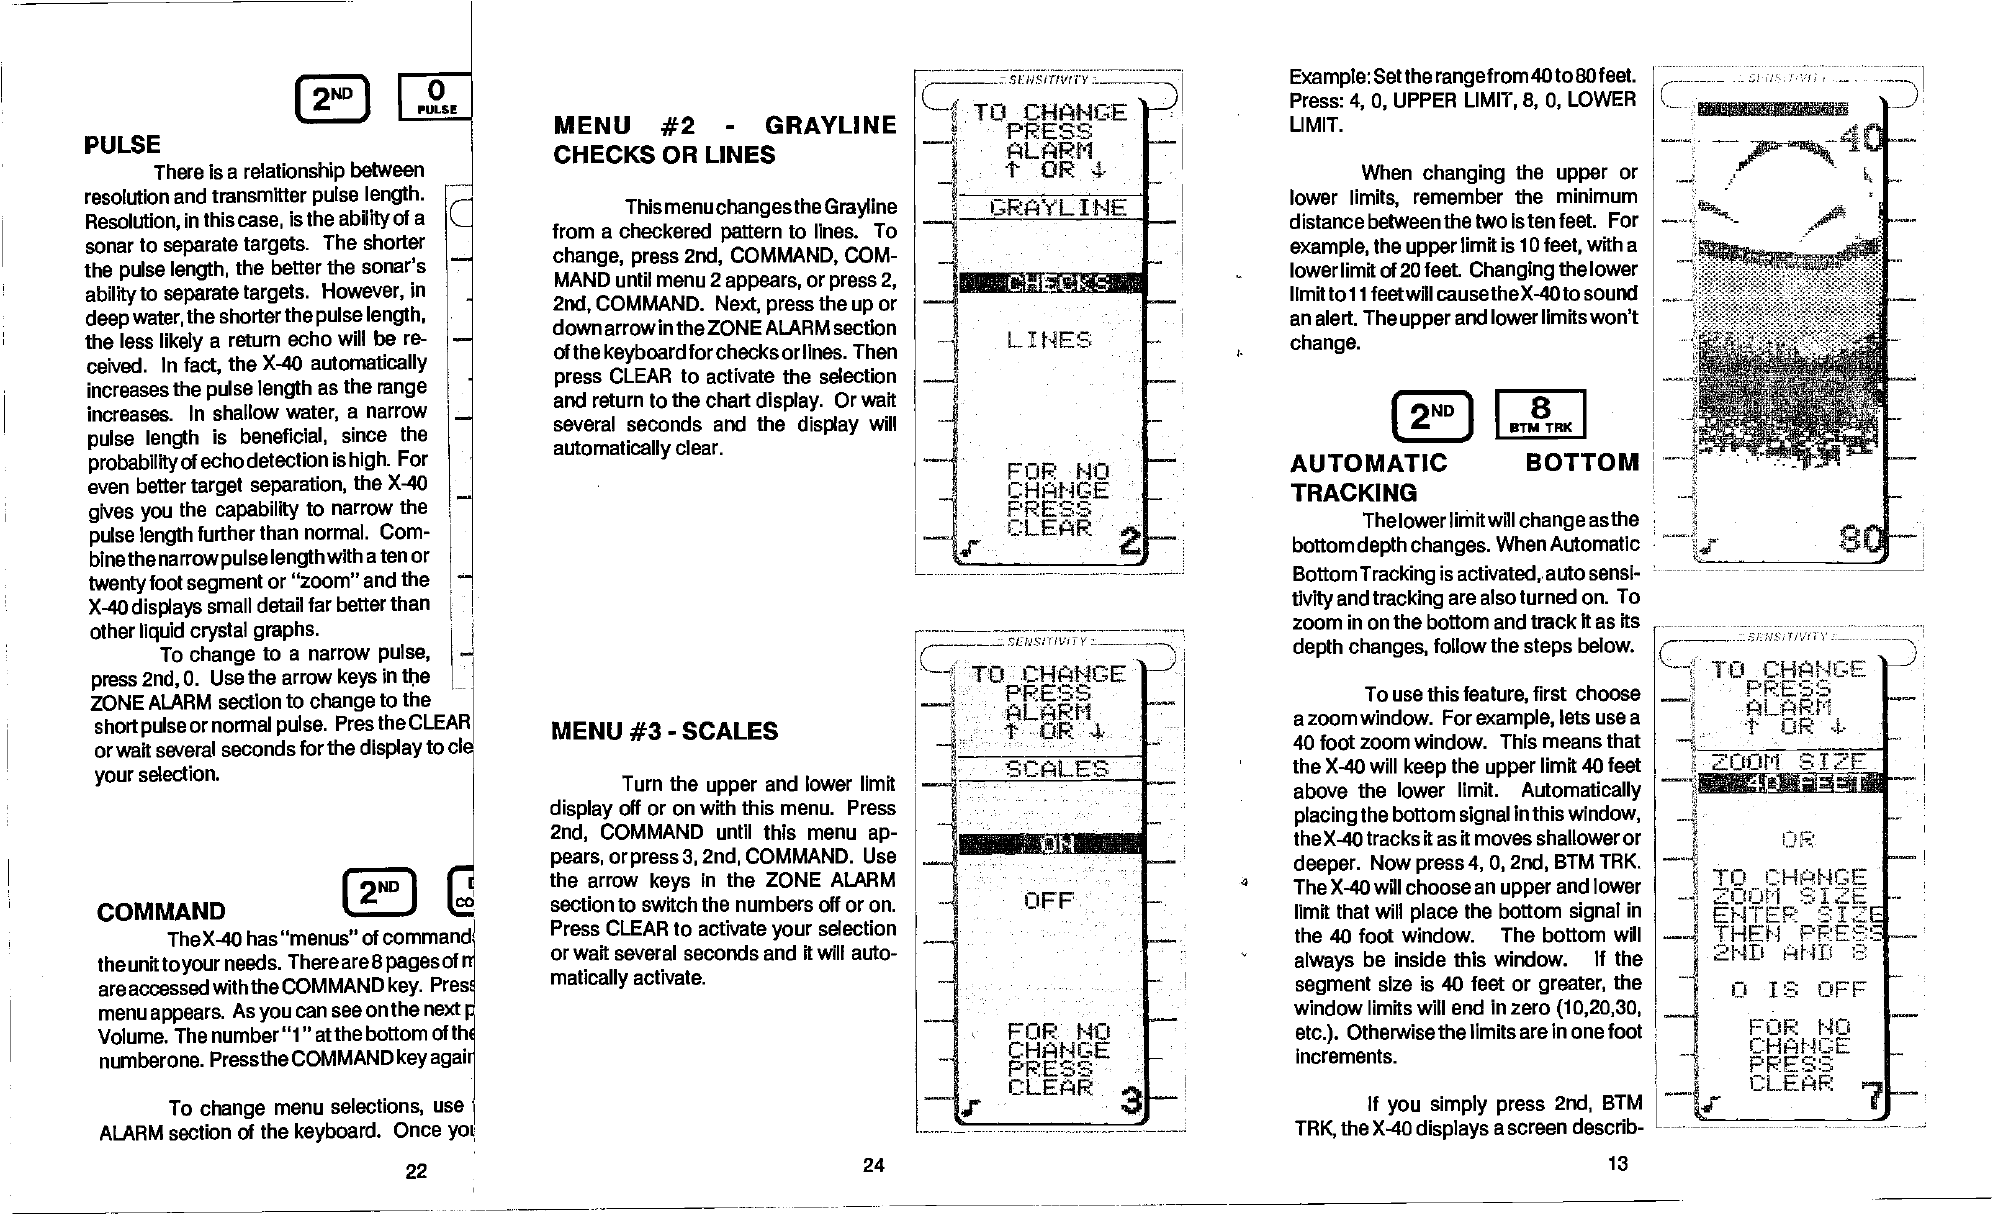
Example:
Setthe
rangef
rom 40 to 80 feet.
Press:
4, 0,
UPPER
LIMIT, 8, 0,
LOWER
LIMIT.
When
changing
the
upper
or
lower
limits,
remember the minimum
distance between the
two is ten feet. For
example,
the
upper
limit is 10
feet,
with a
lower limit of 20 feet.
Changing
the lower
limittol
1 feetwillcausetheX-4otosound
an alert. The
upper
and
lowerllmitswon't
change.
I2ND1
8
J
BTMTRK
AUTOMATIC
BOTTOM
TRACKING
The lower limit
will
change
as the
bottom
depth changes.
When Automatic
Bottom
Tracking
is
activated,auto
sensi-
tivity
and
tracking
are also turned on. To
zoom
in on the bottom and track It as its
depth
changes,
follow
the
steps
below.
To use this
feature,
first choose
a zoom window.
For
example,
lets use a
40 foot zoom window.
This means that
the X-40
will
keep
the
upper
limit 40 feet
above the lower
limit.
Automatically
placing
the bottom
signal
in this
window,
the X-40 tracks
it
as
it moves shallower or
deeper.
Now
press
4, 0, 2nd,
BTM TRK.
The X-40 will choose an
upper
and lower
limit that will
place
the bottom
signal
in
the
40 foot window. The bottom will
always
be inside this window. If the
segment
size is 40 feet or
greater,
the
window
limits will end in zero
(10,20,30,
etc.).
Otherwise the limits are in one foot
Increments.
If
you simply press
2nd,
BTM
TRK,
the X-40
displays
a screen describ-
,._zSFNSIi!VtiY
CHANCE
D
PRESS
ALARM
—
J.
tOR4
CRAYL INE
1
-
—4
LINES
-
—1
FOR NO
-.
CHANCE
-
PRESS.
CLEAR
—v
H
TO CHANCE
PRESS
.
ALARM
—
t OF
SEWS/i
I
Y
To CHANCE
PRESS
—
ALARM
J
tc4R4
SCALES
OFF
FOR NO
CHANGE
PRESS
CLEAR
S
.
ZOO,r,1 SIZE
22
24
13
tjF.
TO CHANCE
ZOOM
SIZE
ENTER SIZE
THEN F'RES
2ND AND :3
0 IS OFF
FOR NO
CHANCE
PRESS
CLEAR
—
L-
PDF compression, OCR, web-optimization with CVISION's PdfCompressor