


E N
3
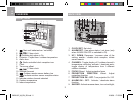
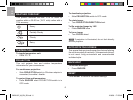
flip projected image 180°
10. °C / °F: Select temperature unit
11. Battery compartment
12. RESET: Reset unit to default settings
13. AC/DC Adaptor socket
14. Wall mount holes
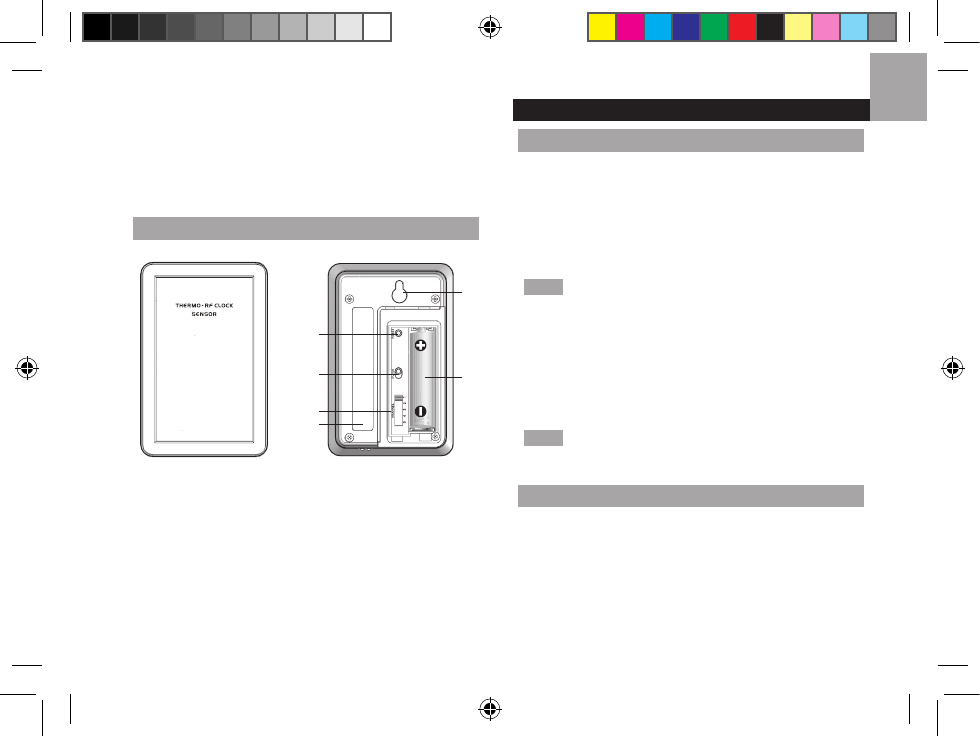
REMOTE SENSOR
FRONT VIEW BACK VIEW
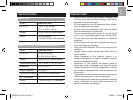
1
2
3
4
5
6
1. RESET: Reset unit to default settings
2. EU / UK Switch (RTHN318D sensor only)
3. Channel Switch
4. Double sided adhesive tape
5. Wall mount hole
6. Battery compartment
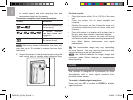
GETTING STARTED
MAIN UNIT INSTALLATION
For continuous use of projector, install adapter.
• Plug AC/DC adaptor into socket. Make sure the
adapter is not obstructed and is easily accessible
to the unit.
To completely disconnect from power, the adapter
should be disconnected from the main unit.
NOTE The main unit and adapter should not be
exposed to wet conditions. No objects filled with liquid,
such as vases, should be placed on the main unit and
adapter.
Insert batteries:
1. Remove the battery compartment cover.
2. Insert the batteries, matching the polarities.
NOTE Batteries should not be exposed to excessive
heat such as sunshine or fire.
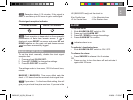
REMOTE SENSOR INSTALLATION
1. Slide open the battery door.
2. Slide channel switch to channel 1.
3. Select
EU/UK. (RTHN318D only)
4. Insert the battery, matching the polarities (+ / -).
5. Press RESET after each battery change.
6. Close the battery door.
7. Press and hold
UP and DOWN on main unit
BAR610P_M_EN_R3.indd 3 12/9/08 17:55:44