


BDL3245E / BDL4245E / BDL4645E
15
4. OSD Menu
An overall view of the On-Screen Display (OSD) structure is shown
below. You can use it as a reference for further adjusting your display.
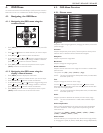
4.1. Navigating the OSD Menu
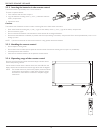
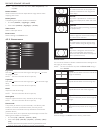
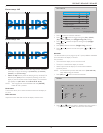
4.1.1. Navigating the OSD menu using the
remote control
EXIT
MENU
SET
1. Press [MENU] button on the remote control to display the OSD
menu.
2. Press [ ] or [ ] button to choose the item you want to adjust.
3. Press [SET] or [ ] or button to enter the submenu.
4. In the submenu, press [ ] or [ ] button to toggle among items,
press [ ] or [ ] button to adjust settings. If there is a submenu,
press [SET] or [ ] button to enter the submenu.
5. Press [EXIT] button to return to the previous menu, or press
[MENU] button to exit the OSD menu.
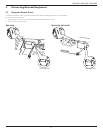
4.1.2. Navigating the OSD menu using the
display’s control buttons
1. Press [MENU] button to display the OSD menu.
2. Press [ ] or [ ] button to choose the item you want to adjust.
3. Press [SOURCE] or [ ] button to enter the submenu.
4. In the submenu, press [ ] or [ ] button to toggle among items,
press [ ] or [ ] button to adjust settings. If there is a submenu,
press [SOURCE] or [ ] button to enter the submenu.
5. Press [MENU] button to return to the previous menu, or press
[MENU] button several times to exit the OSD menu.
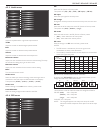
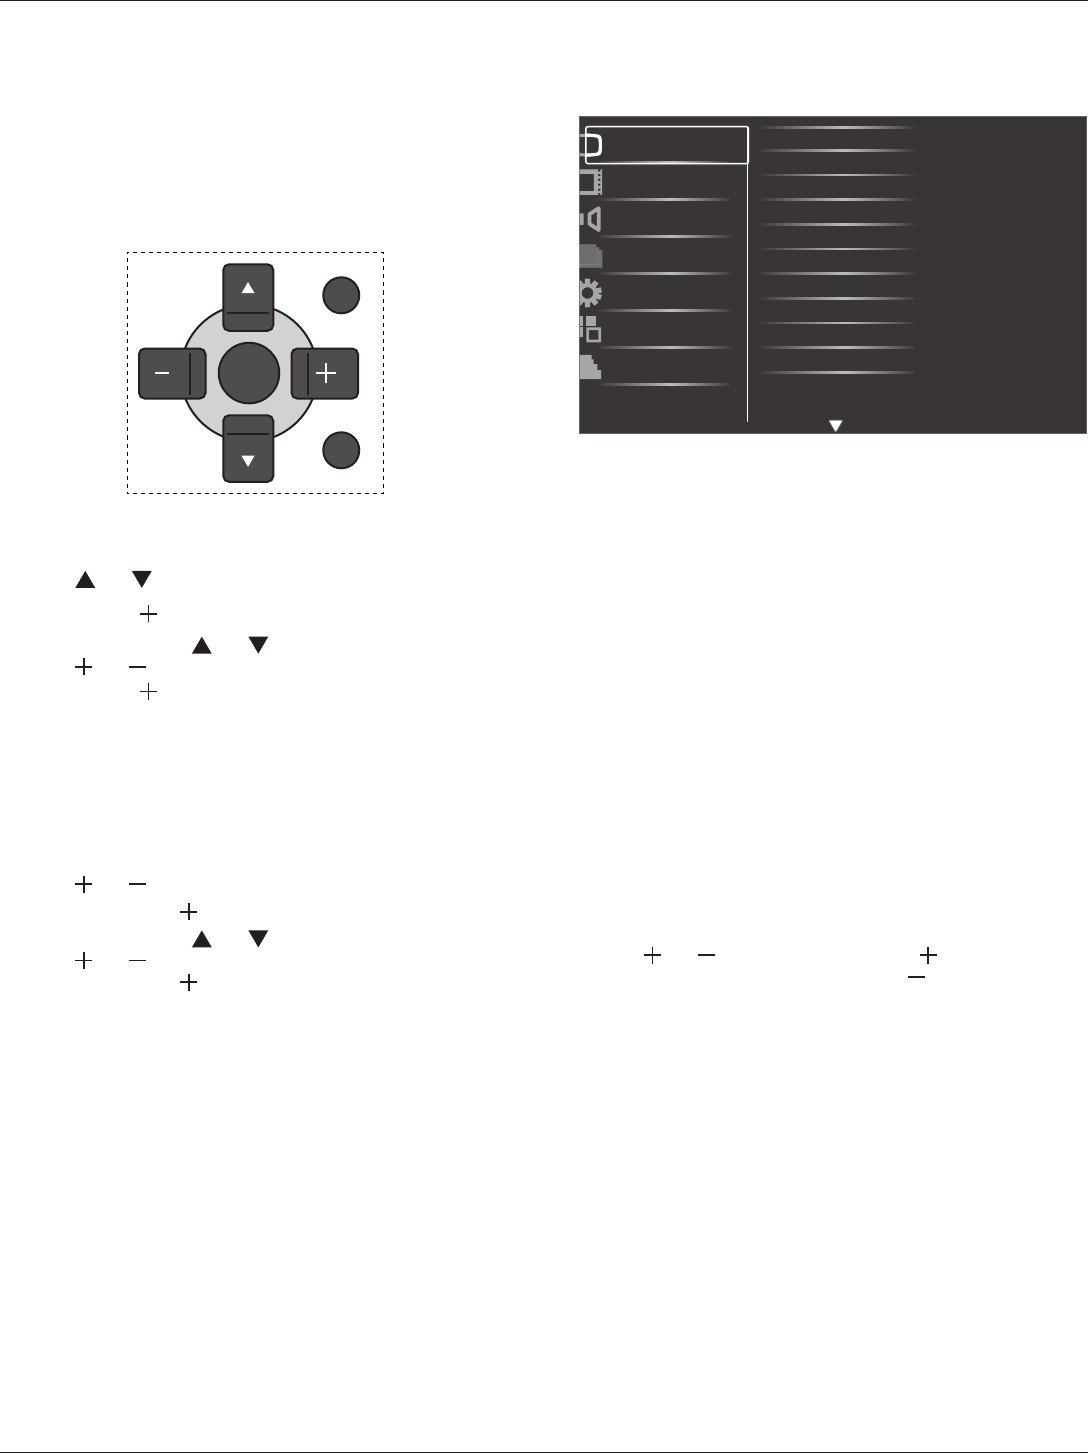
4.2. OSD Menu Overview
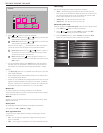
4.2.1. Picture menu
Brightness
Contrast
Sharpness
Black level
Tint
Color
Color temperature
Color control
Smart contrast
Smart picture
Picture
Screen
Audio
PIP
Configuration1
Configuration2
Advanced option
Noise reduction
Brightness
Adjust the overall image brightness by changing the intensity of the LCD
panel’s backlight.
Contrast
Adjust to sharpen the picture quality. The black portions of the picture
become richer in darkness and the white become brighter.
Sharpness
Adjust to improve the image detail.
Black level
Adjust to change the image brightness.
Noise reduction
Adjust to remove the noise in the image. You can select a suitable noise
reduction level.
The options are: {Off} / {Low} / {Medium} / {High}.
NOTE: This item is functional for HDMI(Video mode), S-Video, Video,
and YPbPr inputs only.
Tint
Adjust to change the color tint of the image.
Use the [ ] or [ ] button to adjust. Press the [ ] button and the
esh tone color turns slightly green. Press the [ ] button and the esh
tone color turns slightly purple.
NOTE: This item is functional for HDMI(Video mode), S-Video, Video,
and YPbPr inputs only.
Color
Adjust to increase or decrease the intensity of colors in the image.
NOTE: This item is functional for S-Video, Video, and YPbPr inputs
only.
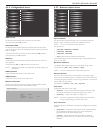
Color temperature
Select a color temperature for the image. A lower color temperature
will have a reddish tint, whilst a higher color temperature gives off a
more bluish tint.
The options are: {3000K} / {4000K} / {5000K} / {6500K} / {7500K} /
{9300K} / {10000K} / {Native} / {User}.
Color control
With this function you can adjust the color tones of the image precisely
by changing the R (Red), G (Green) and B (Blue) settings independently.