39
08Video Adjust menu
Chapter 8
Video Adjust menu
Video Adjust
• Default setting is Standard.
From the Video Adjust screen you can select the
standard video presentation or define presets of
your own.
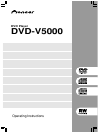
1 Press HOME MENU and select “Video
Adjust” from the on-screen display.
Audio Settings
Play Mode Disc Navigator
Initial Settings
Video Adjust
2 Use the / buttons (cursor left/right)
to select a preset.
Standard
Video Adjust
• Standard – Normal
• I. Memory1–2 / P. Memory1–2 – Use for
making your own interlaced / progressive
presets (see below)
3 Press ENTER to make the setting and exit
the Video Adjust screen.
Depending on the disc and the TV/monitor,
you may not see the effect clearly.
Creating your own interlace
output presets
These presets are available when the video
output is set to interlace. (Use the front panel
PROGRESSIVE button to switch between
interlace and progressive video output. See also
page 15)
1 Select one of the Memory presets (see
above).
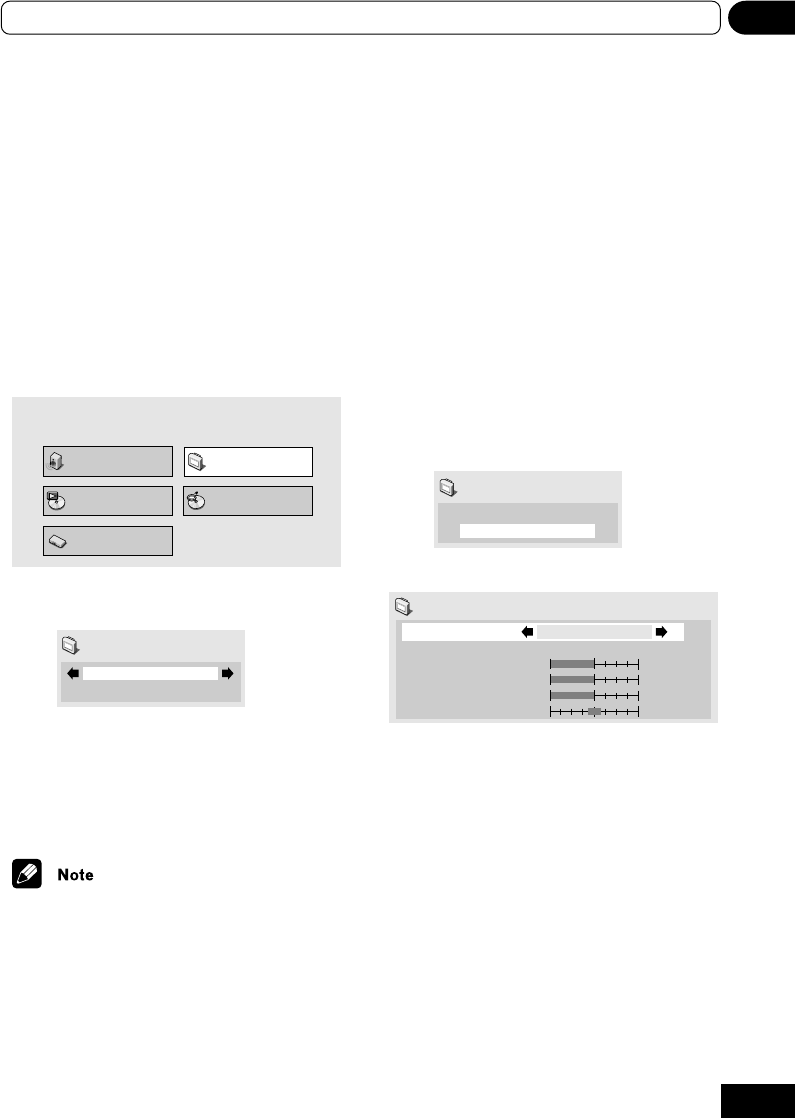
2 Press (cursor down) to select “Detailed
Settings” then press ENTER.
I.Memory1
Detailed Settings
Video Adjust
3 Adjust the picture quality settings.
Recall Settings
Fine Focus
Contrast
Sharpness
Chroma Level
Hue
I.Memory1
On
Interlace Memory 1 (I. Memory 1)
min max
soft fine
min max
green
red
• Use the / buttons (cursor up/down) to
select a setting.
• Use the / buttons (cursor left/right) to
adjust the current setting.
• Press DISPLAY to switch between full and
single view.
• You can change the preset number from the
Recall Settings menu item.
You can adjust any or all of the following
picture quality settings:
• Fine Focus – Switch On to reveal greater
detail (high resolution) in the picture.
• Contrast – Adjusts the contrast between
light and dark elements in the picture.