If the disc is not seated properly when the disc tray is closed, the disc might
be damaged. Also, the disc tray might not open fully when you press the
eject button.
Removing discs
To remove the disc, follow the steps as detailed below:
Do not press the eject button while the computer is accessing the optical
disc drive. Wait for the optical disc drive indicator to go out before you open
the disc tray. Also, if the disc is spinning when you open the disc tray, wait
for it to stop before you remove it.
1. To pop the disc tray partially open, press the eject button. Gently pull
the disc tray out until it is fully opened.
When the disc tray pops open slightly, wait a moment to make sure the
disc has stopped spinning before pulling the disc tray fully open.
2. The disc extends slightly over the sides of the disc tray so you can
grasp it. Gently lift out the disc.
3. Push the center of the disc tray to close it. Press gently until it locks
into place.
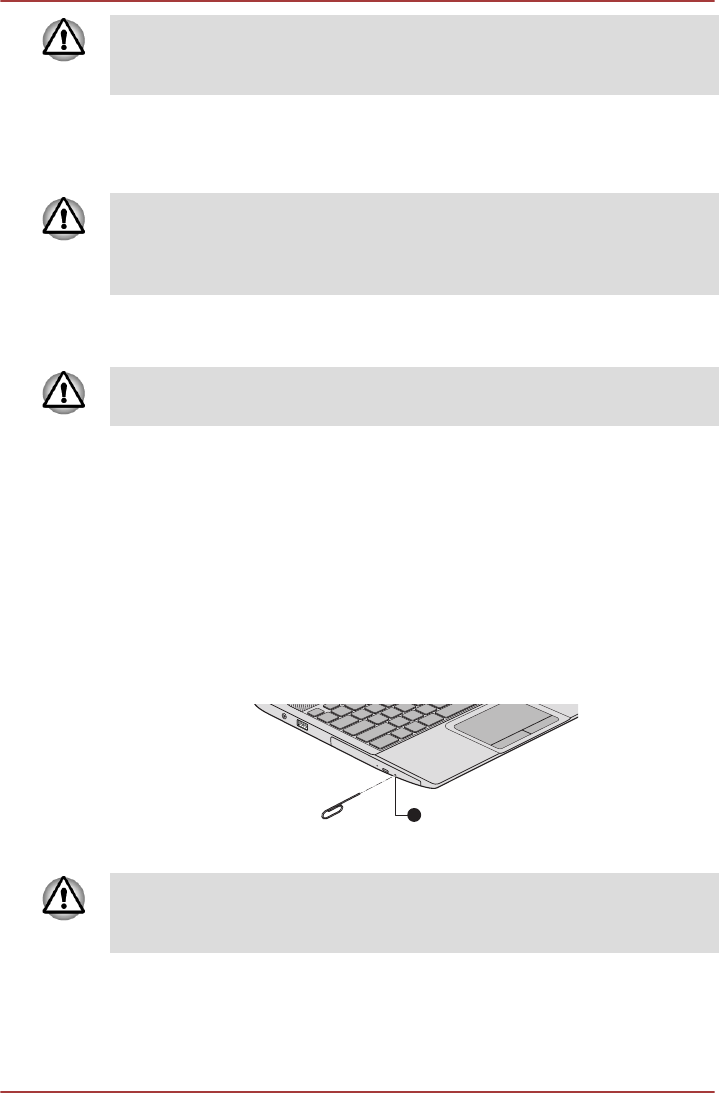
How to remove disc when the disc tray will not open
Pressing the eject button will not open the disc tray when the computer
power is off. If the power is off, you can open the disc tray by inserting a
slender object (about 15 mm) such as a straightened paper clip into the
eject hole near the eject button.
Figure 4-7 Manual release with the eject hole
1. Eject hole
Turn off the power before you use the eject hole. If the disc is spinning
when you open the disc tray, the disc could fly off the spindle and cause
injury.
Writable discs
This section describes the types of writable discs. Check the specifications
of your drive to see the types of discs it can write.
series
User's Manual 4-6
