16
Holes in the bracket’s base allow wood screw or through-bolt mounting.
You may need to place a piece of plywood on the back side of thin pan-
els to reinforce the panel and secure the mounting hardware.
Drill a 1" (25.4 mm) hole in the dash for the power/transducer and ac-
cessory cables. The best location for this hole is immediately under the
gimbal bracket location. This way, the bracket can be installed so that
it covers the hole, holds the cables in position and results in a neat in-
stallation. Some customers, however, prefer to mount the bracket to the
side of the cable hole — it's a matter of personal preference.
After drilling the hole, pass the connectors up through the hole from
under the dash. If you wish, you can fill in the hole around the cable with
a good marine caulking compound. (Some marine dealers stock cable hole
covers to conceal the opening.)
Using the Quick Release Mounting Bracket
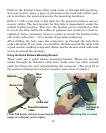
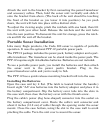
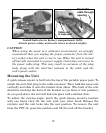
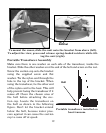
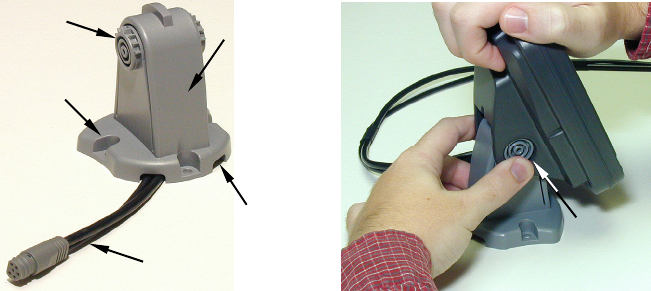
These units use a quick release mounting bracket. When you run the
cables through the bracket's cable slots, make sure you allow enough
slack for tilting the unit and attaching the connector. (The snug fit of
the push-on waterproof connector requires some force to attach.)
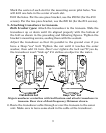
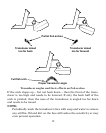
Cuda 300 quick release mounting bracket (left). Adjusting the viewing
angle of a display unit (right).
Rear
view
Cable slot
Screw hole
Power/transducer
cable
Ratchet
Depress
ratchets to
release


