


INSTALLATION
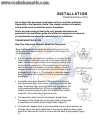
TRANSOM INSTALLATION
• If the propeller(s) is (are) forward of the transom, it may be impossible to find
an area clear from turbulence, and a different mounting technique or
transducer type should be considered.
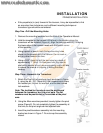
Step Two - Drill the Mounting Holes
1. Remove the mounting template from the front of the Operations Manual.
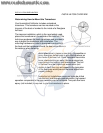
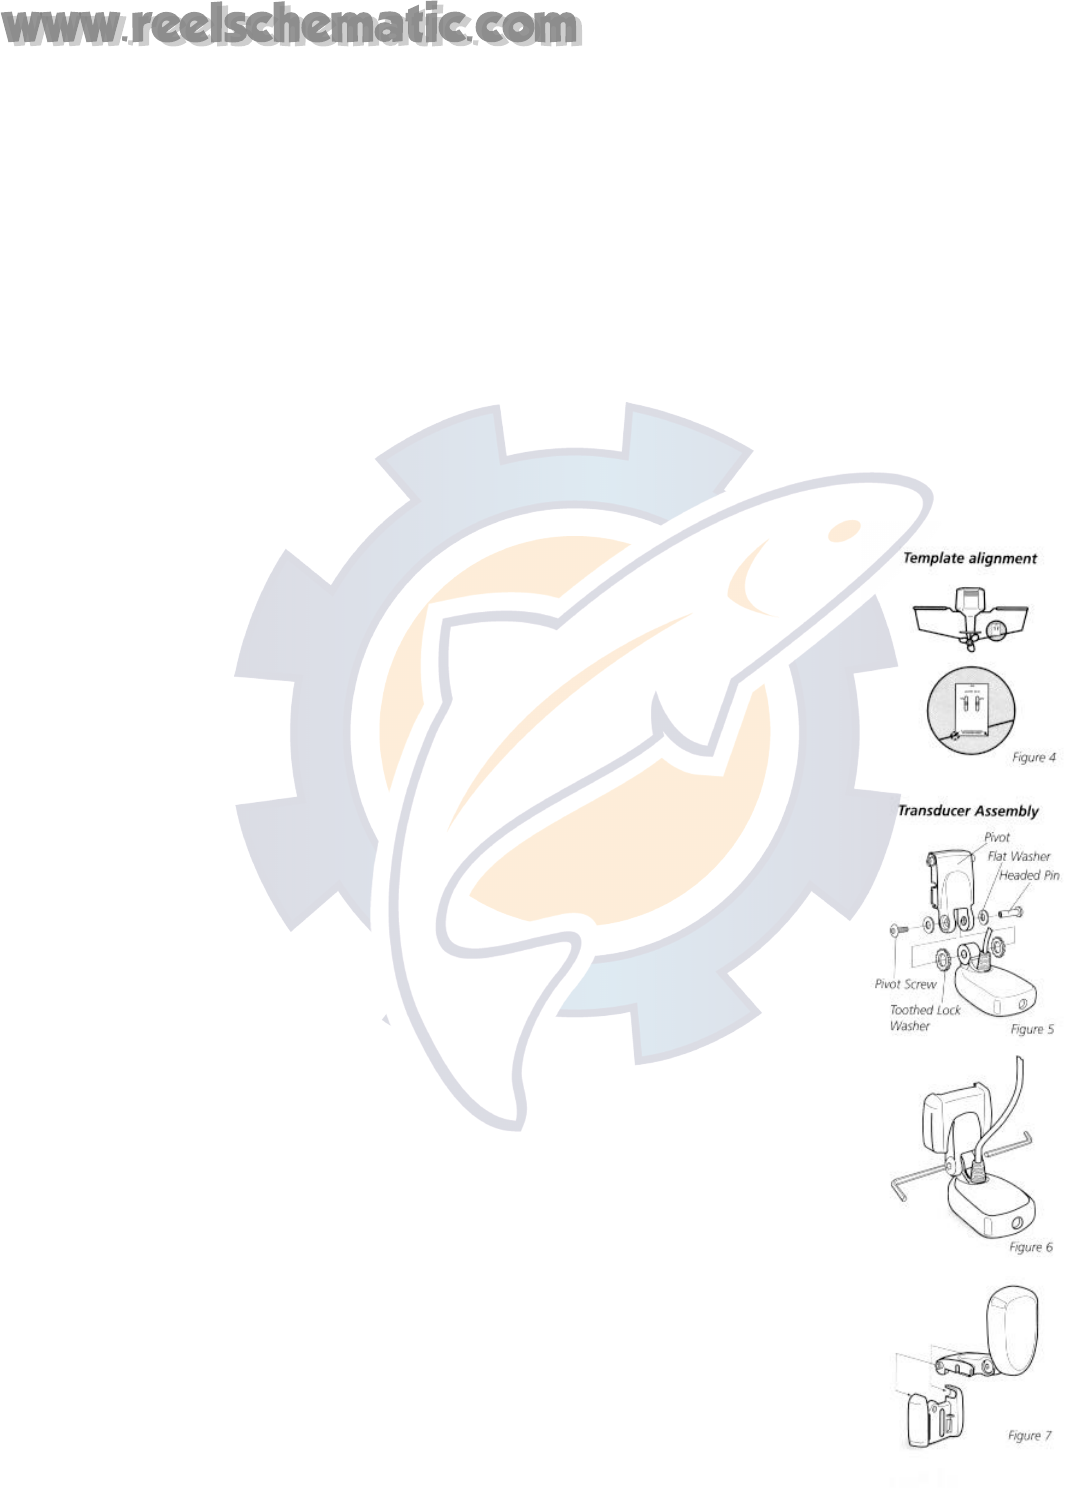
2. Hold the template on the transom of the boat in the location where the
transducer will be installed (Figure 4). Align the template vertically, ensuring
the lower edge of the transom meets with the bottom corner
of the template.
3. Using a pencil or punch, mark the two mounting holes
shown on the template onto the transom. Do not mark or
drill any other holes at this time.
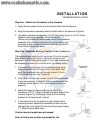
4. Using a 5/32” (4mm) bit drill the two holes to a depth of
approximately 1" (3cm). On fiberglass hulls, it is best to
start with a smaller bit and use progressively larger drill bits
to reduce the chance of chipping or flaking the outer
coating.
Step Three - Assemble the Transducer
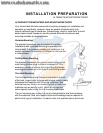
1. Attach the Pivot to the transducer body as shown in Figure
5, using the #8 – 3/8” (9mm) long allen headed pivot screw,
the headed pin, the two flat washers, and the two toothed
lock washers.
Note: The toothed lock washers must be positioned
between the transducer and the pivot ears. The flat
washers must be positioned to the outside at the pivot
ears.
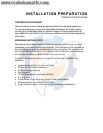
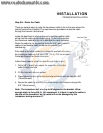
2. Using the AIlen wrenches provided, loosely tighten the pivot
screw (Figure 6). Do not completely tighten the assembly at
this time, so the pivot angle can be adjusted later.
3. Insert the pivot/transducer assembly into the mounting
bracket as shown in Figure 7. Do not snap the assembly
closed.