


3. Remove the rear housing and store for future use.
4. Drill a 3 1/2 “ hole in the dash or console at the location you have chosen. This is a
standard gauge opening size, and hole saws are available at hardware stores, tool rental
stores, or marine dealers.
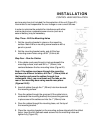
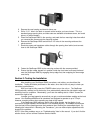
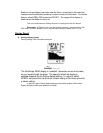
5. Place the SeaScope ID600 in the opening, and mark the four mounting holes from which
you removed the screws onto the mounting surface.
6. Remove the SeaScope ID600 and drill four 1/8” holes in the mounting surface at the
points marked.
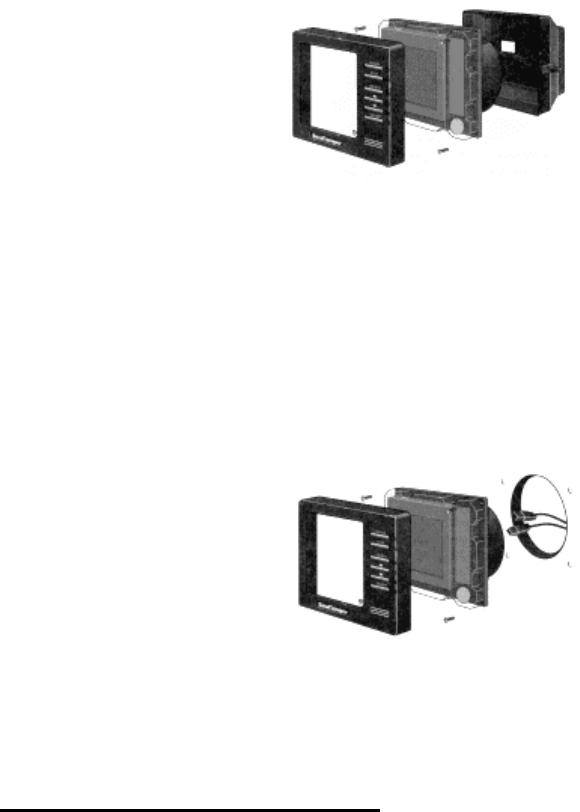
7. Route the power and transducer cables through the opening from behind, and connect
them to the SeaScope ID600.
8. Fasten the SeaScope ID600 to the mounting surface with the screws provided.
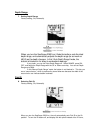
9. Ensure that the rubber keypad is in position inside the front bezel, and snap the bezel
onto the SeaScope ID600 by engaging the top edge first, then snapping the lower edge
over the lip.
Section 3: Testing the Installation
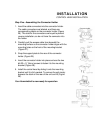
After installing your SeaScope ID600, transducer, and cables, you should test the
installation. Testing should be performed on the water, since that is the only way to check you
transducer’s performance.
With your boat at idle, press the POWER button to turn the unit on. The SeaScope
ID600 performs a self-test on its electronics, then automatically selects the right depth range and
sensitivity level for conditions. Momentarily, you’ll see the reading start to “march” across the
screen from right to left.
Increase your boat speed to ensure that you get a continuous bottom reading as the boat
moves. Your SeaScopeID600 and its transducer are designed to operate at up to 75 mph.
However, exercise caution when operating any boat at high speed.
If the SeaScope ID600 performs well at idle or slow speeds, but the display is not
continuous at higher speeds, the transducer is not installed properly. Air bubbles or turbulence
from the boat hull are passing across the transducer face, blocking the transmitted signal. By
following the instructions in “Mounting the Transducer,” you can make simple adjustments that
should fix the problem.
NOTE: If the other problems occur, se “Troubleshooting” later in this manual. If you don’t find the
solution there, call our toll-free Customer Service Hotline.