4. Release the mouthpiece, and turn the locking ring counterclockwise to
close the inflator valve and lock the mouthpiece in place.
DONNING THE INFLATED LP
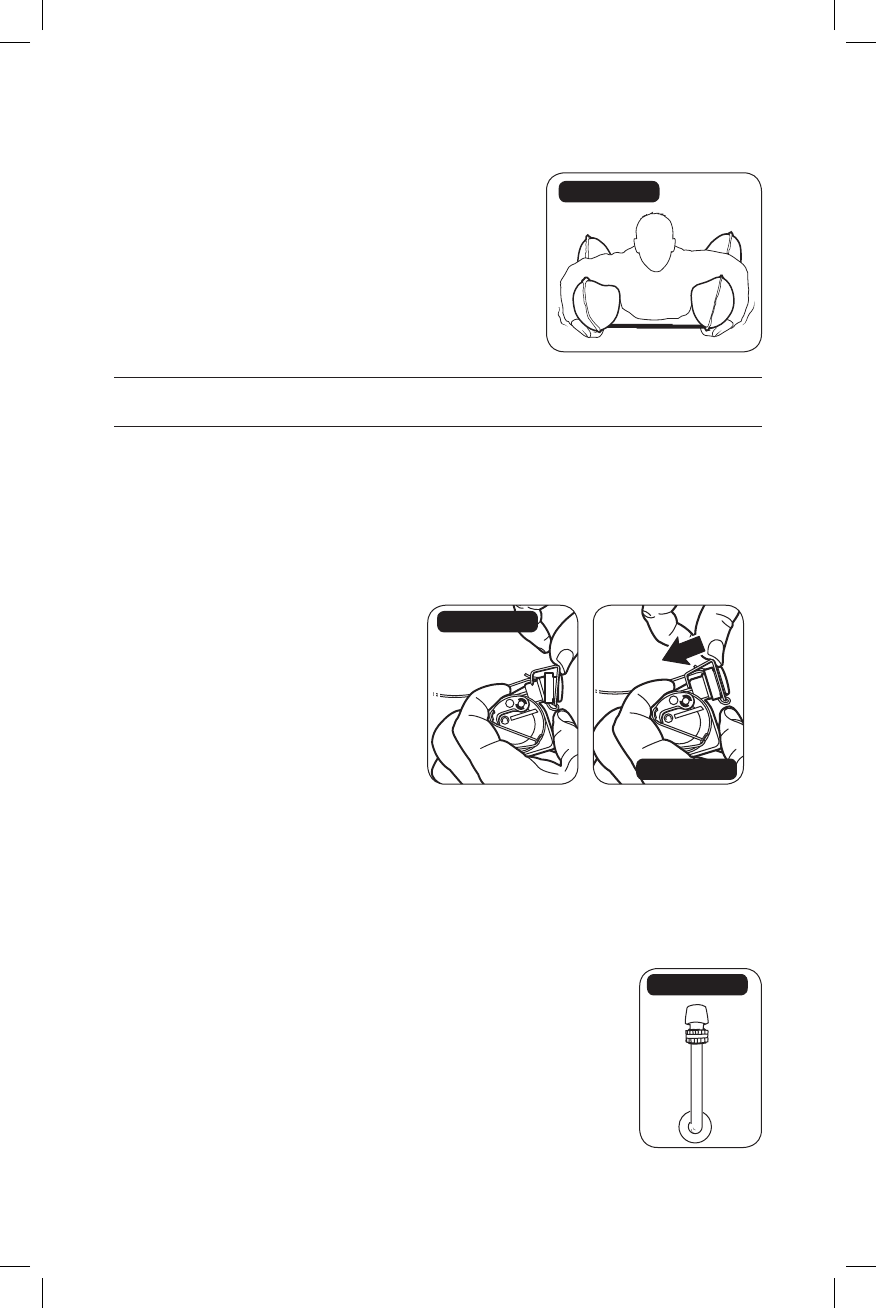
Once the LPs have been inflated through
manual, automatic, or oral inflation, tuck the
inflated cells underneath each arm (Figure 6).
Attach the left and right cells together using the
Velcro® straps located at the front of each lobe.
CONVERTING THE LP
NOTE: A fully armed MD1250 LP with an MA7219 auto/manual conversion
cap is required for this procedure.
Any time complete manual control of inflation is required, the LP can be
converted from manual/automatic inflation to manual-only inflation by
attaching the automatic/manual conversion cap.
The conversion can be reversed by removing the conversion cap.
1. Open the Velcro® cover over the hydrostaic inflator.
2. Remove the conversion cap from the elastic storage pocket.
3. Position the conversion cap
over the hydrostatic water
inlet valve (Figure 7).
4. Secure the conversion cap
to the water inlet valve by
applying pressure to the
conversion cap at the metal
clip until it locks in place
(Figure 8).
Reversing the Conversion
To reverse the conversion:
1. Remove the conversion cap by pulling firmly on the lanyard.
2. Store the conversion cap in the elastic storage pocket.
DEFLATING THE LP
1. Locate the oral inflation tube, and turn the locking
ring clockwise to open the inflator valve and unlock
the mouthpiece (Figure 9).
2. Press (and hold) the mouthpiece down.
3. Gently squeeze the inflation cell until fully deflated,
ensuring all air or CO
2
is removed.
Figure 9
Figure 7
Figure 8
Figure 6
Tactical Inflatable Side Pouch LP Owners Manual
5


