


2
Unpacking the
Display
Unpacking the Display
Planning
Before you unpack your displays, you should have a detailed
plan of how the displays are to be configured. It should include
the following calculations:
• Power (max. of three units per 20A circuit for 115V operation)
•Cable runs
• Ventilation and cooling requirements
• If hanging display on a wall, location of studs in the wall
Have the following tools available:
• Level to ensure the display is hung straight.
• Stud finder (if hanging display on a wall).
• Computer network LAN cables (straight through - no crossover)
to interconnect multiple displays for RS232 control.
• LCD screen cleaner or LCD wipes, available at most electronics
stores.
• Although a VGA cable is included with every unit, you may wish
to obtain a long-run VGA, SDI or DVI cable if your source is
located far away from the display(s).
• Needle nose pliers to remove staples from the bottom of the
shipping box.
• Utility knife to open box and display packaging.
• At least two people to help lift displays into place.
Unpacking the Displays
1 Using a utility knife, open each display’s box.
2 Using two people, carefully remove each display from the
box.
3 Remove the display(s) from its shipping pouch.
4 Put the display(s) aside until you are ready for installation.
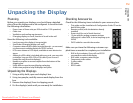
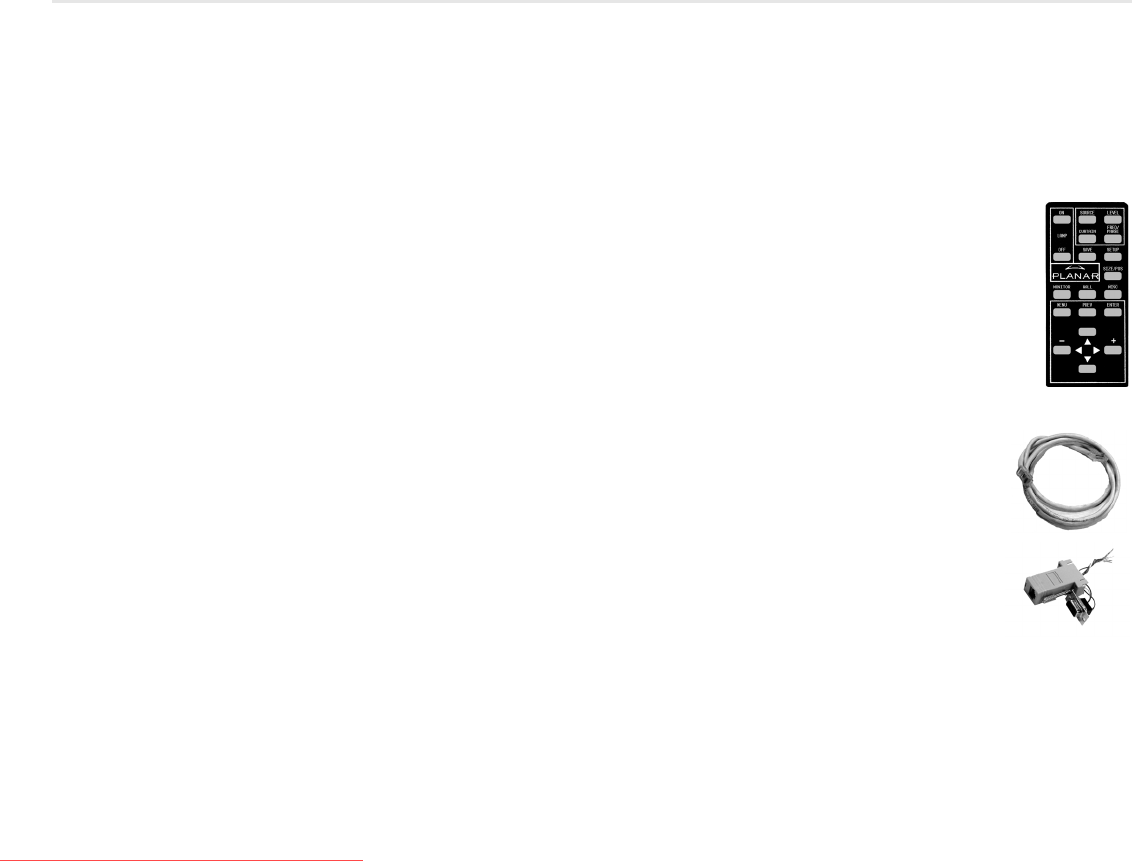
Checking Accessories
Check for the following items included in your accessory box:
• This guide and the Installation & Configuration Guide CD on the
back of this guide
• Remote control (with the batteries already
installed)
• Power cord (for use in North America)
• 15-pin cable for analog computer pictures
(although it’s called VGA, it carries anything up to
UXGA)
• DVI-D cable for use with the monitor
Make sure you have the following customer-sup-
plied items as needed to complete your installation:
• RJ45 to 9-pin adapter, if you will use RS232
commands to control the display
• RJ45 cable, computer network type
• Component video cables
• S-video cables
•SDI cables
• RS232 cable
Downloaded From TV-Manual.com Manuals