Chapter 18 Classifier
GS2200-48 User’s Guide
152
18.3 Viewing and Editing Classifier
Configuration
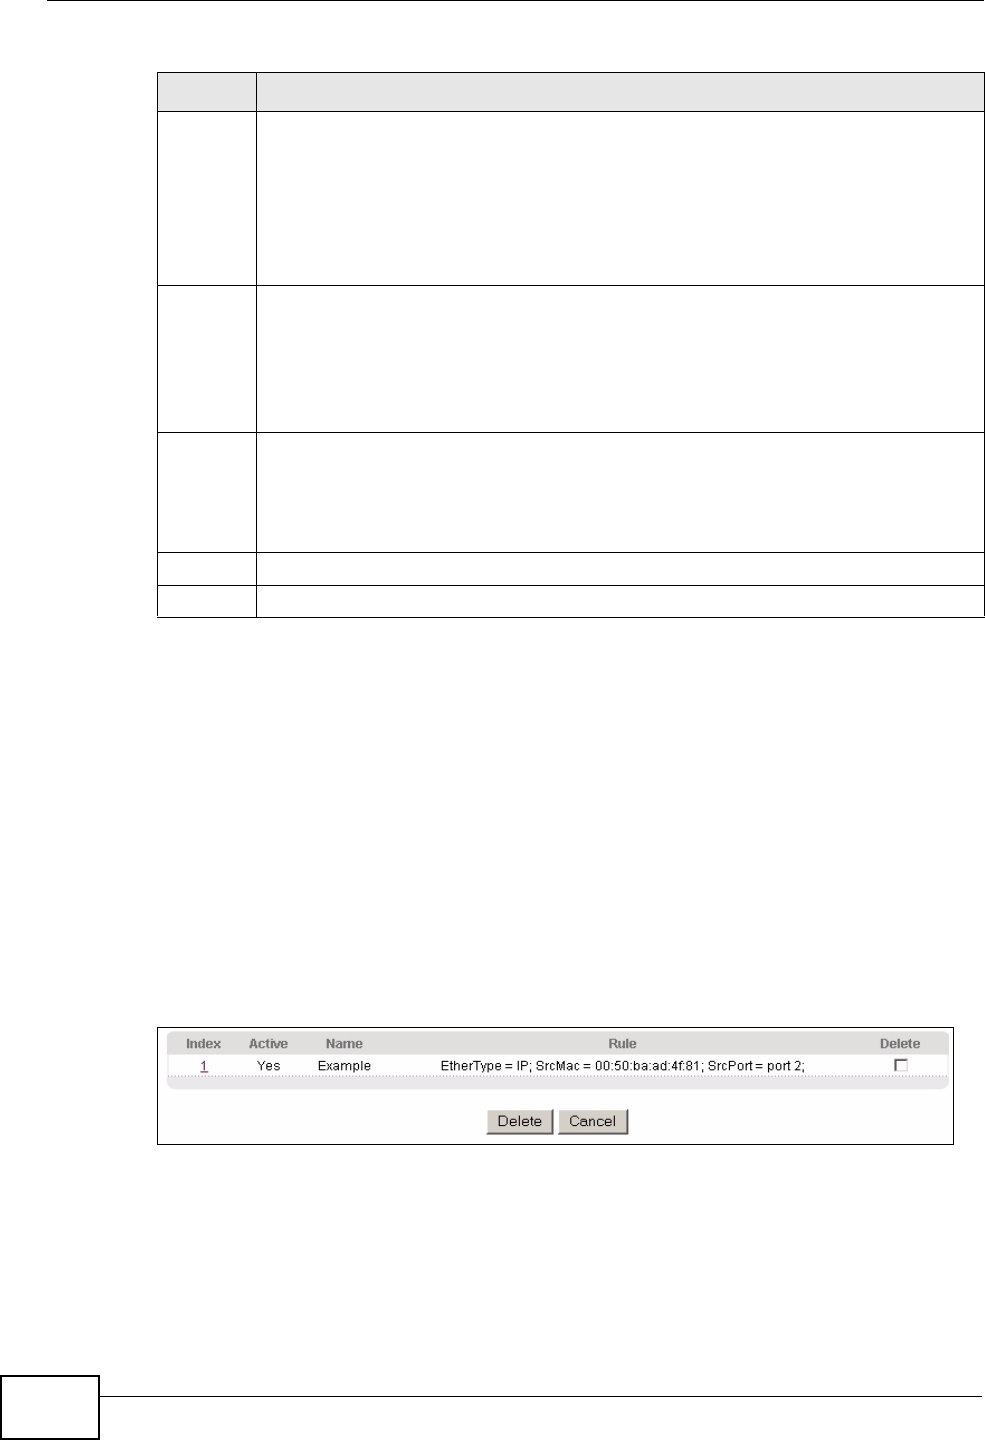
To view a summary of the classifier configuration, scroll down to the summary
table at the bottom of the Classifier screen. To change the settings of a rule, click
a number in the Index field.
Note: When two rules conflict with each other, a higher layer rule has priority over a
lower layer rule.
Figure 69 Advanced Application > Classifier: Summary Table
IP
Address/
Address
Prefix
Enter a destination IP address in dotted decimal notation.
Specify the address prefix by entering the number of ones in the subnet mask.
A subnet mask can be represented by a 32 bit binary notation. For example,
the subnet mask “255.255.255.0” can be represented as
“11111111.11111111.11111111.00000000”, and counting up the number of
ones in this case results in 24.
Socket
Number
Note: You must select either UDP or TCP in the IP Protocol field before
you configure the socket numbers.
Select Any to apply the rule to all TCP/UDP protocol port numbers or select
the second option and enter a TCP/UDP protocol port number.
Add Click Add to insert the entry in the summary table below and save your
changes to the Switch’s run-time memory. The Switch loses these changes if it
is turned off or loses power, so use the Save link on the top navigation panel
to save your changes to the non-volatile memory when you are done
configuring.
Cancel Click Cancel to begin configuring this screen afresh.
Clear Click Clear to set the above fields back to the factory defaults.
Table 43 Advanced Application > Classifier (continued)
LABEL DESCRIPTION
