


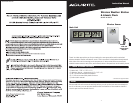
7 MAIN UNIT FEATURES
Radio-controlled Clock : The unit starts synchronizing the clock after the 1st channel
of the wireless sensor begins to send its information to the main unit. (This is called
registration.) The built-in antenna receives the official time signal from the US
Government's National Institute of Standards and Technology. A microchip translates
the time signal and adjusts the time display for the correct time, and date.
Manually Setting the Time and Date:
1) Press and hold the “SET” button, and the year display will flash on the screen. Using
the “+” and “– ” buttons set the year. When the correct year is entered, press and
release the “SET” button to confirm the setting.
2) Once you have confirmed the year, follow the same procedure to set the month, date,
hour, minute, 12 or 24-hour time preference, and DST (Daylight Saving Time).
NOTE: You cannot change any settings manually if the clock is attempting to synchro-
nize. Allow the clock to finish the cycle, and then manual changes can be made if the
clock has not automatically acquired the signal and set itself to the correct time.
Time Zone:
Note: Default setting is Pacific Time. If you live outside of the Pacific Time Zone, you will
need to set your Time Zone using the following procedure:
1) Press and hold the “– / C/F” button on the front of the clock for three seconds. The
area of the clock where the seconds are usually displayed will be replaced with the letter
for the time zone it is currently set in.
2) If set to the default setting, you will see a flashing letter “P” on the screen after
pressing and holding the “– / C/F” button. Press and release the “– / C/F” button until
the letter shown corresponds to your time zone:
P = Pacific M = Mountain C = Central E = Eastern
Once your zone is displayed, there is nothing more you need to do. After about 3
seconds, the seconds will once again be displayed on your clock.
The antenna icon ( ) will flash on and off during synchronization. If the icon disap-
pears, this indicates that the radio signal is not available. If you are unable to obtain a
signal after a long period of time, try placing the base unit away from sources of
interference such as computers, televisions, cordless phone bases, and other electronic
items.
Note: The synchronization process can take 24-72 hours.
Celsius/Fahrenheit:
Press and release the “–” (minus) button. A beep sounds, and the display will change to
either Fahrenheit or Celsius.
7 6
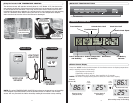
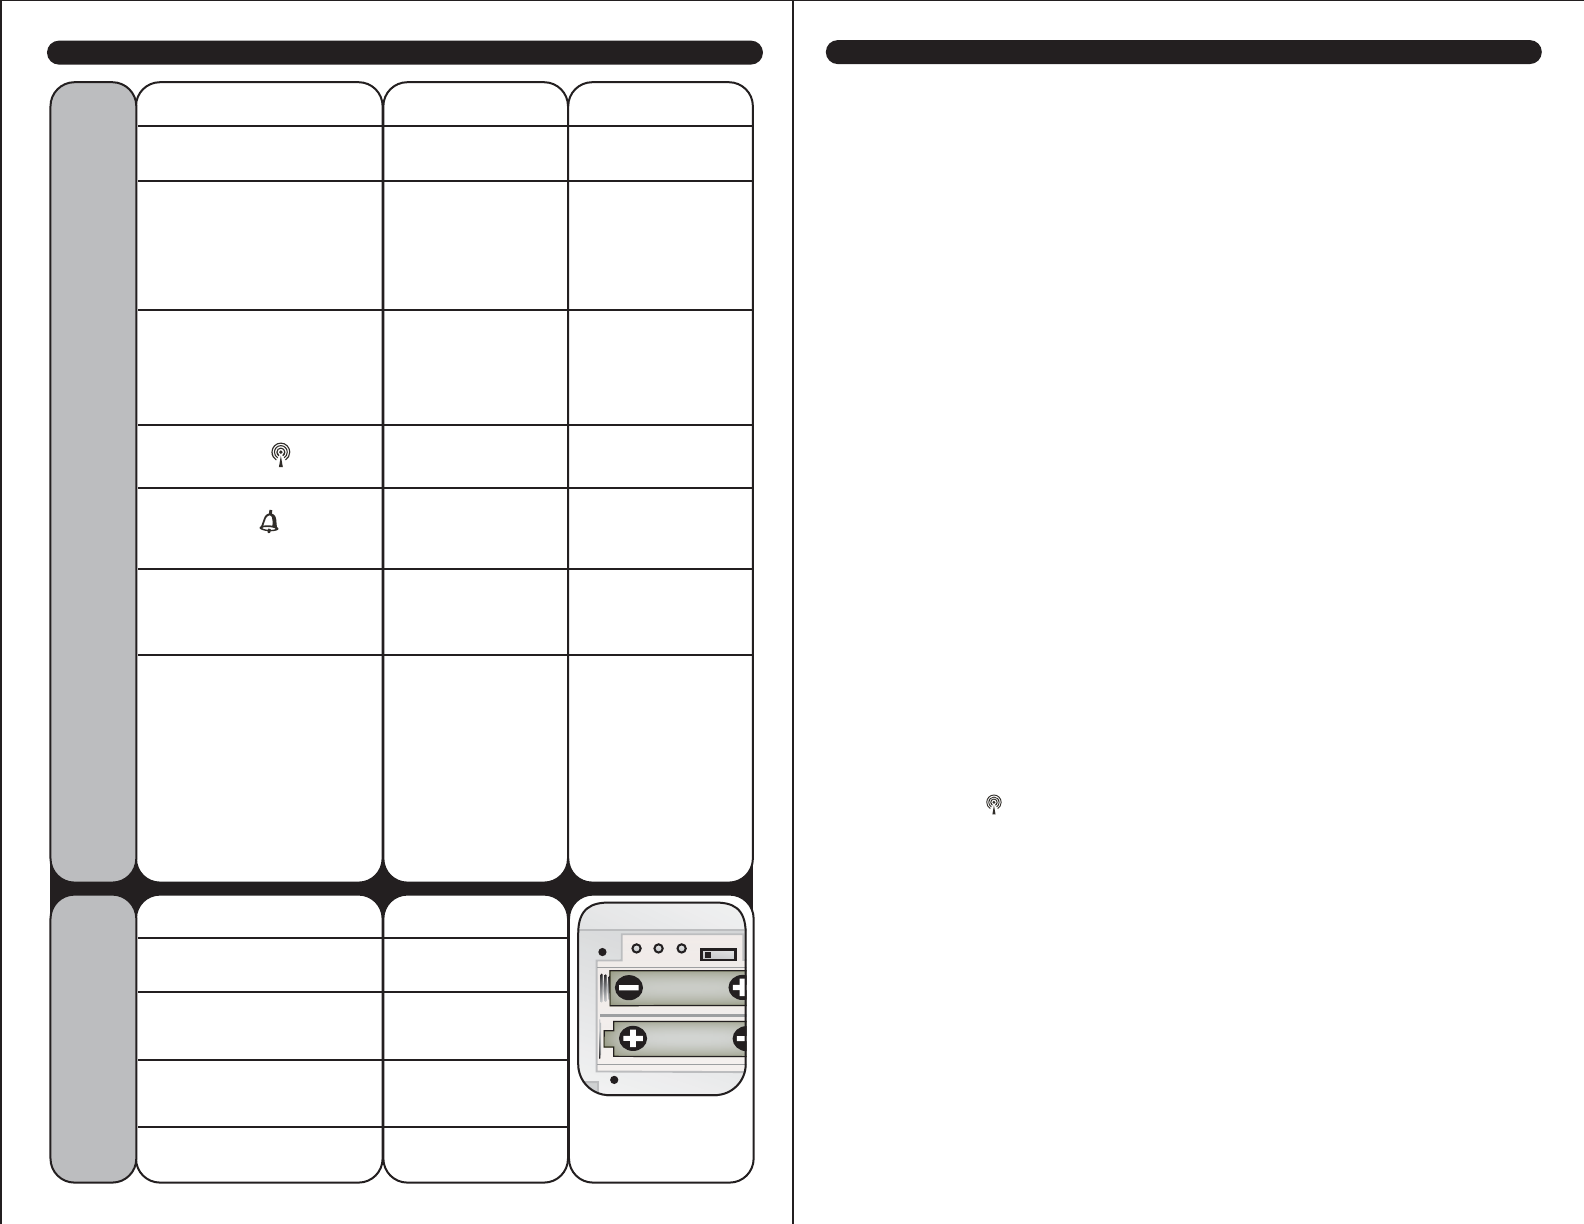
6 UNDERSTAND WHAT THE BUTTONS DO.
MAIN UNIT
BUTTON NAME
CH (CHANNEL)
choose channel 1,2,
or 3
clears the current
channel
SNOOZE / LIGHT
silence the alarm
for 5 minutes
-or-
activate
backlight for
low-light
viewing
N/A
ALARM
view alarm time for
5 seconds
set alarm time
SET
to set clock &
calander manually
starts radio
controlled time
synchronization
+
turn alarm on/off
OR
raise a setting by
one unit
fast advance
setting mode
-
select ºC or ºF
OR
lower a setting by
one unit
fast reverse in time
setting mode &
current time zone
setting
MEMORY
(min/max)
read maximum &
minimum values for
temperatures,
humidity (both
indoor & outdoor)
N/A
PRESS & RELEASE
WIRELESS SENSOR
BUTTON NAME
TX
sends wireless
signal to main unit
C/F
C/F
zone
select ºC or ºF
display mode
for wireless sensor
Mode
choose display
mode for wireless
sensor
CH (1,2or 3)
choose channel 1, 2,
or 3
3 buttons & slide
switch Inside BACK
of remote sensor
case
PRESS & RELEASE
PRESS & HOLD
FOR 3 SECONDS
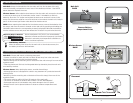
Operation buttons are located on the front and back of the main unit
AA
AA
TX C/F MODE
1 2 3