21
to ONIX 110.
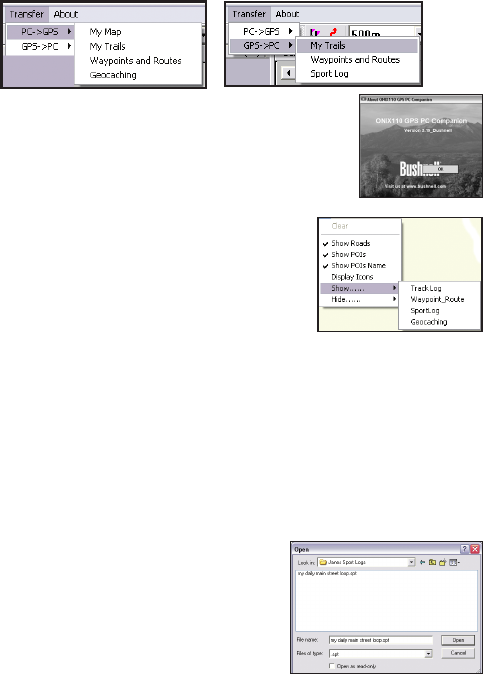
PC->GPS | Geocaching – downloads geocache les (*.geo) to the ONIX 110.
GPS->PC | My Trails – uploads trail logs (*.trl) from the ONIX 110 to a host PC.
GPS->PC | Waypoints and Routes – uploads waypoint and route les (*.wpr)
from the ONIX 110 to a host PC.
GPS->PC | Sport Log – transfers sports logs from the ONIX 110 to a PC.
The “About” Menu
Click this menu item to view company and software version
information
Context Menu
You can view the context-sensitive menu by right-clicking
anywhere in the map window. This menu provides the
same options as those available from the menu bar.
Show Roads – displays all roads on the map.
Show POIs – displays points of interest on the
map.
Show POIs Name – displays the names of the
points of interest.
Display Icons – enables you to choose which points of interests are displayed
on the map. You can select locations such as government buildings, shopping
places, restaurants and so on to be displayed on the map by selecting the
required check boxes.
Show/Hide | Track Log – displays or hides details of a trail log (*.trl).
Show/Hide | Waypoint_Route – displays or hides routes (*.wpr) created from
waypoints on the map.
Show/Hide | SportLog – enables or disables the display of sports logs (*.spt).
Show/Hide | Geocaching – enables or disables the display of geocaching
(*.geo).
Viewing Sports Logs
To view the details of your sports logs, do the
following:
1. Right-click anywhere in the map window and
select Show| SportLog.
2. Specify the location of the sport log le (*.spt)
and click Open.
3. The sports log le opens and displays the
