


11
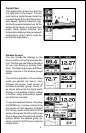
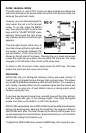
The sensitivity menu has left and right arrows, plus a horizontal bar graph.
The graph gives a visual indication of the sensitivity level. The number to
the right of the bar graph shows the percentage of sensitivity in use.
To increase the sensitivity level, press the right arrow key. As you press
the key, the menu’s bar graph will grow wider and the percentage will
increase in value. You can also see the difference on the chart record as
it scrolls. When the sensitivity is at the desired level, release the key.
To decrease the sensitivity level, press the left arrow key. The bar graph
and percentage will decrease. When the sensitivity is at the desired level,
release the key. When you reach either the maximum or minimum limit, a
tone sounds.
To erase the menu, press the EXIT key.
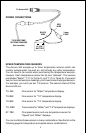
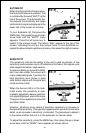
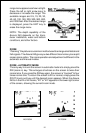
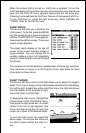
RANGE - Automatic
When turned on for the first time, the
Accura 240 automatically places the
bottom signal in the lower half of the
screen. This is called Auto Ranging
and is part of the automatic function.
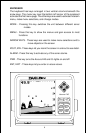
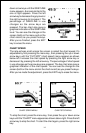
Typically, the range cannot be changed
manually while the unit is in automatic,
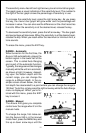
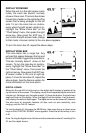
as shown at right. However, depend-
ing upon the bottom depth and the
current range, you can change the
range to a different depth. In the ex-
ample screen shown below, the bot-
tom depth has descended to a point where you can change the range to
150 feet. To do this, simply press the right arrow key while the Auto Range
menu is displayed. When you're fin-
ished with this menu, press the EXIT
key to erase it.
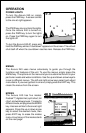
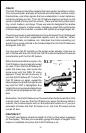
RANGE - Manual
The Accura 240 gives you complete
control over the range when it’s in the
manual mode.
To change the range, first make cer-
tain the Accura 240 is in the manual
mode. Next, press the MENU key and
the up or down arrow keys until the