5. MENU OPERATION
5-16
5. Rotate the CHANNEL/ENTER knob to select [DIRECT INPUT], [ADDRESS
BOOK DATA] or [AIS TARGET DATA] then push the knob.
[DIRECT INPUT]: Enter the MMSI where to send the test message with the nu-
meric keys then push the CHANNEL/ENTER knob.
[ADDRESS BOOK DATA]: Select an MMSI from the [ADDRESS BOOK] (see
section 5.13) then push the CHANNEL/ENTER knob.
[AIS TARGET DATA]: Select an MMSI from the [AIS TARGET LIST] then push
the CHANNEL/ENTER knob.
6. With [FILE NAME] selected, push the CHANNEL/ENTER knob.
7. Enter the file name (max. 20 letters) with the numeric keys then push the CHAN-
NEL/ENTER knob.
8. With [REGISTER] selected, push the CHANNEL/ENTER knob.
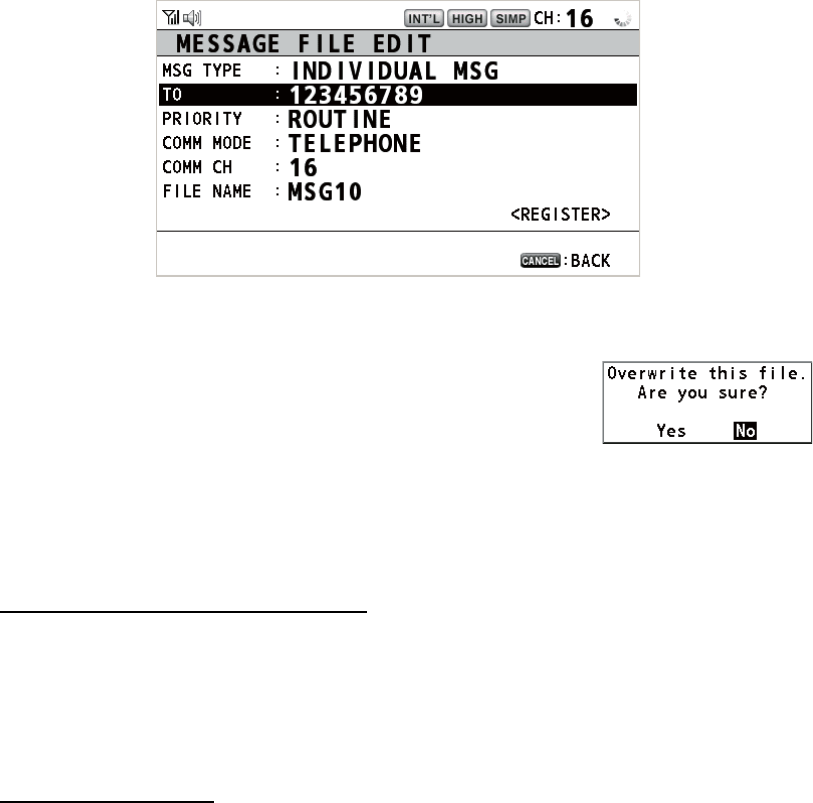
5.14.6 How to edit prepared messages
1. Open the [MESSAGE FILE] list.
2. Rotate the CHANNEL/ENTER knob to select the message file to edit then push
the knob.
3. Push the CHANNEL/ENTER knob to open the [MESSAGE FILE EDIT] screen.
4. Rotate the CHANNEL/ENTER knob to select the item to edit then push the knob.
5. Change the setting accordingly.
6. Rotate the CHANNEL/ENTER knob to select [REGIS-
TER] then push the knob.
7. Rotate the CHANNEL/ENTER knob to select [Yes] then
push the knob.
5.14.7 How to send prepared messages
How to send without modification
1. Open the [MESSAGE FILE] list.
2. Rotate the CHANNEL/ENTER knob to select the message file desired then press
the OTHER DSC MSG key.
3. Rotate the CHANNEL/ENTER knob to select [GO TO CALL] then push the knob.
Edit before sending
Follow the procedure in paragraph 5.14.6 and do the above procedure "How to send
without modification".
