1. OPERATIONAL OVERVIEW
2
1.2 Turning On and Off Power
Turning on the power
Press the [DIM/PWR] key. The unit beeps
and then starts up with the last-used display
mode.
Note: The example screens shown in this
manual may not match the screens you see
on your display. The screen you see depends
on your system configuration and equipment
settings.
Your equipment takes about 90 seconds to
find its position when turned on for the very
first time. Thereafter it typically takes about
12 seconds.
The equipment shows receiver status
indication at the top left-hand corner in most
display modes. The table below shows these
indications and their meanings.
Receiver status indications
Indication Meaning
2D 2D GPS position fix
3D 3D GPS position fix
D2D 2D DGPS position fix
D3D 3D DGPS position fix
W2D 2D WAAS position fix
W3D 3D WAAS position fix
DOP* 2D: HDOP larger than 4
3D: PDOP larger than 6
SIM Simulation mode
* = DOP (Dilution of Precision) is the index of
position accuracy and is the distribution
pattern of satellites used in position fixing.
Generally, the smaller the figure the better the
position accuracy.
Turning off the power
Press and hold down the [DIM/PWR] key until
the screen goes blank (about three seconds).
The time remaining until the power is turned
off is counted down on the display.
1.3 Adjusting Brilliance and
Contrast
1. Press the [DIM/PWR] key momentarily.
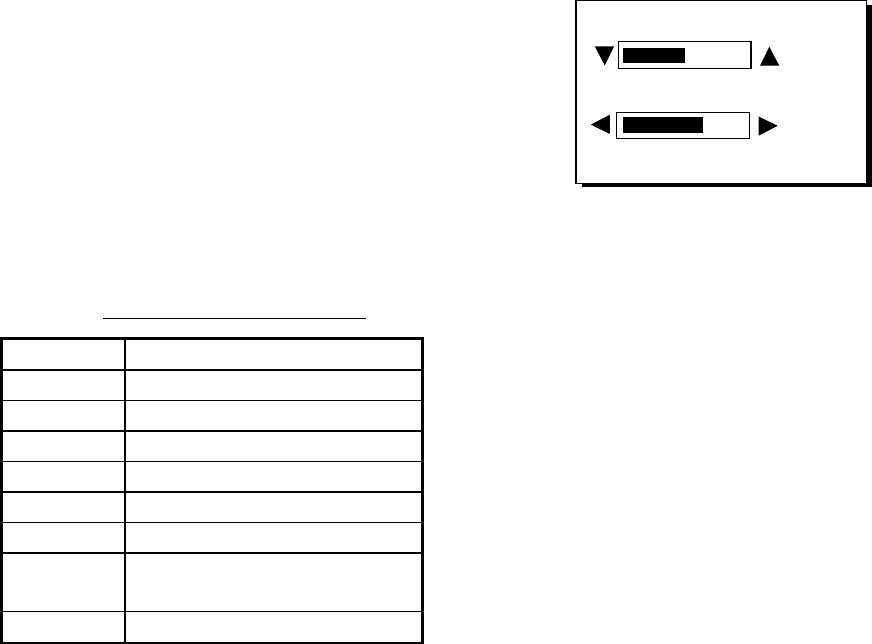
The display shown below appears.
BRILL (1~8)
CONTRAST (0~63)
4
41
EXIT:[ENT]
Brilliance and contrast adjustment window
2. To adjust the brilliance, press ▲ or ▼.
Current setting is shown to the right of ▲.
Maximum setting is 8.
3. To adjust the contrast, press ◄ or ►.
Current setting is shown to the right of ►.
Maximum setting is 63.
4. Press the [ENT] key to finish.
Note: If the last-used contrast setting is 36 or
higher, the equipment starts up with that
setting. If the setting is 35 or lower, the
equipment starts up with setting 36.


