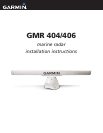
GMR 404/406 Marine Radar Installation Instructions
5
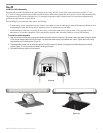
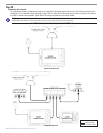
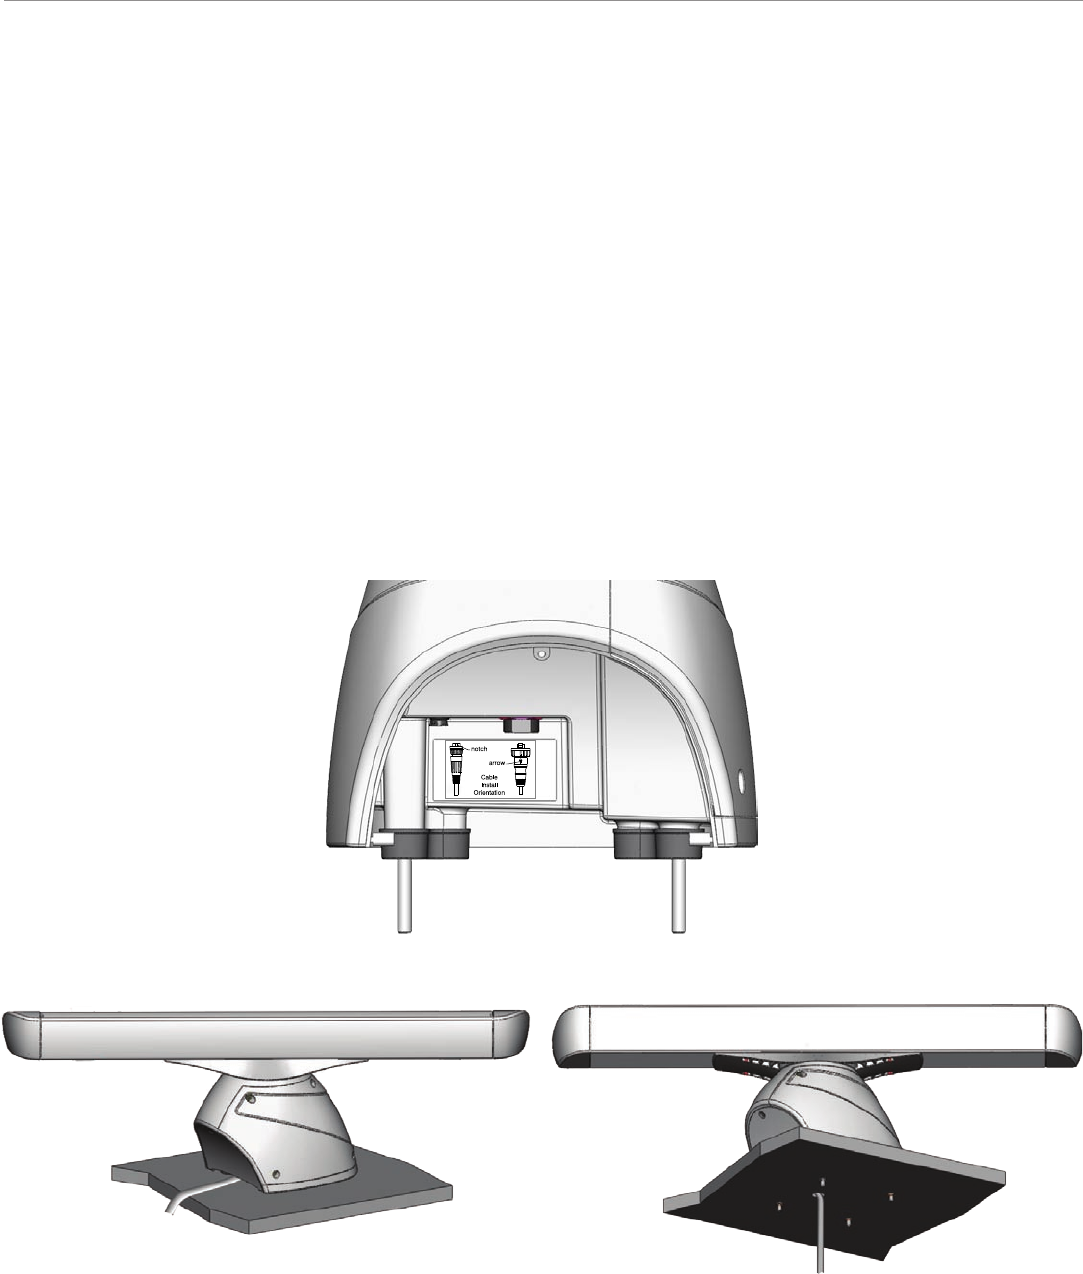
Figure 9 Figure 10
Figure 8
Step
Install the Cable Assembly
Route the cable as needed, depending on the type of mount you are using. DO NOT cut the cable! It may be necessary to drill a 31.7 mm
(1.25") hole for routing the power/network cable. Garmin provides a rubber cable grommet that can be used to cover the cable installation hole.
The grommet does NOT provide a waterproof seal. To waterproof the grommet, apply a marine sealant. You can purchase additional cable
grommets through Garmin or a Garmin dealer.
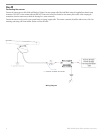
When installing the power/network cable, observe the following:
• To ensure safety, use the appropriate tie-wraps, fasteners, and sealant to secure the cable along a route and through any bulkhead or deck.
Avoid running the cable near moving objects, high-heat sources, or through doorways and bilges.
• Avoid installing the cable next to or parallel to other cables, such as radio antenna lines, or power cables. This is essential to avoid
interference to or from other equipment. If this is not possible, shield the cable with metal conduit or a form of EMI shielding.
To install the cable assembly:
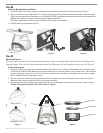
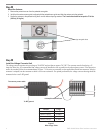
1. Align the notch and locking ring on the power cable to the power connector. Press the 2-pin power cable to the power connector and the
RJ-45 marine network cable to the RJ-45 socket. Turn the power cable locking ring clockwise until it stops. Tighten the RJ-45 locking
ring clockwise until it is rmly sealed. (Figure 8)
2. The power/network cable can be routed through the front of the scanner (Figure 9), or through a hole drilled through the mounting
surface (Figure 10). Avoid excessive bending or twisting of the cable.
3. Re-install the hatch on the front of the scanner.


