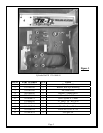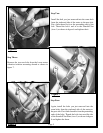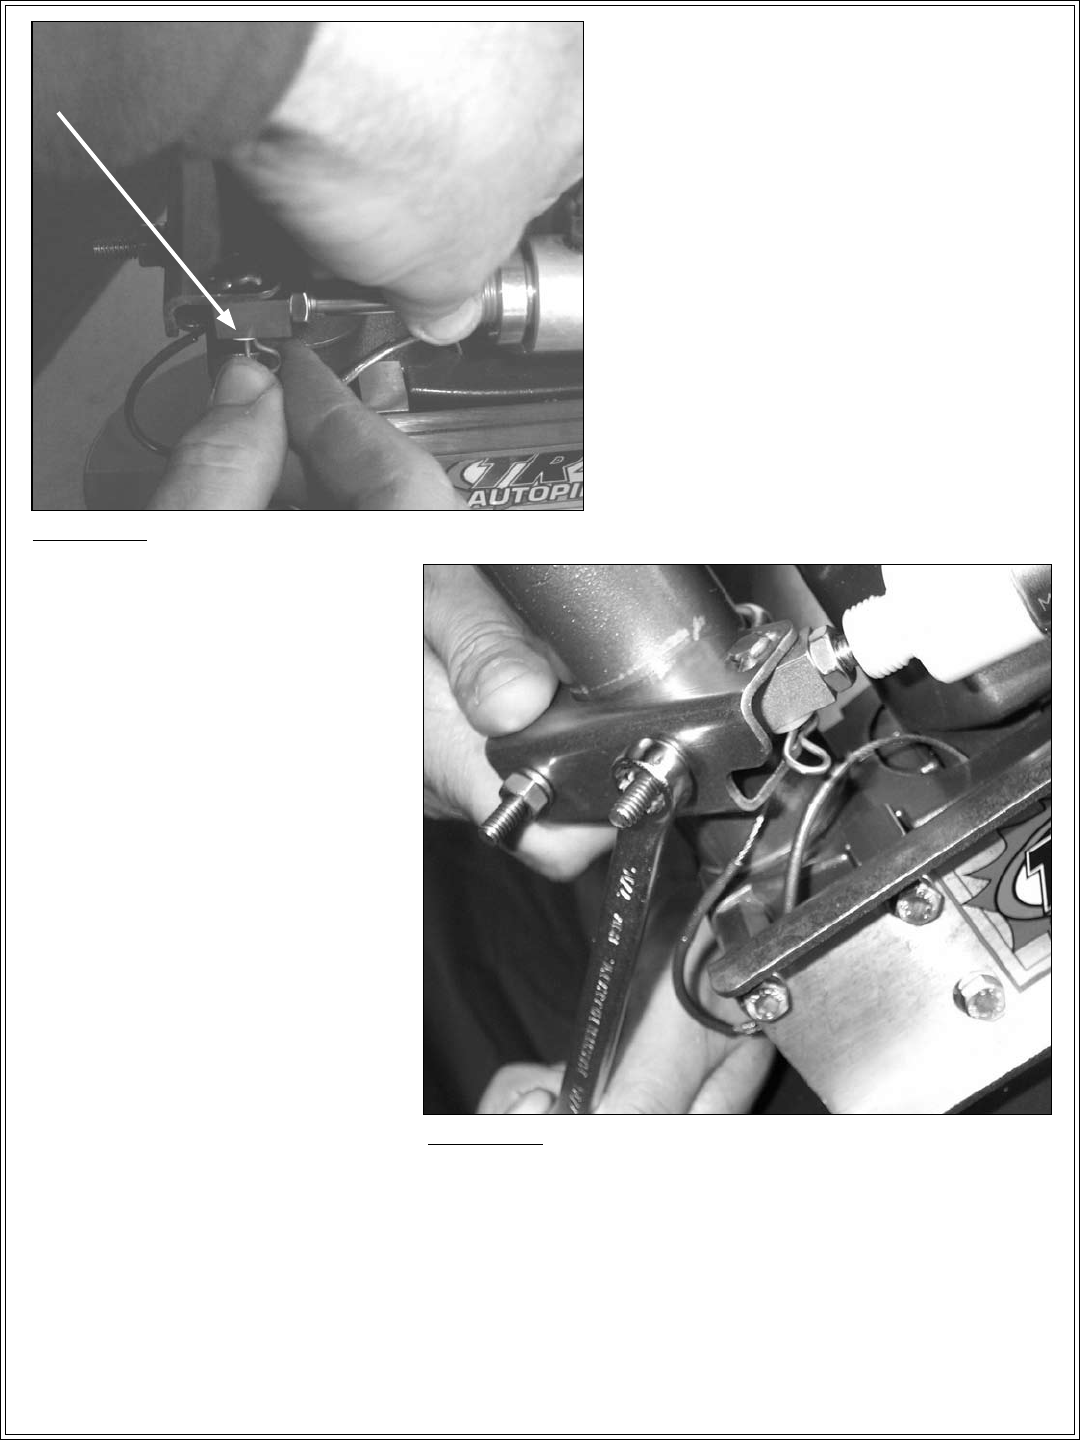
Place pin in the Rod Eye Mounting Bracket
(item 2) through the cylinder Rod Eye (item
31) as shown. (Leave the cylinder attached.)
Install the last Medium Hair Pin Cotter
(item 9) through the hole in the Bracket pin
as shown in gure 12.
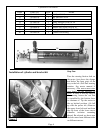
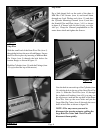
Turn the motor to the hard to port (prop
full to the left side of the boat) position.
This will push the cylinder rod fully
into the cylinder. Remove the nuts from
the “U” Bolt and install it around the
motor steering down tube above the
grease tting. Keeping the cylinder fully
retracted and the motor full to port, line
up the Rod Eye Mounting Bracket (item
2) against the motor steering down tube
with the “U” bolt through it. The several
models of motor have differences in the
location of the grease tting relative to
the shock mount (shaft length). This
causes the Rod Eye Mounting Bracket to
have to be mounted with the lower ange
notch around the grease tting on some
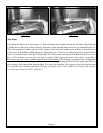
models and about a 1/4 inch below it on others. Raise and lower the rod end of the cylinder against
the pins holding it at the rear to rind the center of its free travel. That will indicate where to locate the
Rod Eye Mounting Bracket along steering down tube. The Rod Eye Bracket should, also, always end
up with the channel parallel to the transom of the boat. Put a little thread lock on the protruding screw
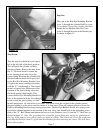
ends of the “U” Bolt. Mount and tighten the last two Lock Washers (item 11) and the “U” Bolt Nuts, as
shown.in gure 13. Note: The grounding wire around the grease tting may need to be rotated out of
the way. In the future if you wish to remove or install a cylinder. Just remove the Clevis Pin at the rear
and slide the Rod Eye (item 31) off the Rod Eye Bracket pin after removing the cotters. This will leave
the bracket in place.
Page 7
Figure 12
Figure 13
Step Six:
Step Seven:


