5 - 4
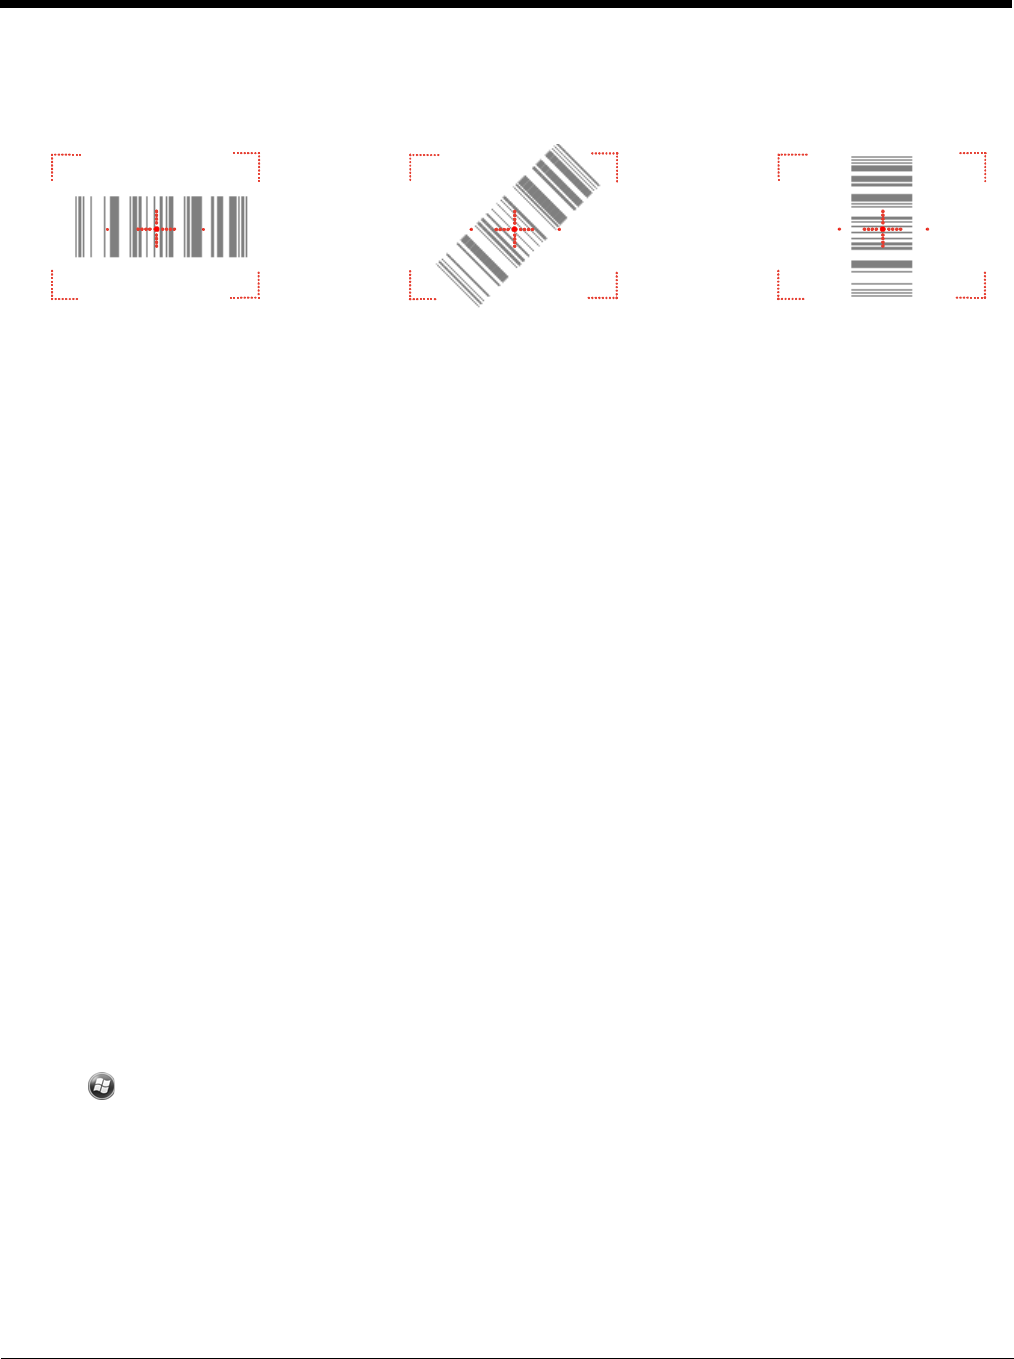
Omni-Directional Scanning Positions
The high-vis aiming pattern frames the bar code to provide you with the best scanning performance.
Note: To achieve the best read, the aiming beam should be centered horizontally across the bar code.
The aiming pattern is smaller when the terminal is held closer to the code and larger when the terminal is
held farther from the code. Symbologies with smaller bars or elements (mil size) should be read closer to
the unit whereas larger bars or elements (mil size) should be read farther from the unit.
Capturing Images (5300 Engine only)
The image-capture process is an intuitive, split-second operation for experienced users. By following
basic guidelines, however, new users can easily develop their own technique and, with practice, quickly
learn to adapt to different application environments.
Image Preview
When the imaging process is initiated, the touch screen displays a preview of the object. This
is a live video image of what the imager is currently viewing and has a slightly degraded
appearance compared to the captured image. This is normal; the captured image has a higher
resolution.
File Formats
The Dolphin terminal is capable of saving images in a number of industry-standard file formats
(BMP, JPG and PNG). The default file format for images is a grayscale BMP.
File Size
Digital images have a maximum image size of 640 x 480 pixels and may have up to a 256
grayscale image definition. The image quality and related file size are determined by the data
compression method used by the software application used to take the image. The average
size of the image file is approximately 4-8K. However, the size of the image depends on image
content; the more complex the content, the larger the file size.
Taking an Image
1. Tap > Demos > Image Demo.
2. Point the Dolphin terminal at the object.
3. Press the Scan key to activate the engine. The touch screen displays a preview of the object.
4. Adjust the terminal’s position until the preview on the screen is as you want it to appear in the image.
5. Hold the terminal still and release the Scan key.
The touch screen flashes, and the captured image appears on the screen.
