50
| Connecting Your Printer to a Computer
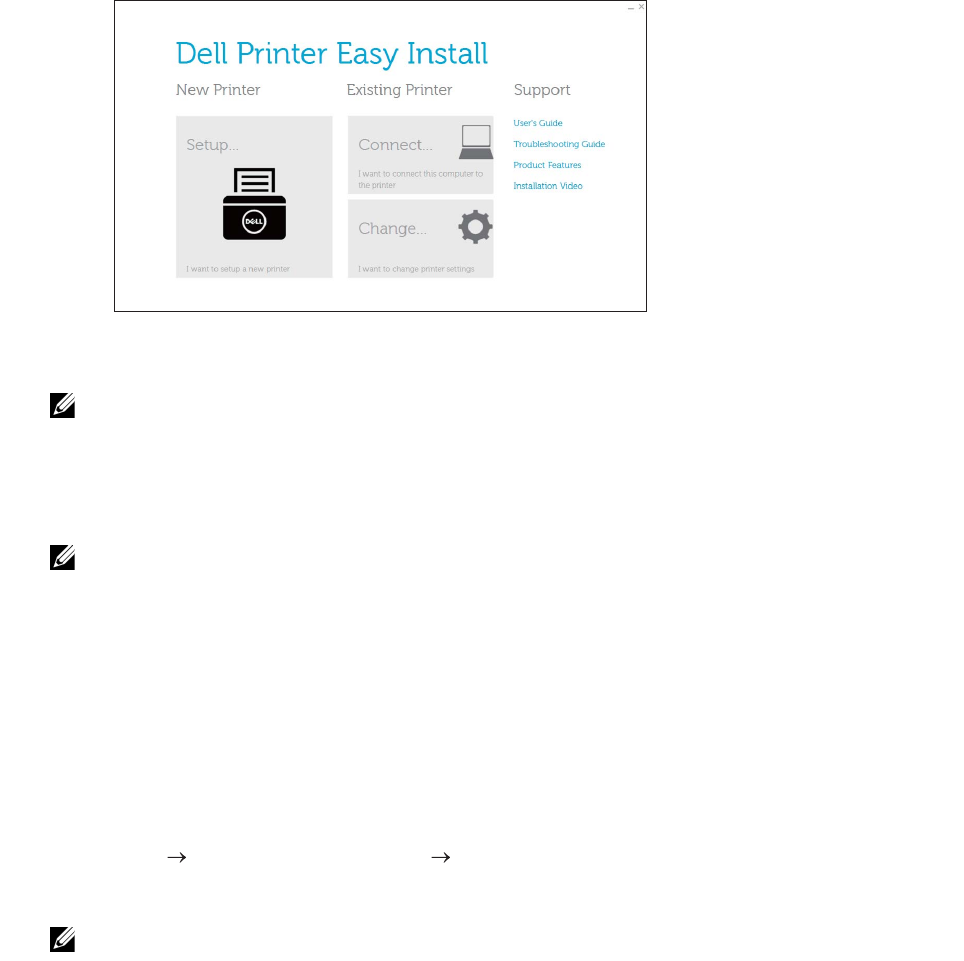
2 Click Main Menu.
3 On the Dell Printer Easy Install window, click Connect.
4 Select Wireless or Ethernet Connection, and then click Next.
• Wireless network is available on Dell H625cdw and Dell H825cdw.
5 Follow the on-screen instructions until the Ready to Print! screen appears.
6 Click Finish.
• You can verify the installation by clicking Print Test Page.
Installing the XML Paper Specification (XPS) Print Driver with Network
Connection
For Windows
®
7:
1 Extract the following zip file to your desired location.
D:\Drivers\XPS\Win_7Vista\XPS-V3_H825cdw_S2825cdn_H625cdw.zip (D
is the drive letter of the optical drive)
2 Click Start Devices and Printers Add a printer.
3 Click Add a network, wireless or Bluetooth printer.
• Wireless network is available on Dell H625cdw and Dell H825cdw.
4 Select a printer, and then click Next.
Or
Click The printer that I want isn't listed.
If you select the printer, proceed to step 7.
If you click The printer that I want isn't listed, proceed to step 5.
5 Select Add a printer using a TCP/IP address or host name, and then click Next.


