50
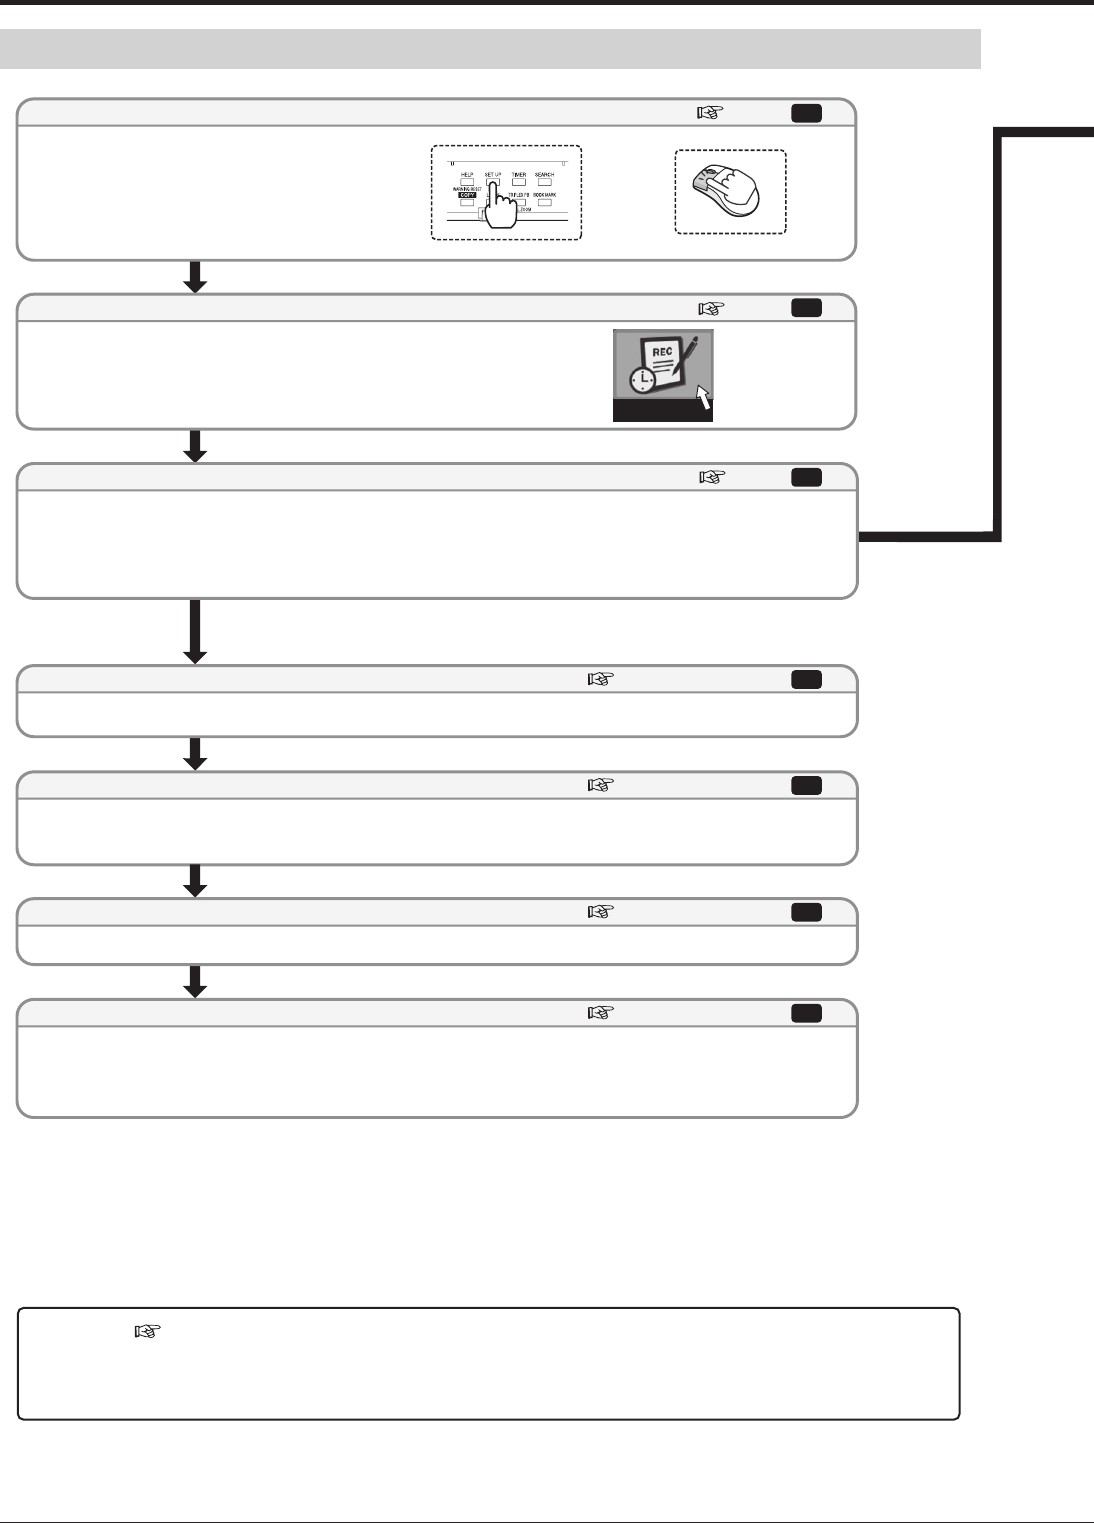
Procedure of confi guration of recording settings
Auto setting
Manual setting
The tables on pages 51 to 53 are the lists of setting items shown on the <Recording settings> screen. You can use these lists
to check the parameters and record the menu items you set. Items in boldface type are parameters you can actually set.
For later review, you are recommended to mark on the items you set.
The colored values or settings are factory defaults.
Recording setting
When you designate the recording duration, recording time per day, and picture size, the recorder automatically
allocates to the detected cameras the recording picture quality and FPS for normal recording.
The recorder automatically detects the cameras from which it is receiving video signals.
Select the recording pattern (A to D) to which you want to apply the automatically set items.
[Recording A]: Used for manual recording and timer recording.
[Recording B] to [Recording D]: Used for timer recording.
Check the items automatically set.
Left-click the mouse or press the SET UP button on
the front panel of the recorder to display the <Main
menu>.
Select [Recording setting] to display the <Recording setting> screen.
[Auto setting]: The recorder automatically detects the cameras from which the recorder is receiving video signals.
When you designate the recording duration, recording time per day, and picture size, the recorder automatically
allocates to the detected cameras the recording picture quality and FPS for normal recording.
[Manual setting]: You can configure the settings shown on the right page manually.
1
Page 54
Page 54
Page 54
Select [Auto setting] or [Manual setting] for the recording setting method.
Display the Recording setting screen.
Display the Main menu.
Camera check
Define the normal recording cycle
Confirm the recording settings
Apply new settings
Step
2
Step
3
Step
Page 54 <Auto setting>
4
Step
Page 54 <Auto setting>
5
Step
Page 54 <Auto setting>
6
Step
Page 54 <Auto setting>
7
Step
or
Recording (continued)
