88
Using the communication functions (continued)
Playing back recorded images
You can load and play back images recorded by the
recorder.
Step
1 Display the [Main Menu] screen according to
steps 1 to 3 of "Login" on
page 86.
Step
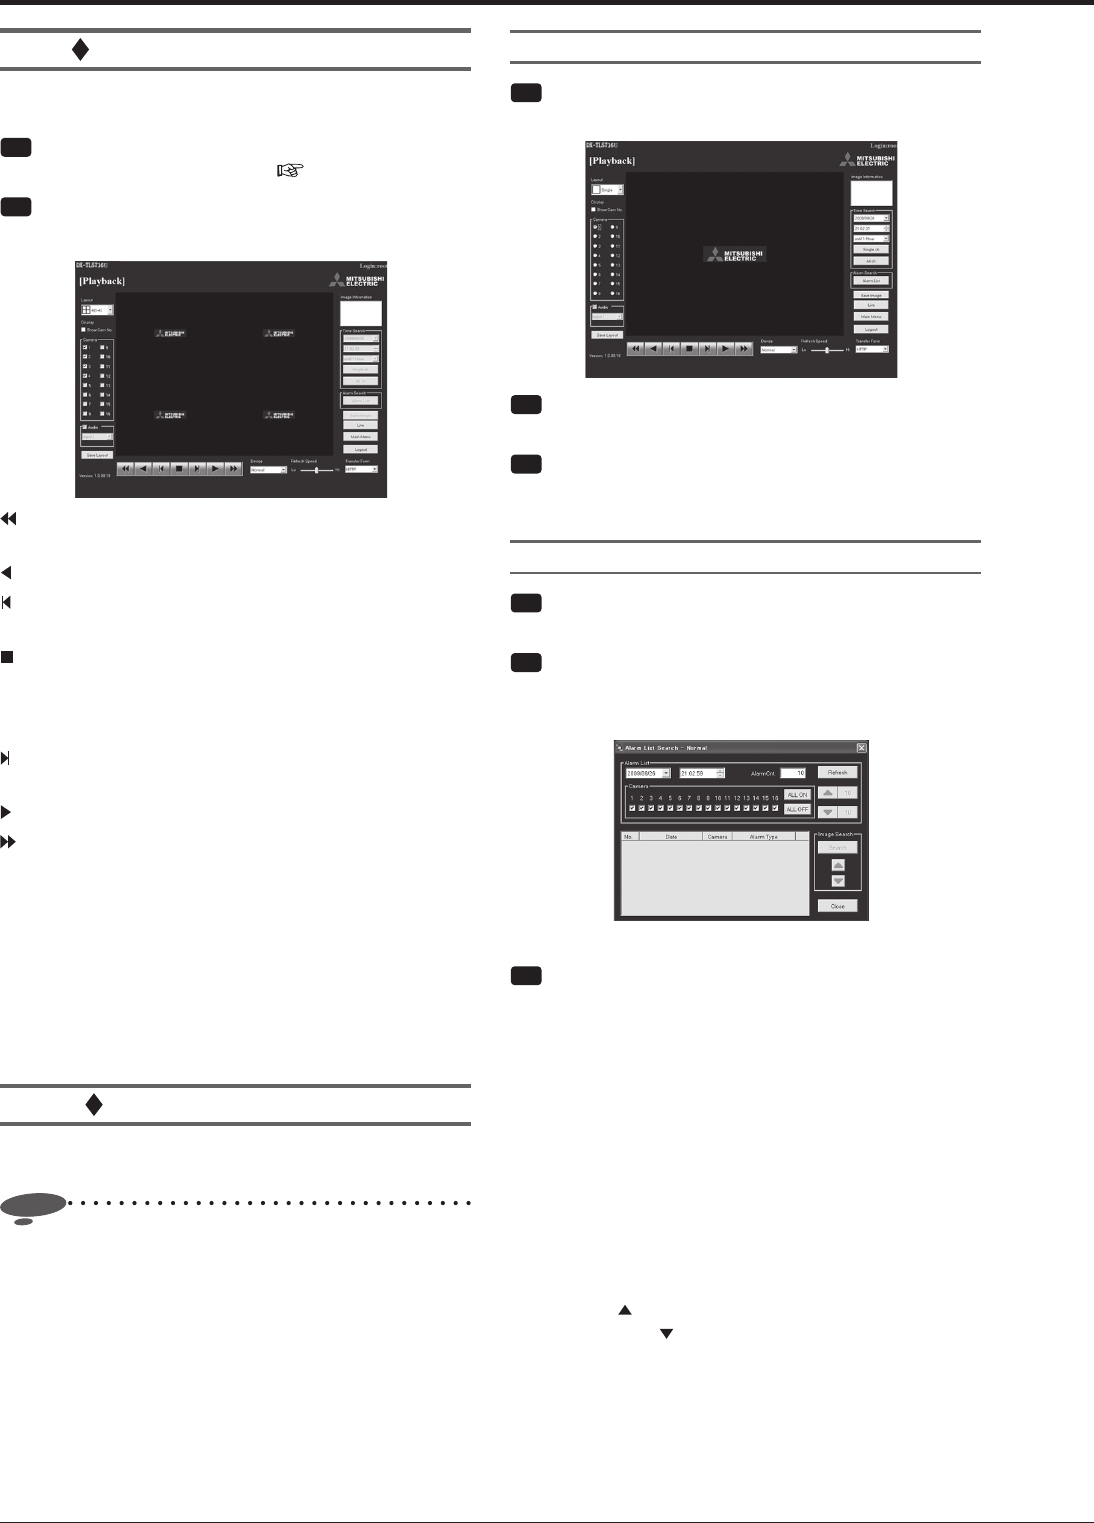
2 Select [Playback].
•
The [Playback] screen appears.
..............................Press to start high-speed reverse
playback at x2, x4, x8 and x16.
...............................Press to start reverse playback.
...............................Press to start reverse frame-by-frame
playback.
...............................When you press this button during
playback or search, the image is
displayed in the still image playback
mode.
...............................Press to start forward frame-by-frame
playback.
...............................Press to start playback.
..............................Press to start high-speed forward
playback at x2, x4, x8 and x16.
Device ......................You can select a partition for playback
and search. (Default: Normal)
Live ..........................The [Live] screen appears.
Image Information ..The date, time, and camera number of
the loaded image are displayed.
Save Image ..............You can save the displayed still image
in the PC as a bitmap fi le.
Searching recorded images
You can load images recorded by the recorder and search
for images you want to view.
Notice
• To search recorded images using the search functions
or to save images, select the single screen display
mode on the [Playback] screen and stop playback.
These functions do not operate during playback, so
stop playback fi rst.
• When you search images in RTP, you may not be
able to obtain the search result if the network loss is
high. In such a case, carry out the search again or
ensure stable communication by viewing live images
or playing recorded images for a while.
Searching for images by designating date and time
Step
1 Stop playback in the single screen display mode
on the [Playback] screen.
Step
2 Under [Time Search], designate the date and time
or period of time to search.
Step
3 Select [Single ch] to search the image of the
camera which is being displayed. Select [All ch]
to search the image of all the cameras.
Searching for images using the alarm list
Step
1 Stop playback in the single screen display mode
on the [Playback] screen.
Step
2 Select [Alarm List].
•
The [Alarm List Search] screen appears in the sub-
screen.
Step
3 Designate the date and time and the number
of alarm events you want to retrieve, and then
select [Refresh].
•
Unless you click [Refresh], you cannot display the
alarm list.
•
Enter the number of alarm events you want to
retrieve in the [Alarm Cnt] box. When you enter a
large value in the [Alarm Cnt] box, depending on
the recording condition, it may take time to retrieve
alarm events or the designated number of alarm
events may not be retrieved.
•
[Camera]: Put a checkmark for the cameras of which
alarm events you want to include in the alarm list.
•
Click [ (number)] to search in the reverse direction
and click [
(number)] to search in the forward
direction.
