


14
• Whiteline — controls how the unit displays information about the bottom type (hard or soft). With
the Whiteline ‘Off’, all high-intensity bottom returns are displayed as red on the Fishfi nder 250C and black
on the Fishfi nder 250. With Whiteline set at ‘Normal’ or 1-100%, this option can be used to better deter-
mine bottom hardness. See page 26 for more information on this feature.
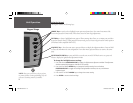
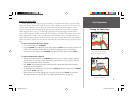
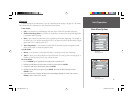
• Frequency — allows you to choose a sonar operation frequency. Frequency refers to the “pitch” of the
sound that the transducer sends and receives. You may choose ‘200kHz’, ‘50kHz’ or ‘Dual’ frequency (when
using a dual frequency transducer).
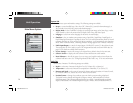
• Depth Line — adds a horizontal depth line across the display to measure the depth of underwater
objects. The depth of the line is displayed in a box on the right side of the line. When the Depth Line adjust-
ment window is visible, press the UP or DOWN ARROW keys to control the position of the line on the
graph.
• Noise Reject — helps fi lter unwanted noise from the graph. The ‘Noise Reject’ tool can be turned
‘Off’, set to ‘Normal’ (automatically adjusts for optimum viewing) or to a fi xed 1-100% setting. NOTE: the
HIGHER the noise rejection setting, the more likely the unit is to NOT show fi sh or structure.
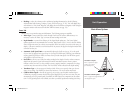
• Scroll — adjusts the rate that the graph scrolls from right to left. If you are sitting still or the graph is
moving too fast, slowing the scroll rate or pausing it can be benefi cial. ‘Auto’ automatically adjusts the scroll
rate according to the boat’s speed. (See also ‘Automatic Scroll Speed Limit’ on page 21.)
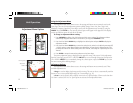
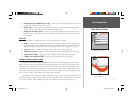
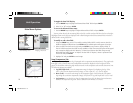
• Size Split — enables width adjustment of the Sonar Page split screen. This option is only available
when a split zoom is selected. You may adjust the size of the split window anywhere from 1/4 to 3/4 width
from the right half of the Sonar Page.
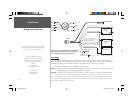
To resize the Sonar Page split screen:
1. From the Sonar Page split screen, press ADJ/MENU.
2. Using the ARROW keys, highlight the ‘Size Split’ option and press ENTER. A small double-arrow is
displayed in the middle of the split line on the screen.
3. Press the LEFT or RIGHT ARROW keys to move the split line to the desired position, then press ENTER.
• Defaults — restores Adjustment Options back to original factory settings.
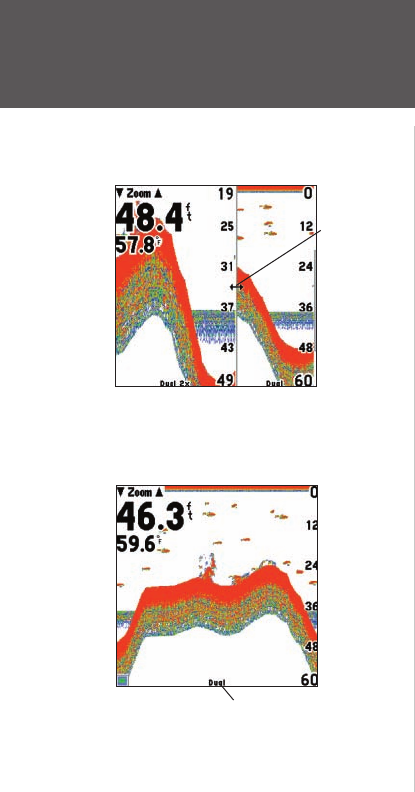
Resizing the Sonar Split
Unit Operation
Adjustment Menu Options
You may
resize the split
line to the left
or right.
The current frequency setting will
display at the bottom of the screen.
250C Manual.indd 14 1/27/2004, 3:55:07 PM