


Fishnder 400C Owner’s Manual
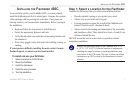
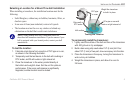
InstallIng the FIshFInder 400c
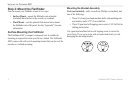
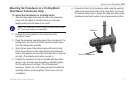
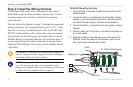
6. Markthelocation.Usinga1/8"bit,drillapilothole
approximately3/8"(10mm)deep.
7. Attachthecableclampusinga4x12mmscrew.Coatthe
screwwithmarinesealantbeforeinstallation.Repeatsteps5
and6usingtheothercableclamp.
8. Routethetransducercable,asneeded,totheshnder.DO
NOTCUTTHECABLE.Avoidroutingthecablewithelectrical
wiresorothersourcesofelectricalinterference.
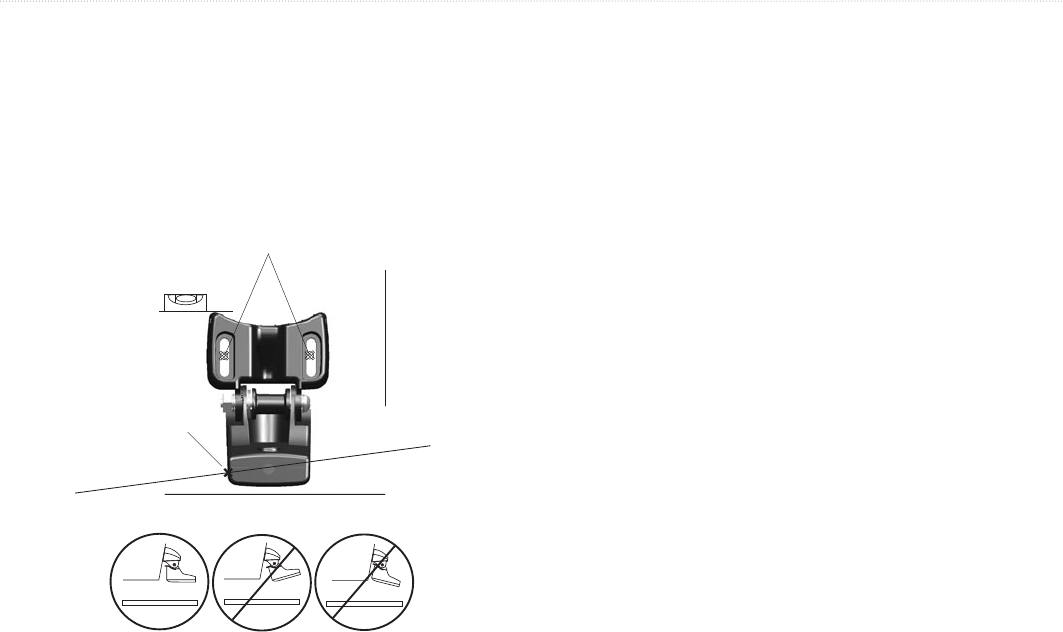
OK
Level
Drill pilot holes here.
Vertical
Bottom of the transom
Align with the transom
bottom. The transducer
should extend /"
below berglass hulls
or /" below aluminum
hulls.
Keep it parallel with the water line.
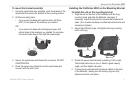
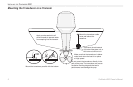
Shoot-Thru-Hull Installation
To avoid drilling a hole to mount a thru-hull transducer, a
transducer can be secured with epoxy inside a boat (shoot-thru-
hull installation). This type of installation can provide better
noise reduction and allow you to use a higher Gain setting. For
a transducer to be mounted inside the hull (shoot-thru, not thru-
hull), the boat must be berglass, with no core. Contact your boat
manufacturer if you are unsure. Professional installation might be
necessary.
Some transducers are specically designed to be mounted inside a
berglass hull. The standard plastic transom mount transducer can
also be mounted using this method. If using a temperature sensing
transducer, the temperature shown reects the hull temperature.