Air Motor and Throat Service
309868D 11
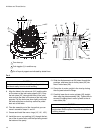
16. Pull the trip rod (40) so it is sticking up out of the air
motor cylinder (35).
17. Grip the trip rod (40) with padded pliers, screw the
cylinder cap nut (39) onto the trip rod, push the cyl-
inder cap nut down, and screw it into the top of the
cylinder.
18. Place the piston ball (100) in the displacement
rod (29).
19. Clean the threads of the fluid piston (107), apply
Loctite
®
to the threads, install the new packing
o–ring (102*) on the fluid piston, and thread the fluid
piston onto the displacement rod (29).
20. Clamp the flats of the fluid piston (107) in a vice,
and torque the displacement rod (29) to the piston
to 40 to 60 ft–lb (54 to 81 N•m).
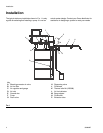
21. Clamp the air motor base (28) in a vise horizontally
by closing the vice jaws on the flange.
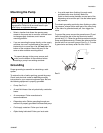
22. Use a strap wrench to screw the displacement
pump cylinder (105) to the air motor base (28), and
torque to 40 to 60 ft–lb (54 to 81 N•m).
23. Before remounting the pump, connect an air hose
and run the air motor slowly, starting with just
enough air pressure to make the air motor run, and
make sure that it operates smoothly.
24. Reconnect the ground wire before you resume regu-
lar pump operation.
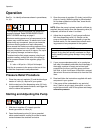
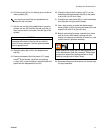
You may have to hold the unit upside down to
shake the trip rod loose.
CAUTION
Do not damage the plated surface of the trip rod (40).
Damaging the surface of the trip rod can result in
erratic air motor operation. Use the special padded
pliers to grasp the rod.
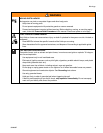
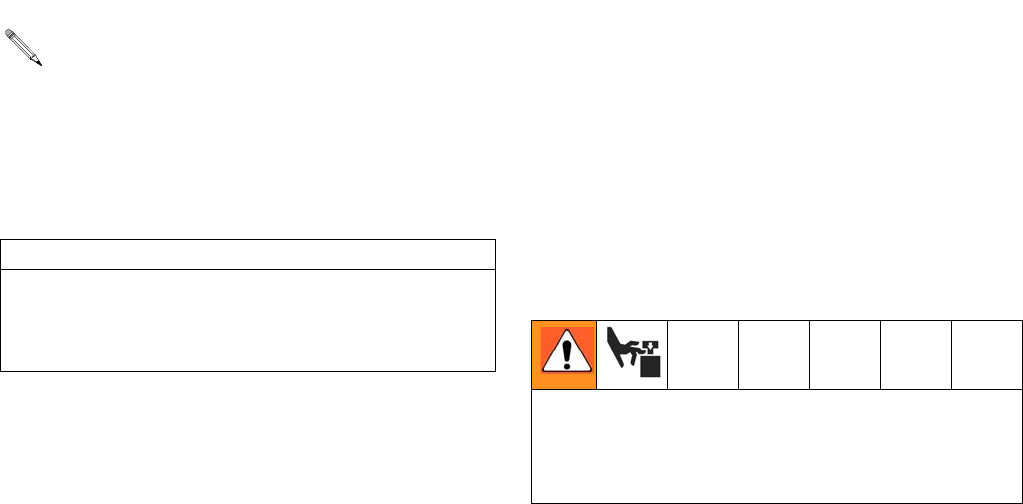
Never operate the pump with the warning plate (47)
or the identification plate (46) removed. These plates
protect your fingers from getting pinched or ampu-
tated by moving parts in the air motor.


